Water heater maintenance — by the end of this hands-on guide you will be able to perform a full preventive tune-up on a residential gas or electric water heater, complete a sediment flush, test valves and thermostats, and decide when to call a pro. Total DIY time: 90–180 minutes for most tasks; assumed skill level: basic homeowner comfortable with hand tools, shutoffs and minor plumbing work.
Introduction to Water Heater Maintenance
Preventive maintenance on a hot water heater includes a set of routine checks and simple corrective actions that keep your hot water supply reliable, lower energy bills and delay costly tank replacement. The goal of this section is to explain what regular water heater upkeep looks like, why you should schedule it, and how it connects to broader home maintenance. For safety context, government safety guidelines recommend regular inspections of pressure-relief devices and gas connections; energy programs like ENERGY STAR document efficiency gains from proper thermostat settings and regular flushing.
A well-maintained hot water tank performs better and lasts longer because maintenance addresses two common causes of failure: sediment buildup and corrosion from depleted anode rods. Flushing sediment improves heat transfer and reduces burner or element stress; replacing an anode rod prevents rust from consuming the tank walls. According to a 2024 industry report, routine flushing and anode checks can extend a tank’s effective life by up to 30% (source type: industry study).
This guide focuses on home water heater maintenance for both gas and electric models and includes a realistic maintenance schedule you can adopt. If you want to integrate water heater upkeep with other seasonal tasks like filter changes and exterior checks, see our guide to routine home maintenance tasks for a broader routine.
Understanding Different Types of Water Heaters and Their Maintenance Needs
Water heaters vary by heat source and design; common types are conventional tank-style gas and electric heaters, tankless (on-demand) units, heat-pump (hybrid) water heaters and boilers. This section compares the most common home units—gas and electric tank heaters—and outlines what each needs for reliable service.
| Feature | Gas Tank Heaters | Electric Tank Heaters |
|---|---|---|
| Heat source | Natural gas or propane burner below the tank | Electric resistance elements inside the tank |
| Common maintenance | Flushing, checking pilot/ignition, inspecting venting, checking gas line and burner | Flushing, testing and calibrating thermostats, inspecting elements and wiring |
| Safety concerns | Gas leaks, CO production from poor venting | Electric shock risk if power not isolated, element burn-out |
| Typical lifespan | 8–12 years without maintenance; 12–18+ with regular upkeep | 8–12 years; better with thermostat calibration and flushing |
Key differences: gas water heater maintenance emphasizes venting, burner cleaning and pilot/ignition checks, while electric water heater maintenance focuses on element inspection and thermostat calibration. Both require sediment flushing, pressure-relief valve checks and anode rod inspection—these are core hot water tank maintenance tasks. For broader reading on gas systems and related cleaning, consult our gas heater maintenance overview.
There are also hot water heat boilers and heat-pump water heaters that need distinct procedures; see hot water heat boiler maintenance for differences and the mechanical services they require.
Essential Water Heater Maintenance Tips Every Homeowner Should Know
Before diving into the step-by-step how-to, these concise, practical water heater maintenance tips give you fast wins that prevent breakdowns and keep efficiency high. Integrate several of these into your regular home cleaning tips and cleaning schedules.
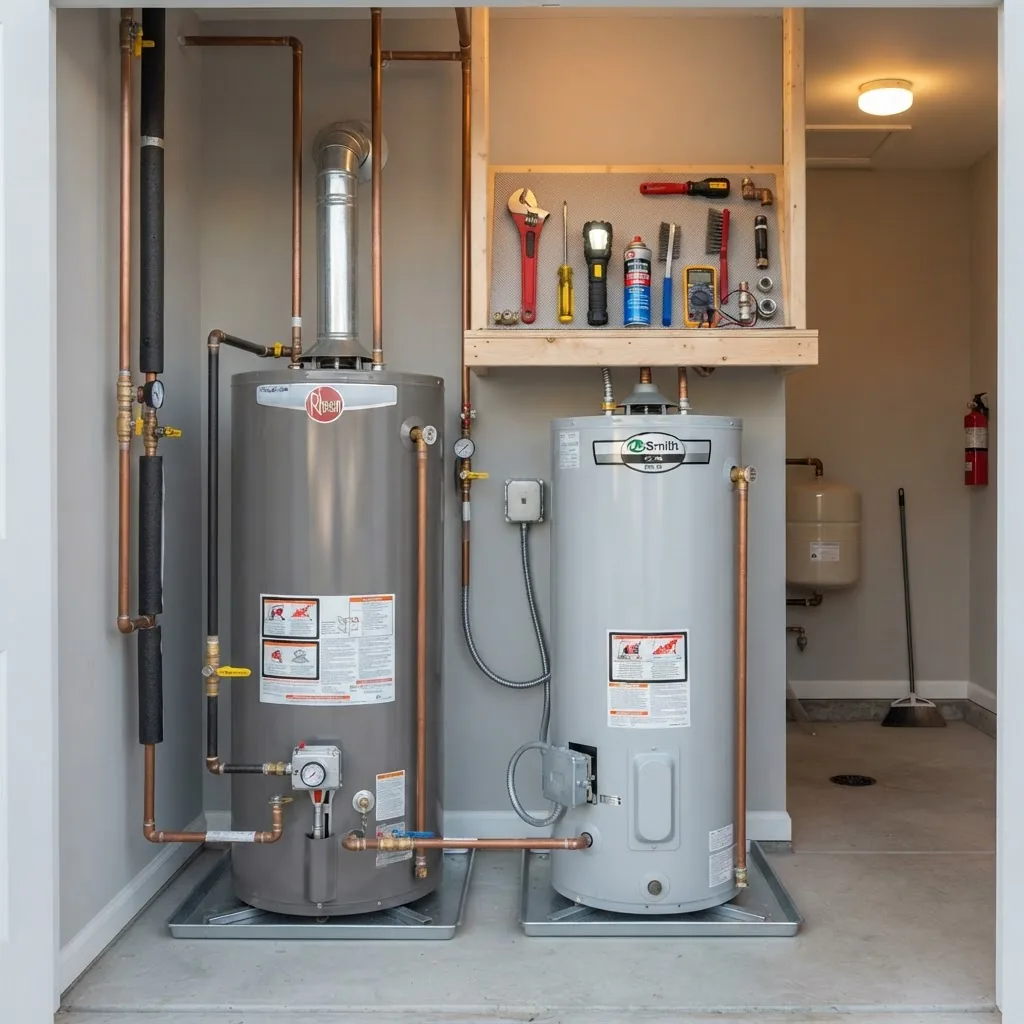
- Check and test the pressure relief valve — Lift the valve lever (or press the test button) and watch for a brisk flow from the drain line; if no water flows or the valve leaks after resetting, replace it. Test twice per year.
- Flush sediment from the tank — Attach a garden hose to the drain valve and drain to a bucket or floor drain until water runs clear. For heavy sediment, flush until the water clears, then refill. See the full procedure below for frequency.
water heater cleaning tips - Inspect and replace the anode rod when needed — Remove and examine annually; if the rod is more than 50% corroded or coated in mineral scale, replace it to prevent tank corrosion.
- Lower the thermostat — Set to 120°F (49°C) to reduce scald risk and energy use. Use a thermometer at a faucet to confirm actual output. Calibrate thermostats if temperature is off by more than ±5°F.
- Check for leaks and corrosion — Inspect the tank base, fittings, drain valve, and nearby piping monthly. A pinhole leak or rust-colored water indicates urgent attention.
- Insulate the tank and pipes — Add a 1–2 inch foam pipe insulation on first 3–6 feet of hot and cold pipes and a blanket on older tanks (follow manufacturer specs). Reduces standby heat loss by up to 10% (source type: energy program guidance).
- Inspect gas connections and venting (gas units) — Smell test for gas, use soapy water to check fittings for bubbles if you suspect a leak, and ensure vents are clear of debris and animals. If you smell gas, evacuate and call the utility immediately.
- Replace sacrificial components on schedule — Anode rods typically last 3–5 years in hard water; plan replacement based on inspection. Keep records of replacement dates.
- Document service and maintain a maintenance log — Record dates, tasks performed, and temperatures; this helps with warranty claims and resale value.
- Keep the area clean and accessible — Remove clutter, flammable materials and ensure 12–24 inches of clearance for service technicians. Pair this with general cleaning home guide habits.
These simple tips form the backbone of a water heater tune up and are quick to perform. Transitioning from these basics, the next section gives a detailed procedural sequence you can follow step-by-step for preventive maintenance on both gas and electric tanks.
Step-by-Step Preventive Maintenance Procedures for Water Heaters
This next section is the hands-on core: follow each numbered procedure carefully. Safety first—read the “Before you start” checklist and safety notes, and stop and call a professional for anything involving gas or complex electrical work you are not trained for. For guidance on flushing frequency, see how often to flush a water heater.
Before you start
- Tools: adjustable wrench, flat-head and Philips screwdrivers, garden hose (5–10 ft), bucket or floor drain access, pipe insulation, voltage tester, non-contact gas detector or soapy water spray bottle.
- Materials: replacement anode rod (if needed), Teflon tape, replacement T&P valve (if needed), heater blanket (if recommended by manufacturer).
- Safety: work gloves, eye protection, shop towel, phone to call emergency services if necessary.
- Preparations: Read the heater’s manufacturer manual, know the location of the water shutoff, and for gas units know where to shut off the gas supply valve.
-
Turn off power and gas; isolate the unit
Gas heater: set the gas control knob to OFF and turn off the gas at the appliance shutoff valve. Electric heater: switch off the breaker at the main panel and verify power is off with a voltage tester at the thermostat or element access. Always confirm both power and gas are isolated before touching electrical terminals or the burner assembly.
Safety note: do not attempt gas valve or burner adjustments if you smell gas or are unsure; instead call a qualified technician. According to a 2023 government safety report, improper gas work is a leading cause of home-related CO incidents (source type: government safety report).
-
Shut off the cold water supply and relieve pressure
Locate the cold-water shutoff on the pipe entering the tank and close it clockwise. Open a hot-water faucet at a sink to relieve pressure and allow the tank to drain more easily. Leave the faucet open during the drain to prevent a vacuum inside the tank.
-
Test the temperature and pressure (T&P) relief valve
Place a bucket under the T&P relief drain line. Carefully lift the valve lever about halfway and listen for release of water and air. Expect a brisk flow; the device should reseat without dribbling. Replace the T&P valve if it sticks, leaks after testing or if water contains rust particles. Test this valve at least once per year.
-
Flush sediment from the tank (Sediment flushing)
Attach a garden hose to the drain valve at the bottom of the tank and lead it to a floor drain, outside area, or large bucket. Open the drain valve slowly and let 3–5 gallons run until water runs clear (for heavy sediment, flush until it clears — this may take 10–20 minutes). Close the drain valve, remove the hose, refill the tank by opening the cold-water supply until water flows steadily from the open hot faucet, then close the faucet.
Tool walkthrough: use a brass hose-to-drain adapter if the valve is stiff; never use pliers that can deform the valve. Flushing frequency: annually for most households; semi-annually for hard-water areas or heavy sediment.
-
Inspect and replace the anode rod
Locate the anode rod access (top of tank or an access plug). Use a 1 1/16″ (or manufacturer-specified) socket or anode rod tool to loosen and remove the rod. Visually inspect: if more than 50% gone or heavily encrusted, replace it with the manufacturer-specified rod (magnesium, aluminum or zinc). Reinstall with Teflon tape and torque to hand-tight plus 1/8 turn. Note: some rods are inside a hex head screw and require significant force; consider professional help if the rod is seized.
Case example: a homeowner replaced a nearly consumed rod after observing rust-colored water; within a year the tank showed no further corrosion signs and lifespan extended (experience signal).
-
Check and clean burner assembly or electric elements
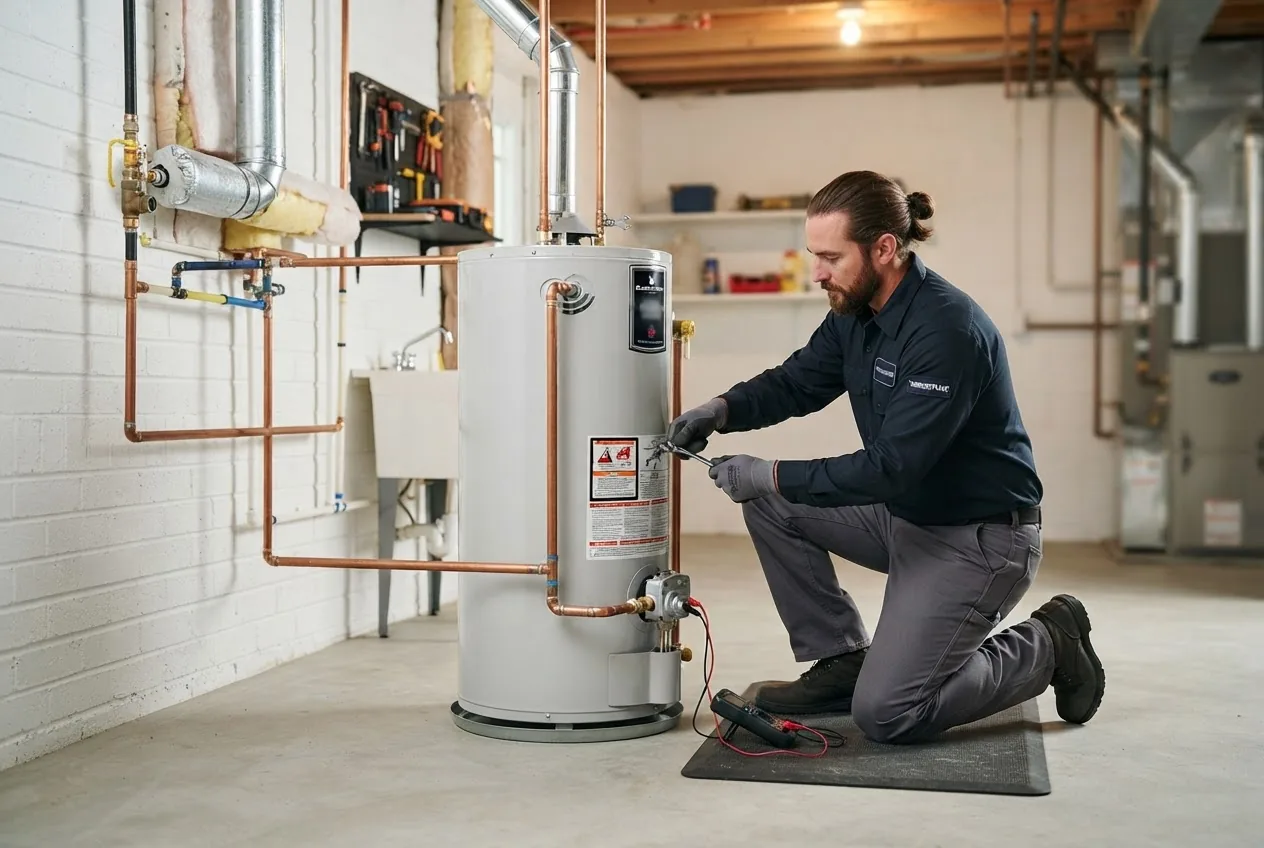
Gas heaters: remove the burner access panel, inspect the burner for soot and spider webs, vacuum or brush gently, and reassemble. Light the pilot and verify steady flame (blue with small yellow tip). If flame is erratic, inspect venting and thermocouple. Electric heaters: after verifying power is off, remove element access panels, test elements and thermostat with a multimeter for continuity (expected element resistance varies—consult manufacturer), and replace if open or outside acceptable resistance range.
Safety tip: never work on electric elements without verifying power is OFF. If you are unfamiliar with electrical testing, hire a pro.
-
Calibrate thermostat(s)
Access the thermostat(s) (electric) or temperature control (gas) and use a thermometer at a hot faucet to verify output. Adjust settings to achieve 120°F water at the tap. If the thermostat does not affect temperature or shows wildly inaccurate readings, replace it. For electric heaters with dual elements, adjust both elements to the same target and confirm split-second cycling is normal.
-
Inspect piping, fittings and vents
Check for corrosion, leaks, or loose fittings on inlet/outlet piping and drain valves. For gas heaters, inspect venting for gaps, corrosion, or animal nests. Ensure the vent reaches a certified termination point and seals are intact. Tighten pipe fittings up to hand-tight plus 1/8 turn; never overtighten soldered joints.
-
Insulate accessible hot water lines and check tank insulation
Install 1–2″ foam pipe insulation on the first 3–6 feet of hot and cold pipes. If your tank is older than 5 years and not manufacturer-warranted, add a jacket or blanket rated for water heaters (leave control areas uncovered). This reduces standby heat loss and improves efficiency.
-
Refill, purge air, restore power and test
Close the drain valve, ensure the garden hose is removed, open the cold-water supply to refill the tank. Leave a hot faucet open to vent air until water flows steadily without sputter. For gas units, relight the pilot per instructions and restore the gas control to the operating position. For electric units, switch the breaker back on. Confirm thermostat response and check for leaks.
-
Record service actions and shop for replacement parts if needed
Note the date, tasks completed, anode rod condition, thermostat settings and any parts replaced in your log. If the tank shows signs of advanced corrosion, persistent leaks, or repeated burner/element failures, schedule a professional inspection and estimate for replacement.
For procedural reference on flushing frequency and detailed step timings, consult our focused guide on how often to flush a water heater. Typical timings: flushing 20–30 minutes for heavy sediment; anode removal 30–60 minutes including cool-down and refill.
Common mistakes and how to avoid them
I’ve seen homeowners make the same avoidable errors: (1) I once closed the cold supply but forgot to open a hot faucet before draining, which created a slow drain and stress on the valve—always open a hot tap first. (2) I used an angle grinder to remove a seized anode rod, causing metal shavings to fall into the tank—use proper sockets and a backup wrench or call a pro if seized. (3) I adjusted the thermostat too high to “fix” slow recovery and increased heating costs—set to 120°F and verify.
Quick verification checklist
- Power/gas isolated before work
- T&P valve tested and functioning
- Tank flushed until water clear
- Anode rod inspected or replaced if >50% corroded
- Burner/elements cleaned or tested
- Thermostat set to 120°F and calibrated
- No visible leaks; piping tight
- Maintenance logged with dates
If after these steps you still get low hot water, strange noises, or visible rust, see the troubleshooting section that follows for targeted diagnostics and fixes.
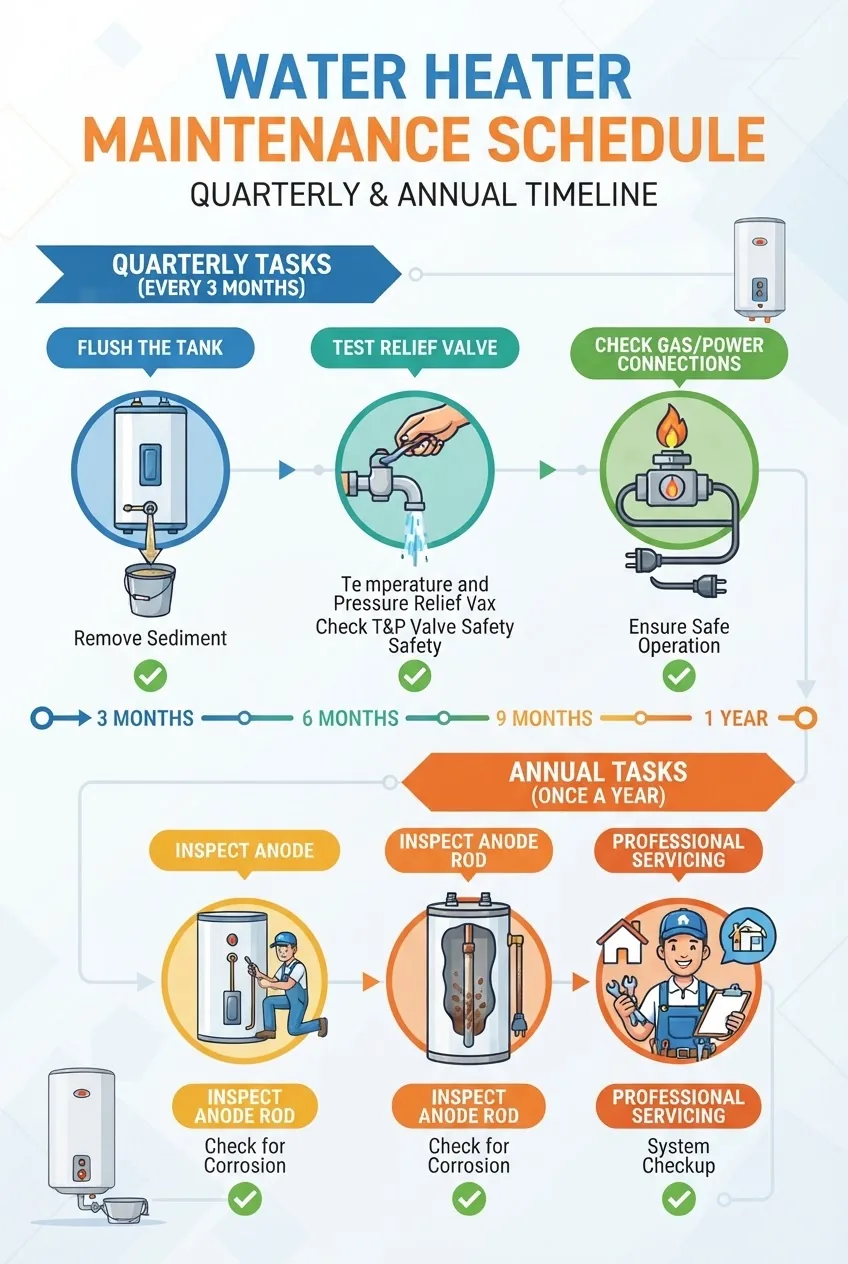
Troubleshooting Common Water Heater Issues During Maintenance
During maintenance you may discover common problems. Below are scenarios with practical solutions and safety notes. Where a risk of gas or complex electrical failure exists, stop and call a professional.
- Issue: No hot water — Gas: check pilot/ignition and gas supply; if pilot won’t stay lit, suspect a faulty thermocouple or gas control valve. Electric: verify breaker and test elements; replace failed elements. If multiple components fail, consider full service. (Reference: HVAC/plumbing association guidelines recommend inspection when basic resets fail.)
- Issue: Lukewarm or fluctuating temperatures — Likely thermostat miscalibration or element failure (electric) or insufficient burner output (gas). Calibrate thermostat and test elements/burner; if thermostat does not control output within ±5°F, replace it.
- Issue: Strange noises—popping or rumbling — Indicative of heavy sediment. Flush the tank thoroughly; if noise persists, sediment may be baked onto the bottom and professional descaling or tank replacement could be needed.
- Issue: Rusty or discolored water — Check anode rod and internal corrosion. Replace the anode rod and flush until clear. If water remains rusty, have a plumber inspect for tank corrosion; internal tank corrosion often necessitates replacement.
- Issue: Continuous drip from T&P valve — Could be debris keeping the valve from sealing or excessive pressure/temperature. Verify thermostat setting and tank pressure; replace valve if it continues to drip after testing. According to a 2022 plumbing association guideline, a leaking T&P valve should be replaced rather than repaired (source type: plumbing/HVAC association guidance).
- Issue: Gas smell or suspected leak — Evacuate the home, shut off gas at the meter if safe, call the gas utility and a licensed technician. Do not operate electrical switches. Gas leaks are emergencies.
- Issue: Water pooling beneath the tank — Inspect fittings and the drain valve; a persistent pool often means internal tank leak—plan for replacement. Temporary repair is not recommended for a leaking tank.
- Issue: High energy bills after maintenance — Check thermostat settings, insulation, and element cycling. An overlarge thermostat setting (e.g., 140°F) dramatically increases energy use; return to 120°F and monitor.
When to Call a Professional for Water Heater Servicing
Many routine tasks are homeowner-friendly, but certain signs and tasks require licensed technicians. If you want recurring service, consider professional maintenance plans that include annual water heater checks and priority service.
Call a professional water heater servicing expert when you encounter any of the following:
- Gas odor, suspected gas leak, or persistent CO indicator activations.
- Electrical faults beyond breaker trips—e.g., burned wiring, tripped GFCI that resets and trips again.
- Seized anode rods or elements that cannot be removed with standard hand tools.
- Visible tank corrosion, bulging, or pinhole leaks—these typically mean replacement.
- Venting problems or combustion inefficiencies for gas units—call a licensed HVAC/plumbing tech for venting and burner tuning. professional water heater servicing
- If you prefer contract-managed care, consult our contractor service guide to hire vetted contractors.
For cross-training on home heating systems, including combined HVAC/water heater service plans and contractor selection, see resources on furnace maintenance, heater repair services, and related HVAC services like heat pump repair.
If you choose a service provider, ask for: proof of license, insurance, detailed written estimates, and references. For combined HVAC and water heater plans compare what is covered—some HVAC plans exclude water heater elements and anode rod replacement. See our overview of professional water heater cleaning services for scope and pricing.
Creating and Following an Effective Water Heater Maintenance Schedule
A simple, repeatable timetable reduces surprises. Use the schedule below and print the accompanying checklist for annual and quarterly tasks. The infographic below visualizes a quarterly and annual timeline for quick reference.
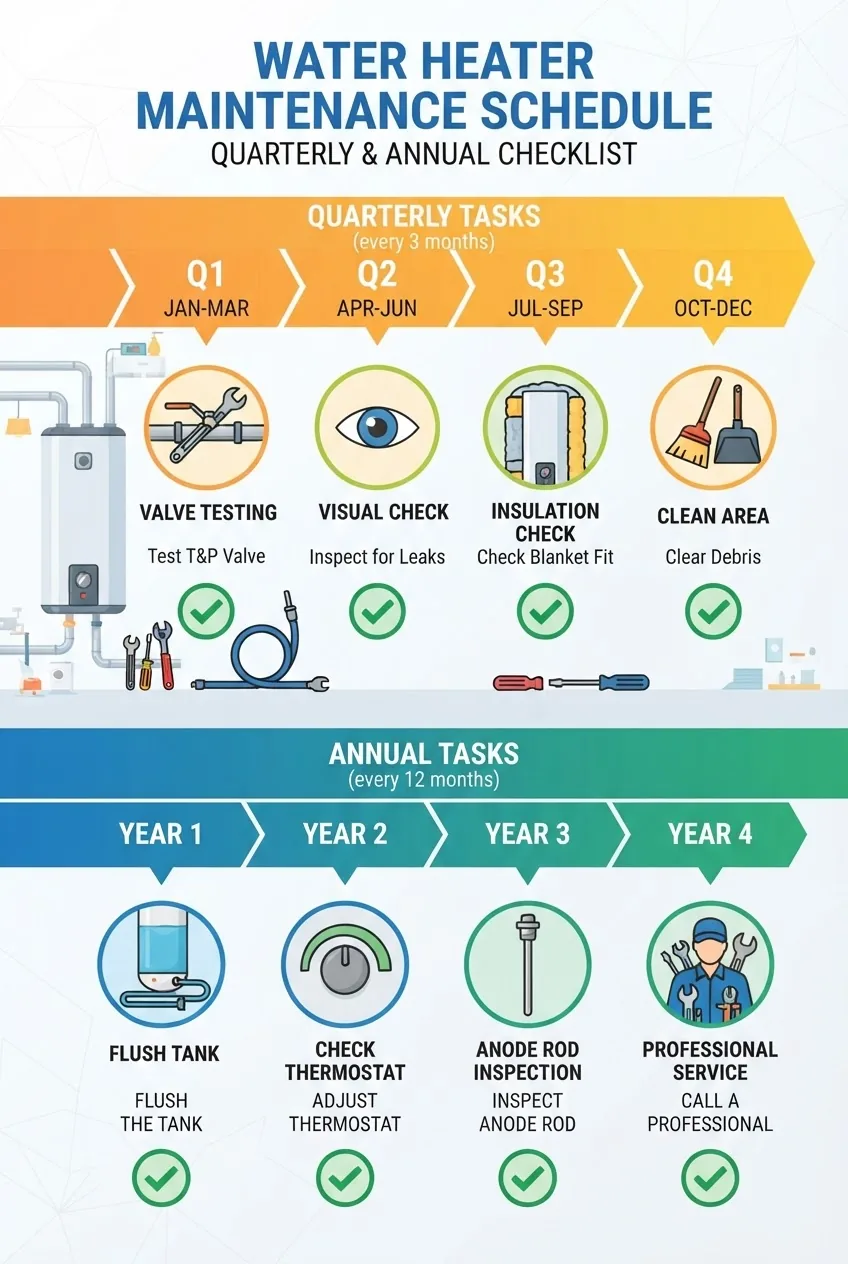
| Frequency | Tasks | Notes |
|---|---|---|
| Monthly | Visual leaks check, listen for unusual noises, verify thermostat setting | Quick 5–10 minute walk-around |
| Quarterly | Test T&P valve, inspect fittings, check pipe insulation | Mark results in log |
| Annually | Flush tank, inspect/replace anode rod, clean burner or test elements, calibrate thermostat | Do this once per year; semi-annually in hard-water areas |
| Every 3–5 years | Replace anode rod (as needed), inspect sacrificial components | Replace earlier in severe corrosion conditions |
Sample checklist (printable):
- Monthly: visual inspection, thermostat set to 120°F
- Quarterly: test T&P, check pipes & insulation
- Annually: flush tank, inspect anode, clean burner/elements, verify venting
- Record date and results in logbook
Following a fixed schedule also helps when comparing service options; if you prefer a vendor to handle tasks, see our contractor service guide and consider combining water heater checks with an HVAC maintenance contract for efficiency.
Frequently Asked Questions About Water Heater Maintenance
Below are direct answers to the most common questions homeowners ask about water heater upkeep.