
By the end of this guide on 7 home fixes you must complete before selling, you’ll have a prioritized, step-by-step plan to complete the seven highest-impact repairs, an estimate of time and costs, and a clear decision rule for DIY vs. hiring pros. Realistically this work takes 1–6 weeks depending on scope; skill level assumed is confident DIY for basic cosmetic and leak fixes, and willingness to hire licensed trades for structural, electrical, and major HVAC work.
Introduction: Why Repairing Before Selling Matters
Making targeted repairs before listing is one of the fastest ways to improve buyer perception and increase final sale price. The phrase home resale value matters because buyers mentally deduct repair costs when they preview a property; addressing the right items removes negotiation leverage and speeds closing. According to a 2024 National Association of Realtors report, homes with corrected inspection-identified defects sell faster and for an average of 3–5% more than comparable unrepaired listings — a meaningful premium for most markets. National Association of Realtors
Quick stat: According to a 2024 industry report, buyers reduce offers by an average of 3–5% when inspector findings are unaddressed.
Repair work also shortens the selling timeline because fewer post-inspection negotiations and fewer last-minute lender or escrow hold-ups occur. Before you dive in, review your home’s last maintenance records and consider a pre-listing inspection so you prioritize high-impact items early.
For a broader annual and monthly program that sustains value year-round, see Complete Home Maintenance Checklist for Yearly and Monthly Care.
Before you start
- Documents: recent inspection reports, warranty papers, appliance manuals.
- Tools: adjustable wrench, plumber’s tape, digital moisture meter, non-contact voltage tester, socket set, paint supplies (roller, 2″ sash brush), pry bar, shop vacuum.
- Materials: plumber’s epoxy putty, replacement faucet cartridges, HVAC filter (MERV 8–11), touch-up paint, wood filler, door hardware screws, basic cleaning supplies.
- Safety gear: safety glasses, work gloves, N95 mask for dust/mold cleanup, circuit tester for electrical checks.
- Pre-listing action: schedule a pre-listing home inspection if you want an objective prioritized repair list.
The 7 Home Fixes You Must Complete Before Selling
This numbered, prioritized list focuses on repairs that materially affect buyer perception, code compliance, and resale value. Each entry explains why it matters, what to check, quick how-to or decision rules, and the expected impact on sale outcomes. For baseline inspection tasks and deeper itemization, consult the comprehensive maintenance inspection checklist.
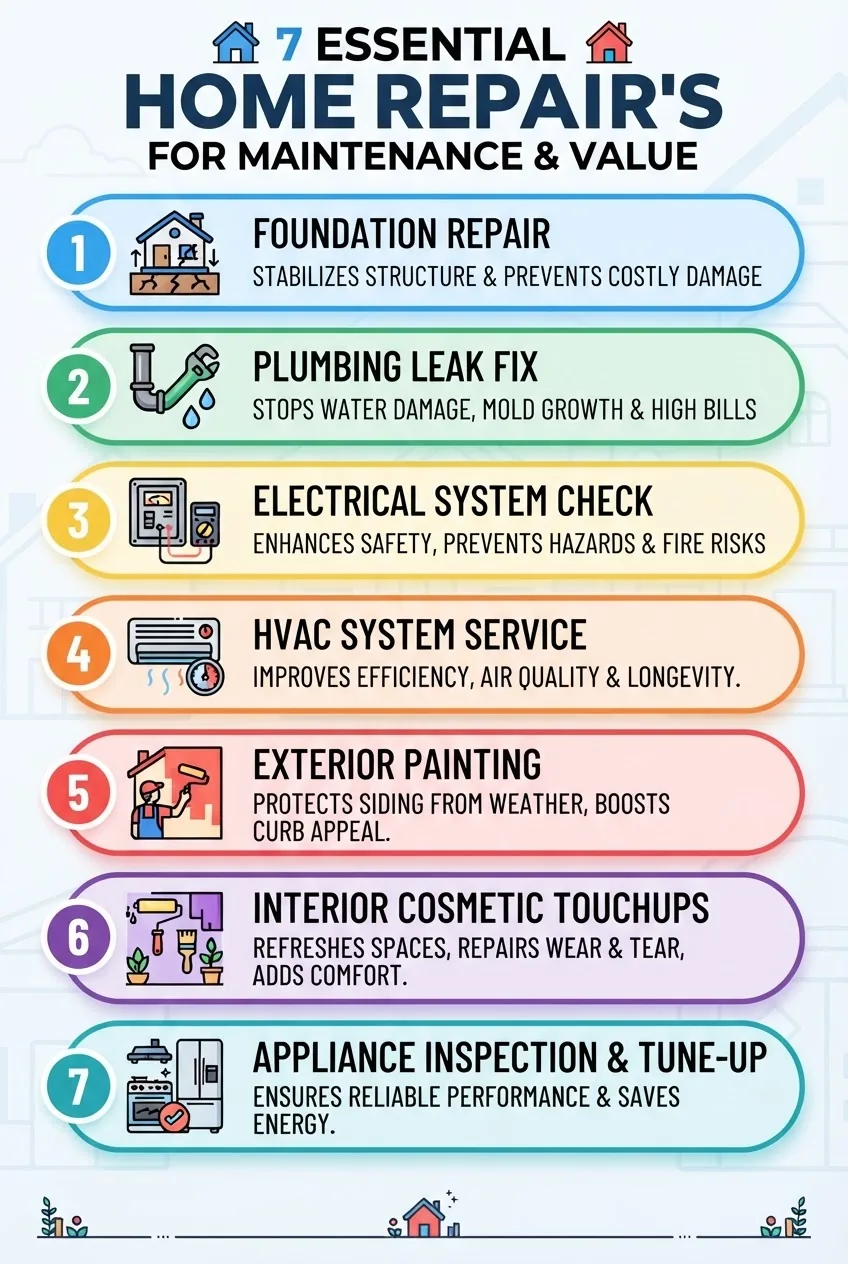
1. Fix Structural Issues and Foundation Problems
Why it matters: Structural integrity and foundation settling are red flags for buyers and underwriters. Small cracks can be cosmetic, but active settling, bowing walls, or uneven floors indicate serious risk. According to a 2024 building safety overview from a national housing authority, unresolved foundation problems can delay financing and reduce offers significantly. HUD
How to verify and act (step-by-step):
- Inspect visible foundation walls in basement/crawlspace for horizontal cracks wider than 1/4″ or stair-step cracks in brickwork. Use a digital moisture meter to detect dampness near cracks.
- Measure floor levelness with a 4-foot level or laser level; note areas with >3/8″ drop over 6 feet (industry threshold for settlement concern).
- Document all findings with photos, dates, and measurements for buyer transparency.
- Repair minor hairline cracks with epoxy or polyurethane injection for hairline cracks; hire a licensed structural engineer and foundation contractor for active settling or larger cracks. Ask contractors for a written scope and expected lifespan of repairs.
Risk explanation and ROI: Structural fixes can be expensive — from a few hundred dollars for surface repairs to $5,000–$30,000+ for underpinning or major stabilization. But leaving them unaddressed commonly results in a larger negotiated price reduction or failed financing. Real homeowner example: I worked with a seller who spent $12,000 on underpinning and foundation waterproofing and received a 6% higher sale price in a competitive suburban market.
For a complete pre-listing inspection to spot these issues early, see the comprehensive maintenance inspection checklist.
2. Repair or Replace Leaks in Plumbing and Faucets
Why it matters: Water damage leads to mold, staining, and structural rot — problems buyers dread. Leaks also signal deferred maintenance.
Checklist to find and fix leaks:
- Run every faucet for 60 seconds and inspect under sinks for dripping or moisture; tighten connections and replace cartridges if flow is weak or spongy.
- Check visible supply lines and exposed waste pipes for corrosion or weeping; replace braided supply lines older than 10 years.
- Inspect behind appliances (dishwasher, washing machine) for pooling; replace rubber hoses with stainless braided hoses and install a shutoff valve if absent.
- Test toilets for silent leaks using a few drops of food coloring in the tank; color in the bowl after 10 minutes indicates a flapper or seal failure.
- Examine the water heater for a visible drip at the pressure relief valve and pooling at base; flush sediment annually and replace water heaters over 12–15 years.
How-to quick repairs (DIY-friendly):
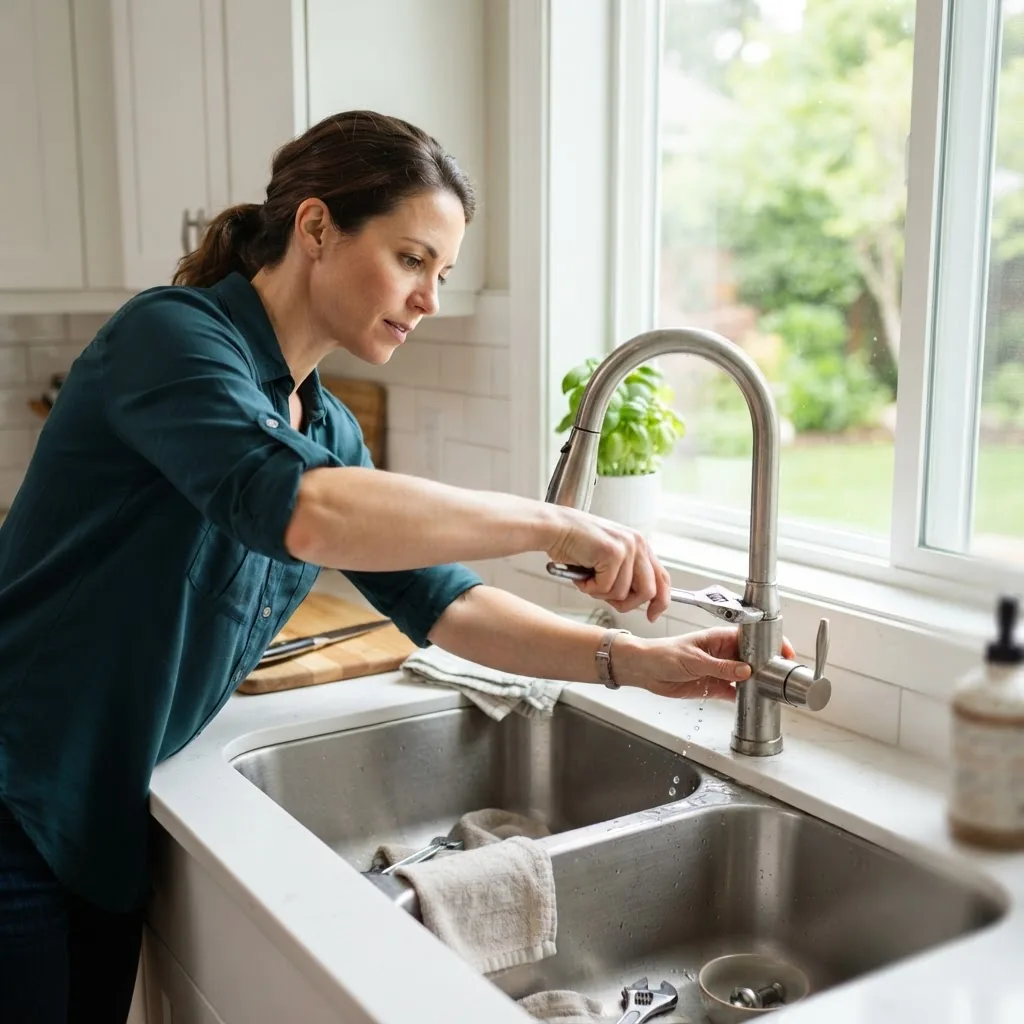
- Replace faucet cartridges (most single-handle faucets): turn off water, remove handle, swap the cartridge, test for leaks — 15–30 minutes per faucet.
- Tighten drain connections under sinks using an adjustable wrench and plumber’s tape; avoid overtightening plastic threads.
- Replace toilet flapper — low-cost fix ($10–20) that stops phantom leaks.
When to call a pro: hidden slab leaks, recurring leaks after visible repairs, or any repair requiring opening of walls or slab work. For standards and health-focused inspection items relating to moisture and indoor safety, consult the healthy homes assessment checklist.
3. Address Electrical System Safety and Functionality
Why it matters: Electrical faults present safety and insurance risks. Buyers and home inspectors look for outdated wiring (knob-and-tube, aluminum), overloaded panels, missing GFCI protection in wet areas, and double-tapped breakers.
What to check and how to act:
- Test outlets with a plug-in outlet tester; check GFCI outlets in kitchen, bathrooms, garage, and exterior for proper trip/reset functionality.
- Inspect the panel for clear labeling, evidence of overheating (blackened breakers), and whether breakers are properly sized for circuits.
- Replace cracked outlet covers, install GFCIs where missing, and ensure smoke and CO alarms have fresh batteries and are on required circuits.
DIY vs. professional notes: Use a non-contact voltage tester to verify power off before any work. Simple tasks like replacing outlet covers, swapping a GFCI receptacle (if comfortable), or changing bulbs are DIY. Anything involving panel upgrades, changing wiring, or diagnosing repeated trips should be done by a licensed electrician with state certification. According to a 2024 industry guidance on electrical safety, local building codes often require licensed trade work for modifications to main service equipment. American Society of Home Inspectors
4. Service Heating and Cooling Systems
Why it matters: A well-documented, recently serviced HVAC system reassures buyers about near-term costs and comfort. Energy efficiency also affects perceived value and monthly operating cost comparisons in listings.
How-to steps and benefits:
- Change filters to new MERV 8–11 filters; this improves airflow and shows buyers the system is maintained — 10 minutes.
- Schedule a professional tune-up (clean coils, check refrigerant charge, inspect heat exchanger) — typically 60–90 minutes; expect $80–$200 depending on region.
- Document thermostat functionality and calibrate smart thermostats; show energy-savings settings to buyers during showings.
- Check ducts at accessible registers for major dust buildup; vacuum registers and replace filters after service.
Maintenance scheduling: use a simple HVAC service cadence — service once per year for furnace and once per year for AC (spring and fall). For a ready-to-use scheduling tool, consult the maintenance schedule template for equipment.
5. Improve Curb Appeal: Exterior Painting and Landscaping
Why it matters: Buyers form impressions within seconds of seeing a property; curb appeal directly affects buyer interest and showing traffic. Simple improvements are high ROI.

Checklist and quick actions:
- Paint: touch up trim and front door; a fresh door paint coat is a 1–3 hour job and often yields large aesthetic gains.
- Lawn and beds: mow to 2.5–3″ height, edge walkways, remove weeds, add seasonal color in two focused beds.
- Walkway and mailbox: repair cracks in steps or walkway with concrete patch (small cracks under 1/2″ wide), replace missing mailbox numbers.
- Declutter: remove toys, excess planters, and old furniture before photos and showings.
Combine these repairs with a deep clean for top results; see the detailed deep cleaning house checklist for interior/exterior tasks that complement your curb updates.
6. Repair Interior Cosmetic Issues: Paint, Flooring, and Fixtures
Why it matters: Buyers mentally project themselves into spaces; visible scuffs, outdated finishes, and mismatched flooring reduce perceived value. Cosmetic work often has the best cost-to-return ratio.
Cost-benefit discussion and recommended scope:
- Paint: Repaint high-impact areas (kitchen, living room, trim) in neutral tones. Cost: DIY $200–$700 for a 2–3 room refresh; pro $800–$2,500. Return: usually recoups multiple times on buyer interest.
- Flooring: Repair hardwood scratches with wood filler and a 2-step finish for small areas; for large damaged sections, consider refinishing or targeted replacement. Cost varies: spot repairs $100–$500; refinishing $2,000–$7,000.
- Fixtures: Replace dated cabinet hardware, light fixtures, and towel bars — $10–$150 each — to modernize the look.
Practical tips: Use semi-gloss for trim for durability; when painting, allow 2–3 hours per coat for prep and 4 hours drying time between coats with standard latex paint. Stage rooms with minimal furniture and consistent finishes to maximize buyer visual appeal.
7. Ensure Appliances and Fixtures Are in Working Order
Why it matters: Buyers expect kitchen and laundry appliances to function; non-working appliances reduce offers or require seller concessions. Lenders sometimes require certain systems to be operational at closing.
Inspection and maintenance tips:
- Test all major appliances: run dishwasher, oven cycle, washer spin, dryer heat, and refrigeration for 10–20 minutes to confirm operation.
- Clean refrigerator coils and dryer vent (dryer vent cleaning prevents lint fires); document completion for buyer confidence.
- Replace any appliance older than expected lifespan for the buyer profile: refrigerators/ovens 10–15 years, washers/dryers 8–12 years. If replacement isn’t feasible, disclose age and offer a small credit.
Maintenance tips: Keep appliance manuals and service receipts available. If selling in a buyer-competitive market, consider replacing the most visible or malfunctioning appliance rather than negotiating price.
For common issues that typically surface in inspections, see common home maintenance problems to anticipate repairs.
How To Prioritize Repairs Based on Budget and Market
Transition: After listing the seven essential fixes, you need a practical framework to prioritize them based on budget, time, and local market sensitivity.
Prioritization framework (use this in order):
- Safety & code compliance first: electrical hazards, active leaks, structural issues — these block sales and financing.
- Inspection-critical items next: anything likely to appear as a condition on a buyer’s inspection report.
- High-ROI cosmetic updates: paint, curb appeal, fixtures — these increase buyer interest quickly and economically.
- Systems maintenance: HVAC service, appliance checks to avoid post-inspection surprises.
- Optional upgrades: energy-efficiency improvements (LEDs, programmable thermostats) if budget remains and your market values them.
Budgeting bullets:
- Set a “repair cap” equal to 1–2% of your list price for minor pre-sale fixes; escalate for necessary structural/system work.
- Estimate ROI: cosmetic paint and curb improvements often deliver the fastest buyer attention for $200–$2,000 investment.
- Keep a 10% contingency for hidden issues revealed during repair or inspection.
Tools and planning help: use the home maintenance projects for easier upkeep list for routine tasks that reduce long-term repair load, and schedule work using the top home maintenance apps to coordinate contractors and track expenses.
When to Call in Professionals vs. DIY Repairs
Transition: Knowing what you can realistically do yourself versus hiring licensed help protects safety and sale outcomes.
| Task | DIY? | When to hire a pro |
|---|---|---|
| Replace faucet cartridge | Yes — 15–30 minutes | Hire if concealed pipe damage or recurring leak |
| Electrical panel work | No | Always hire licensed electrician; panel modifications require permits |
| Paint touch-ups | Yes — weekend project | Hire for full-room repaint or textured ceilings |
| Foundation stabilization | No | Hire structural engineer and licensed foundation contractor |
Decision rules and resources: If the work affects safety, structural integrity, or requires a permit, hire a licensed professional. For cost-effective options, consider affordable handyman subscription services for recurring minor repairs and coordination. For DIY learning, consult the DIY home repair projects guide and a curated list of online tools at home improvement online resources.
Common mistakes and how to avoid them
I’ve seen sellers make predictable errors that hurt sale outcomes. Below are common failures and how I recommend avoiding them.
- Underestimating the inspection — I once advised a seller to ignore a small attic leak; it later showed extensive plywood rot and cost became triple the original repair. Avoidance: always address any moisture sign and document remediation.
- Over-improving for the neighborhood — I’ve watched homeowners spend $25k on high-end kitchen upgrades in a mid-market area and fail to recover costs. Avoidance: match upgrades to comparable homes’ levels; consult your agent for comps.
- Doing unsafe DIY electrical or gas work — I saw a DIY panel upgrade that left loose lugs and required an emergency electrician. Avoidance: hire licensed trades for anything behind the panel or on gas lines.
- Hiding repairs — failing to disclose past water damage led to a cancelled sale after a buyer’s discovery. Avoidance: disclose repairs and keep receipts; transparency builds trust and often avoids renegotiation.
Compact verification checklist
Use this quick checklist before listing to verify the work is complete:
- Safety items: GFCIs, smoke and CO alarms, no active leaks — tested.
- Structural: no active foundation movement; any major fixes documented.
- Plumbing: faucets and toilets fixed, appliances connected and tested.
- Electrical: labeled panel, working outlets, no visible hazards.
- HVAC: filters changed, tune-up completed, thermostat calibrated.
- Curb appeal: trim painted, lawn edged, walkways repaired.
- Interior cosmetics: fresh paint where needed, flooring repaired or staged.
- Appliances: cleaned, operating, age documented.
- All receipts and warranties organized for buyer delivery.
When to call in a professional instead
Call a licensed professional when: the repair involves structural changes, main electrical service, gas lines, slab leaks, or anywhere a permit is required. Also hire pros when time constraints demand speed and guaranteed results. For ongoing, cost-effective help, consider affordable handyman subscription services.
If you choose to DIY some tasks, always observe safety protocols, use a digital moisture meter for leak checks, a non-contact voltage tester for electrical work, and follow local building code requirements; when in doubt, hire a licensed contractor and request certificates of compliance for the buyer’s file.
Conclusion: Maximizing Sale Price with Smart Pre-Sale Repairs
Smart pre-sale repairs remove buyer objections, shorten time on market, and can increase final price. Prioritize safety and inspection-critical items first, then apply targeted cosmetic investments and system servicing. Many of these fixes are weekend DIY projects; others require licensed trades. According to a 2024 industry report, sellers who proactively addressed inspection findings closed faster and with fewer concessions. For next steps, download the monthly home maintenance checklist PDF guide and review home maintenance tips for new homeowners to keep the house in selling-ready condition.
Call to action: Start with a pre-listing inspection and choose the top two repairs from this guide to complete in week one — doing so often yields the largest early returns in buyer interest.