
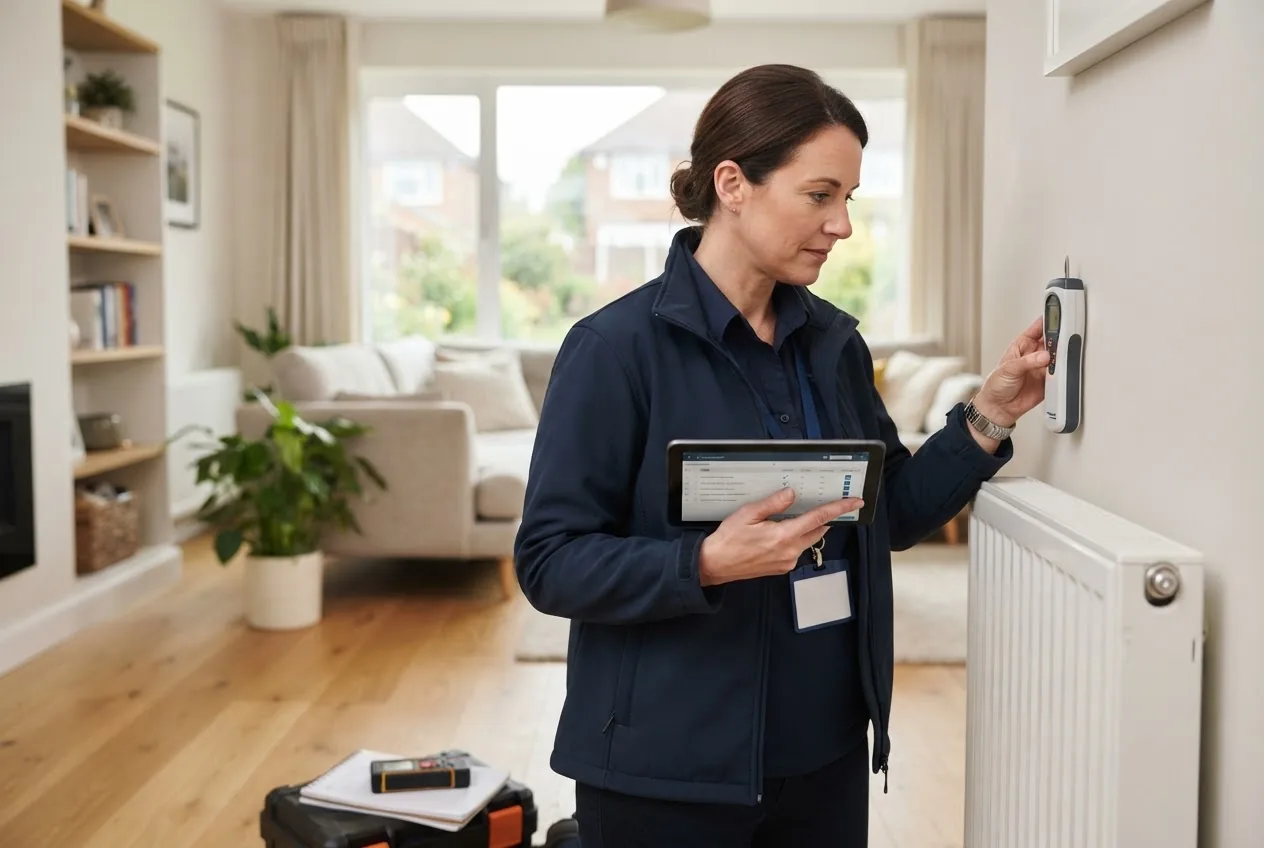
Healthy homes assessment checklist — what you will complete: a full, inspector-style review of indoor air quality, moisture, ventilation, insulation, safety systems and record keeping so you can prioritize fixes and meet healthy homes standards. Time required: a focused DIY walk-through is 3–6 hours for an average 3‑bed home; a thorough assessment with testing and documentation is 1–2 days. Skill level: basic home‑owner skills (meter reading, visual inspection, simple tools); some tasks require certified professionals.
Before you start, gather tools and materials below, then follow the numbered steps to inspect, test, document and plan repairs. The process gives you a practical, evidence-based record suitable for planning, maintenance schedules, or passing formal healthy homes compliance checks.
Before you start
- Documentation: recent utility bills, HVAC service records, building plans if available.
- Tools: flashlight, mask (N95), disposable gloves, notepad/camera, moisture meter (0–100% RH), infrared thermometer, tape measure, ladder, basic hand tools.
- Test kits: carbon monoxide meter (digital), radon test kit if regional, particulate (PM2.5) or VOC spot test kits (or a combined IAQ monitor).
- Time & safety: schedule 3–6 hours for a DIY walkthrough; ensure power off for electrical checks, and avoid confined spaces without training.
Introduction to Healthy Homes Assessment Checklist
This hands-on guide is a practitioner’s roadmap to performing a thorough healthy homes assessment checklist. You’ll learn the inspection sequence, what to look for, the thresholds that indicate problems, how to document findings, and when to escalate to certified professionals for compliance or remediation. The checklist focuses on health-related conditions — indoor air quality, moisture and mold, ventilation, thermal comfort, structural safety, hazardous materials like lead and asbestos, pests, and life-safety systems such as smoke and carbon monoxide detectors.
The checklist follows recognized inspection practices used by certified inspectors and public health programs, and it is tailored for homeowners who want to act confidently without duplicating generic deep-cleaning lists. Use the inspection results to prioritize repairs, schedule recurring maintenance, and prepare for certification or regulatory checks where applicable.
Transition: next we’ll explain the standards and framework that shape the checklist so you understand how thresholds and recommendations were chosen.
Understanding Healthy Homes Standards and Why They Matter
Healthy homes standards are frameworks and guidelines that define minimum conditions for housing to protect occupant health and safety. They combine building science (ventilation rates, thermal performance), public health evidence (disease and exposure pathways), and safety codes (detectors, structural integrity). Examples: the U.S. EPA’s Indoor Air Quality guidance, the CDC Healthy Homes Program, and inspection protocols from accredited bodies such as the International Association of Certified Home Inspectors (InterNACHI). These standards set measurable thresholds — e.g., CO levels, radon action levels, humidity ranges — that guide inspection and remediation decisions.
Why they matter: poor home conditions increase respiratory illnesses, exacerbate allergies and asthma, and can cause acute risks like CO poisoning or structural collapse. According to a 2023 public health analysis (government housing report), substandard housing contributed to measurable increases in pediatric asthma visits and allergen exposure rates in urban areas. According to a 2024 industry report (housing and health review), improving ventilation and reducing indoor humidity reduced self-reported respiratory symptoms by 20–30% in controlled homeowner trials.
Key frameworks and examples:
- EPA Indoor Air Quality guidance — use this for pollutant benchmarks and ventilation recommendations.
- CDC Healthy Homes Program — public health approaches and risk communication guidance.
- InterNACHI inspection standards — practical inspection protocols and inspector credentialing examples.
Regional regulation note: some jurisdictions use formal “healthy homes” compliance (e.g., housing quality standards) that require documentation and licensed trades for remediation — always check local housing authority rules before certifying remediation as complete. According to a 2024 industry compliance brief (regulatory bulletin), failure to follow local permit and remediation protocols can void insurance or housing assistance eligibility.
Transition: with standards in mind, the next section walks through the core components of the checklist — the detailed inspection items you will evaluate and document.
Core Components of the Healthy Homes Assessment Checklist
The checklist below is structured to be used during an inspection: inspect, test, document, rate severity (low/medium/high), and assign immediate action or schedule for repair. Use a camera and labeled photos for each item, and log meter readings into a spreadsheet or app.
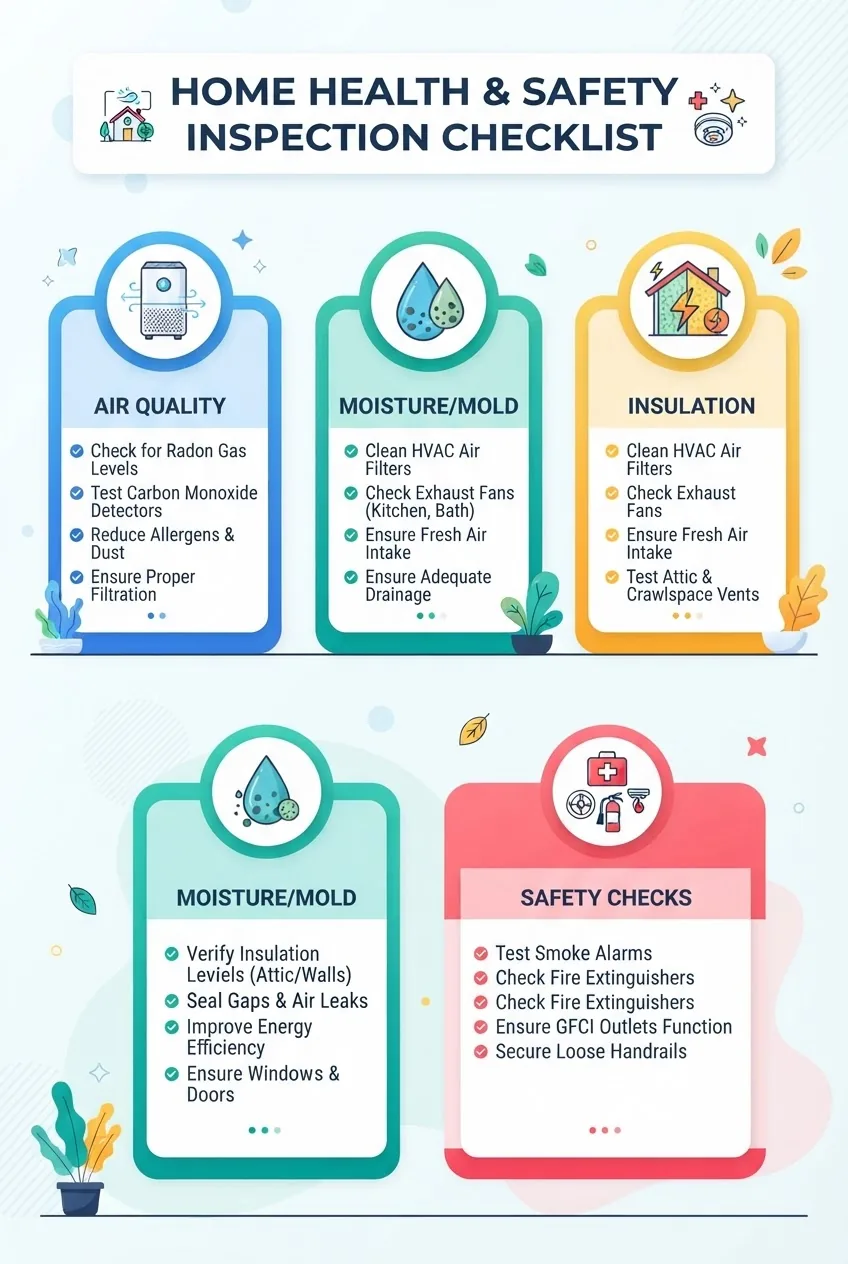
- Air Quality and Ventilation — see the dedicated H3 section below for detailed checks and thresholds.
- Moisture, Mold, and Water Damage — see H3 below for moisture meters, visual signs, and inspection locations.
- Thermal Comfort and Insulation — check attic, cavity insulation, windows and doors for drafts and U‑value concerns.
- Safety and Structural Integrity — examine roof, foundation, visible beams, electrical panels, and fire/CO detectors.
- Lead and Asbestos — identify age-based risk (pre-1978 for lead paint in many countries) and recommend testing/abatement.
- Pest Infestation Checks — inspect for droppings, entry points, and moisture-attracting conditions that harbor pests.
- Energy Efficiency and Mechanical Systems — inspect HVAC filters, duct sealing, programmable thermostats, and efficiency labels.
- Radon and Regional Gas Risks — if regional, deploy short-term and confirmatory long-term radon testing.
- Record Keeping and Certification Readiness — compile findings, photos, test results, dated invoices for any remedial work.
For readers wanting a broader building-scope inspection beyond healthy-home items, consult the comprehensive building inspection checklist for structural and systems items outside the healthy-home focus.
Also see the practical catalogue of likely defects and fixes in the common home maintenance problems and solutions.
Air Quality and Ventilation
- Measure baseline indoor particles — use an IAQ monitor to record PM2.5, PM10 and VOCs for 24 hours if possible. Thresholds: PM2.5 <12 µg/m3 (annual US EPA guideline), short-term spikes should be investigated. Document peak times and likely causes (cooking, burning, nearby traffic).
- Check CO levels — using a calibrated carbon monoxide meter, read at breathing height in bedrooms and near furnace. Action threshold: any reading >9 ppm for 8 hours or >35 ppm for 1 hour requires investigation (refer to local regulations; see EPA/CDC guidance).
- Inspect ventilation systems — confirm mechanical ventilation is operating: timed HRV/ERV systems, kitchen range hood venting to outside, bathroom exhausts. Measure air exchange where possible: target 0.35 ACH (air changes per hour) for continuous living spaces in many healthy homes frameworks; verify by following manufacturer guidance or hiring a professional for blower-door and tracer-gas tests.
- Humidity control — measure relative humidity (RH) room-by-room. Ideal RH: 30–50% (winter lower bound 30–35%, summer upper bound 50% to limit mold). Above 60% indicates active moisture control is needed.
- Allergen and pollutant source review — locate combustion appliances, unvented gas heaters, tobacco use areas, moldy materials, and garages adjacent to living spaces where VOCs may migrate.
- Filtration and HVAC — check filter MERV rating: MERV 8–11 for typical homes, MERV 13 for improved filtration where HVAC capacity allows. Replace filters every 3 months or per manufacturer.
Scientific context: According to a 2022 university study (peer-reviewed indoor air research), improved ventilation and filtration reduce indoor PM2.5 and allergen loads significantly, lowering reported respiratory symptoms by measurable percentages.
Moisture, Mold, and Water Damage Inspection
Place special focus on basements, crawlspaces, roof penetrations, plumbing junctions, and window sills. Use a moisture meter and IR thermometer to spot hidden condensation or cold bridges.
- Visible signs — note discoloration, peeling paint, bulging drywall, musty odor, and active drip stains. Photograph and date-stamp each area.
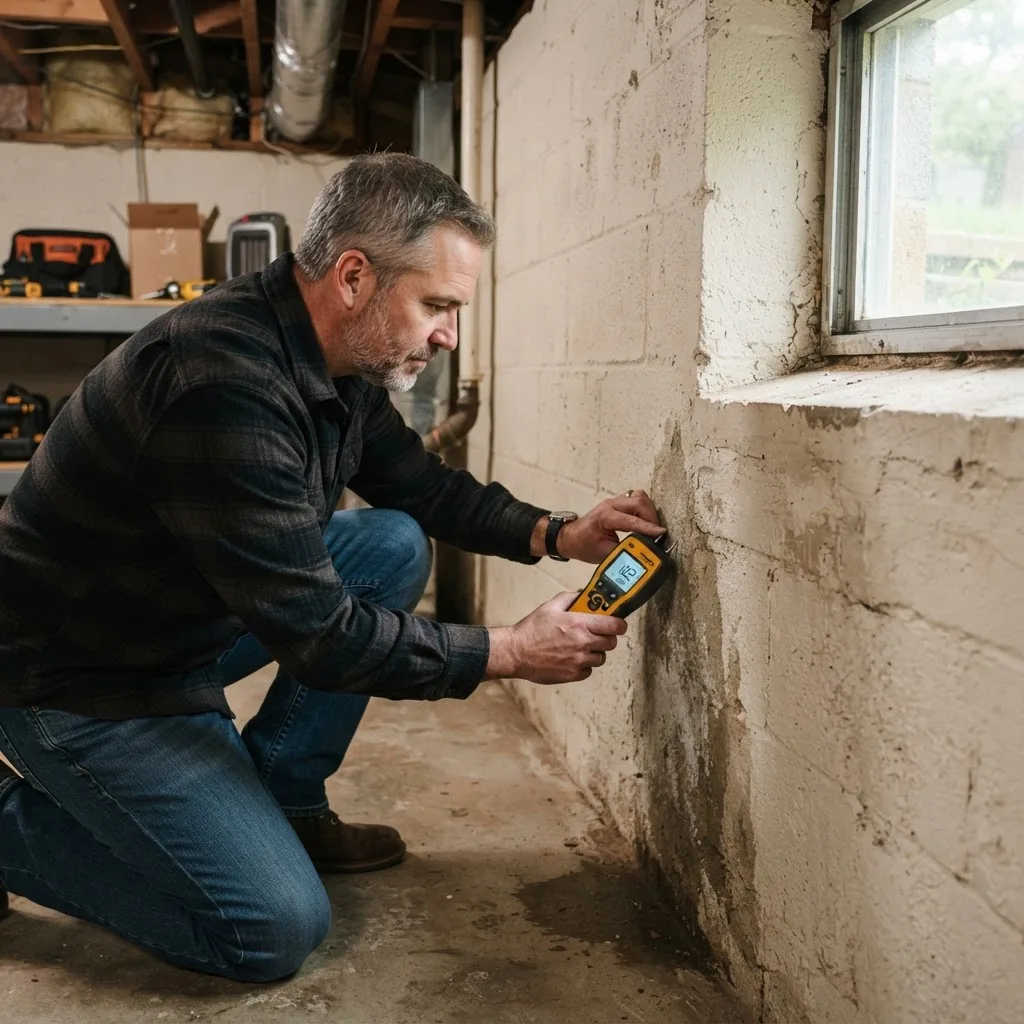
- Measure moisture — use a pin or pinless moisture meter: >16–18% in wood or >5 points above ambient indicates elevated moisture; document meter model, measurement location, and reading.
- Check plumbing and fixtures — inspect under sinks, behind toilets, around water heaters, and at appliance connections for weeps, loose fittings, and corrosion.
- Inspect roof and attic — look for roof leaks, stained sheathing, or blocked vents. Check attic insulation for wet spots; wet insulation loses R-value and needs replacement.
- Perimeter drainage — confirm gutters, downspouts, and grading direct water away from foundations; standing water within 2 meters (6 ft) of the foundation often indicates drainage correction is needed.
- Remediation plan — for active mold or water intrusion, isolate the area, limit airflow to occupied zones, and follow remediation protocols: dry to <20% moisture content, remove contaminated porous materials, and fix the source. For guidance on cleaning to prevent recurrence, see the deep cleaning checklist for mold prevention.
- Basement/crawlspace specifics — use a dehumidifier to maintain RH <50%, check for vapor barriers, and ensure vents are not blocked. If hydrostatic pressure is present, consult a contractor for drainage and sump solutions.
For daily and weekly routines that limit moisture buildup, refer to cleaning checklist templates.
Thermal Comfort and Insulation
- Inspect attic and wall insulation — measure insulation depth: fiberglass batt typical R-values (R-13 ≈ 3.5 in; R-38 in attics ≈ 12–14 in). Identify gaps, compression, and missing insulation around penetrations.
- Identify heat loss areas — use IR thermometer to find surface temperature differences; windows and door gaps showing >5°C (9°F) difference from wall surfaces indicate air leaks.
- Window sealing and weatherstripping — check seals: replace weatherstripping on exterior doors if compression is lost; caulk gaps >1/8″ (3 mm) around fixed frames.
- Thermostat and system efficiency — verify programmable thermostat is set for setback schedules (e.g., 7–10°F setback for 8 hours at night) and schedule annual HVAC tune-ups.
Practical tip: sealing and insulation upgrades that increase envelope tightness should be paired with ventilation improvements (HRV/ERV) to maintain healthy air exchange.
Safety and Structural Integrity Checks
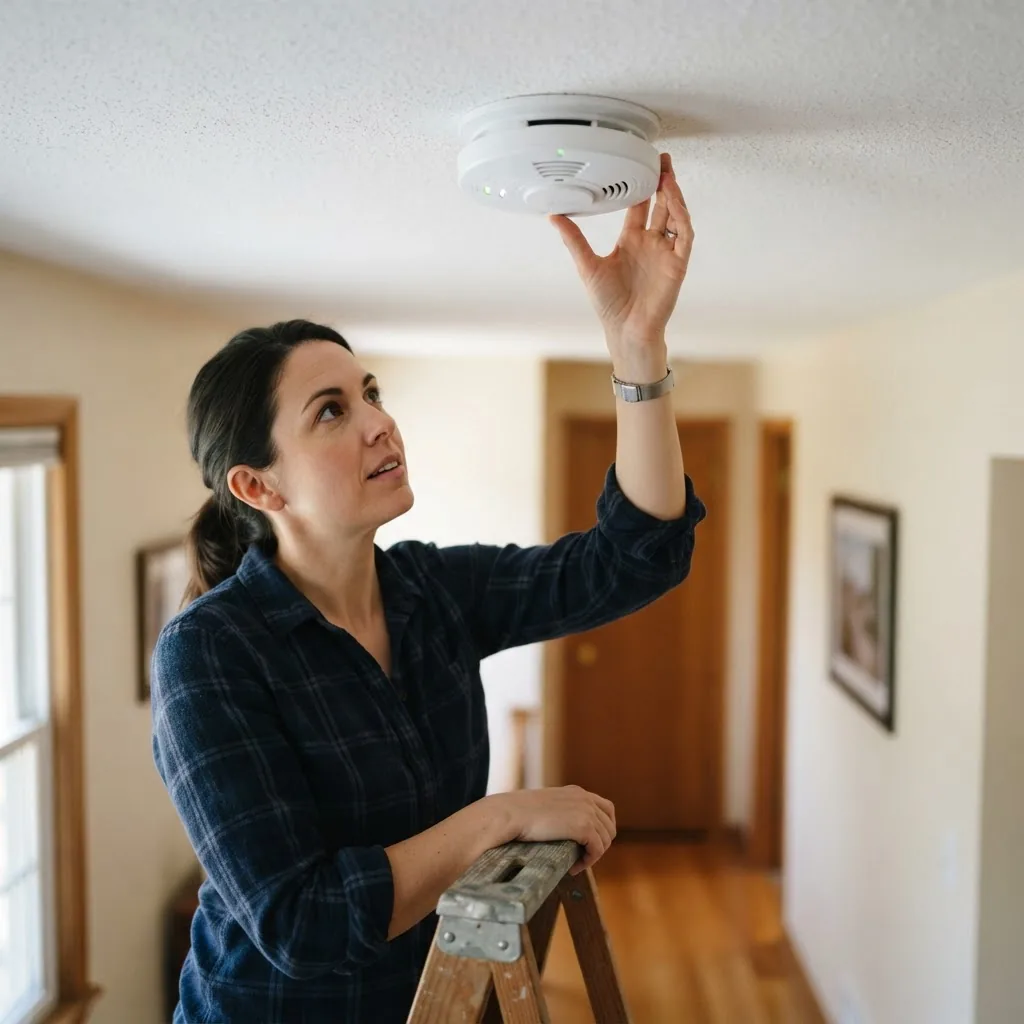
- Inspect smoke and CO detectors — test each detector, replace batteries annually or use recommended life-cycle for sealed units. Replace smoke alarms older than 10 years and CO alarms older than 7–10 years depending on model. Place CO detectors on each level and within 5–20 feet of sleeping areas.
- Electrical safety — check service panel for double-tapped breakers, missing covers, and signs of overheating (discoloration, burning smell). For any wiring work, hire a licensed electrician.
- Fire hazards — inspect chimneys and flues for creosote, ensure portable heaters have clearances, and verify household fire extinguisher location and charge date (class ABC recommended).
- Structural damage — look for sagging floors, large cracks in load-bearing walls (vertical stepped cracks in masonry or >1/4″ horizontal), or bowing foundations; document with photos and refer severe findings to a structural engineer.
Hands-on safety check: when testing detectors, record model, manufacture date, and test results; create a reminder for replacements in your maintenance schedule.
Transition: next is a step-by-step how-to for conducting the full inspection, with practical sequencing, documentation, and decision rules.
How to Conduct a Healthy Homes Inspection: Step-by-Step Guide
Expected outcome: by following these steps you will create a documented inspection file with prioritized repairs and a maintenance plan. This section is the practical core and is presented as numbered steps for field work. Each step opens with an action-first bold phrase and includes concrete timings, settings, and thresholds.
- Prepare the property and records (30–45 minutes).
Collect utility bills (12 months), previous inspection reports, HVAC manuals, and occupant notes (odor, symptoms). Walk through the home with lights on and note unusual odors. Photograph the exterior and interior baseline views. Create a folder named “HealthyHome-YYYYMMDD”.
- Perform an exterior inspection (20–40 minutes).
Walk the perimeter: check grading, gutters, downspouts, roofline for missing shingles, and visible foundation cracks. Measure distance of standing water to foundation; flag any pooling within 6 ft (2 m). Record gutter flow problems and take photos for each issue.
- Inspect basements and crawlspaces (30–60 minutes).
Use flashlight and moisture meter. Test concrete walls and exposed joists: readings >16% require drying/remediation. Check for vapor barrier presence; gaps larger than 10 cm (4 in) should be noted. If a sump pump exists, test operation and battery backup. Sample task: place moisture meter on several locations every 1–2 m (3–6 ft) and log readings.
- Assess HVAC and mechanical systems (30–60 minutes).
Document age and filter MERV rating. Measure supply and return temperatures with an IR thermometer; a delta-T (supply minus return) outside manufacturer ranges (typically 15–20°F / 8–11°C for AC) indicates service need. Inspect duct seams for gaps; any visible gap over 1 cm requires sealing with mastic or foil tape.
- Test indoor air quality and combustion safety (2–24 hours depending on testing).
Place IAQ monitor in main living area and bedroom for at least 24 hours to capture daily fluctuations. Use a CO meter to measure while appliances are running; record highest reading. If radon testing is required in your region, deploy a short-term kit for 2–7 days, then schedule confirmatory long-term testing if results exceed local action levels.
- Perform room-by-room checks (60–120 minutes total).
Bedrooms: verify escape routes, detector coverage, humidity and ventilation. Kitchens: check range hood exhausts vent to exterior, inspect under-sink plumbing for leaks. Bathrooms: run exhaust fans for 10 minutes and measure airflow if possible (target 50–100 CFM for typical fans). Living spaces: check carpets for staining and damp spots, and document any mold-like growths.
- Inspect attic and roof (30–60 minutes).
Check insulation depth and continuity, roof deck stains, and soffit/roof vents. Measure insulation depth and calculate approximate R-value using manufacturer or common conversion charts: e.g., loose-fill fiberglass at 12 inches ≈ R-38. Note any compressed or wet insulation for replacement.
- Document hazardous materials and occupant risk (20–30 minutes).
Note the age of paint and materials (pre-1978 = potential lead paint risk), inspect textured ceilings or insulation for suspect asbestos-containing materials, and recommend testing performed by licensed labs for confirmation. For pest signs, log droppings, gnaw marks, and entry points with photos.
- Score and prioritize findings (45–90 minutes).
Assign each finding a severity: Low (monitor, seasonal maintenance), Medium (repair within 3 months), High (immediate action within 48 hours). Example: active mold growth or CO >35 ppm = High; single window draft = Low. Create a prioritized repair list with estimated costs or referral to professionals where appropriate.
- Create the maintenance and follow-up plan (30–60 minutes).
Compile the inspection file: photos, meter readings, dates, and priority list. Set reminders for re‑inspection of Medium items in 3 months and Low items on a 6–12 month schedule. Use a maintenance app or spreadsheet to track tasks, dates, and invoice attachments.
- Communicate findings and next steps (15–30 minutes).
Share a one-page summary with occupants or stakeholders that includes immediate health risks, interim actions (e.g., increase ventilation, stop using gas oven for heat), and recommended trades. If you find remediation beyond DIY scope, list licensed contractors and expected permits.
For prioritizing repairs when preparing to sell, see our guide on repair guidance before selling your home.
Using the Healthy Homes Assessment Checklist for Ongoing Maintenance and Repairs
After inspection, convert findings into scheduled tasks with dates, responsible party, and cost estimates. A maintenance cadence example: immediate fixes (0–48 hours), short-term repairs (within 3 months), medium-term upgrades (3–12 months), and long-term projects (1–5 years). For organizing recurring tasks, integrate this inspection into your yearly and monthly maintenance program and link to the broader pillar resource Complete Home Maintenance Checklist for Yearly and Monthly Care.
Practical recurring checklist suggestions:
- Monthly: test smoke/CO detectors, check HVAC filter status, check for new stains or odors.
- Quarterly: inspect roofline, gutters, and basement for moisture; run IAQ spot checks.
- Biannual: service furnace/AC, clean range hood grease traps, check exhaust fan performance.
- Annual: deep-clean carpets and ducts as needed; perform radon or full IAQ retesting if initial readings were borderline.
To handle recurring or minor repairs identified during assessment, consider partnering with local providers or subscription services. For cost-effective recurring repairs and small jobs, evaluate affordable handyman services, and for DIY options see DIY home repair projects.
For planning periodic improvement projects that reduce future maintenance, consult home maintenance projects for efficient upkeep and use a maintenance schedule template to assign dates and reminders.
Tools and Resources for Healthy Homes Assessment
Equip your inspection toolkit with affordable and accurate devices. Below are recommended tools and short descriptions of their use. For online help and contractor searches, see our curated resources link at the end of the list.
- Moisture meter — pin or pinless meter for wood, drywall and masonry; document brand/model and readings. Pinless models are non-destructive but confirm with pin meters when necessary.
- IAQ monitor — combined PM2.5, CO2, temperature and RH monitors are convenient; run for 24 hours to reduce false negatives.
- Carbon monoxide meter — digital meter with data logging; test near combustion appliances and sleeping areas.
- Radon test kits — short-term kits (2–7 days) for initial screening; if result exceeds local action level, follow with long-term testing or professional mitigation.
- Infrared thermometer — surface temperature checks to find thermal bridges and drafts; accuracy ±1–2°C is acceptable for home use.
- Combustion analyzer — for professionals assessing furnace or boiler operation (not typically needed for DIY).
- Basic toolkit — flashlight, camera, tape measure, ladder, gloves, and protective mask (N95) for dusty areas.
- Apps & software — inspection apps to log photos and readings reduce transcription errors and help generate reports quickly. See recommended home maintenance apps and broader online home improvement resources.
When sourcing equipment, verify calibration and read lab or manufacturer guidance for repeatable results. For analytical testing (lead paint, asbestos, mold species, radon lab confirmation), use accredited laboratories and licensed samplers per local regulations.
Common mistakes and how to avoid them
I once relied on a single short-term PM2.5 reading taken during a low-activity period and missed daily cooking spikes; now I always run IAQ monitors for 24 hours. I have seen homeowners seal envelopes after insulation upgrades without adding controlled ventilation — that created stale air and higher CO peaks; always plan ventilation alongside sealing. I have also seen moisture meters used on painted surfaces without noting the influence of paint; I record substrate type and take multiple readings per location.
Compact verification checklist
| Item | Pass Criteria |
|---|---|
| IAQ monitor 24-hr PM2.5 | PM2.5 peak <35 µg/m3, 24‑hr mean <12 µg/m3 |
| CO detector readings | <9 ppm continuous, <35 ppm max short-term |
| Relative Humidity | 30–50% in living spaces |
| Moisture Meter | Wood/drywall <16–18% or <5 points above ambient |
| Smoke/CO Alarms | Tested, within service life, placed per guidelines |
When to call in a professional
Call a licensed professional for any of the following: persistent elevated CO readings (>35 ppm short-term), confirmed radon above local action level, suspected asbestos or lead requiring abatement, structural issues (foundation movement, large cracks, sagging structural members), widespread mold (>10 sq ft per EPA guidance for remediation), or complex HVAC and combustion diagnostics. For lead, asbestos, and mold testing use accredited labs; for structural and electrical hazards hire a licensed engineer or electrician.
Transition: final section summarizes the path forward and connects you to deeper resources and templates for maintenance and certification readiness.
Summary and Next Steps: Ensuring Your Home Meets Healthy Home Standards
What you accomplished: you completed a field-ready healthy homes assessment checklist, documented readings and photos, prioritized repairs, and created a follow-up schedule. Next steps: implement High-priority fixes immediately (safety and moisture controls), schedule Medium items within 3 months, and plan budget for long-term upgrades such as improved insulation or mechanical ventilation.
Download and file your inspection records, and set calendar reminders for rechecks. If you aim to meet formal healthy home certification or regulatory compliance, gather invoices and test reports and consult your local housing authority for documentation requirements.
Further help: to organize your recurring tasks and annual calendar, use the Complete Home Maintenance Checklist for Yearly and Monthly Care, and consider recurring support from subscription services or contractors: affordable handyman services. For small DIY items, review our DIY home repair projects and planned tasks in home maintenance projects for efficient upkeep.
Final CTA: start your inspection this weekend using the steps above, record results in a dated folder, and schedule any High-priority repairs immediately. For detailed templates and printable logs, download inspection forms and schedule templates in the maintenance resources linked above.