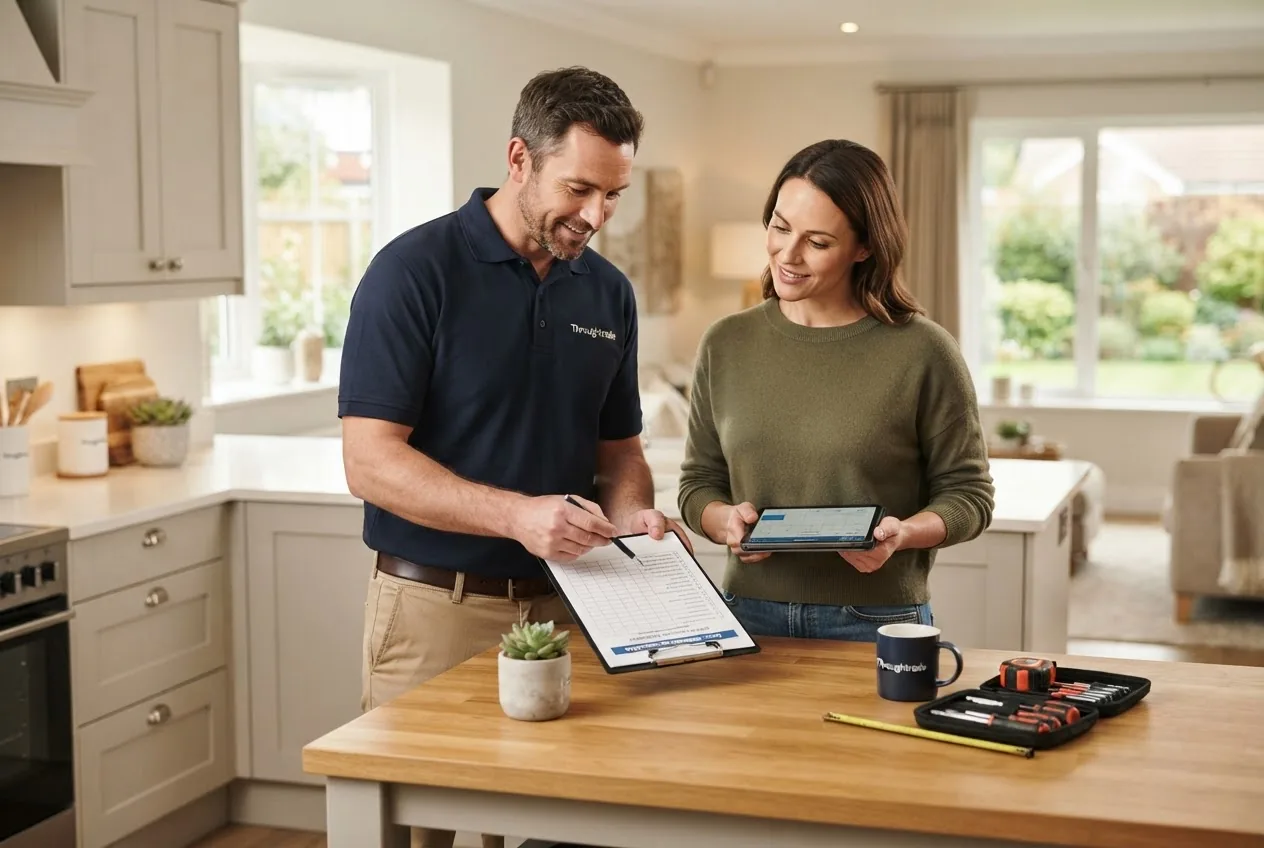
By the end of this hands-on guide you’ll have a prioritized plan and step-by-step actions to implement key easier maintenance upgrades that reduce weekly upkeep time by months’ worth of hours annually; expect to spend an initial 1–6 weekends on projects depending on scope, skill: basic DIY to intermediate handyman. This guide assumes basic home DIY skills (measuring, drilling, safety) and escalates to tasks where professional licensing is recommended.
Introduction to Easier Maintenance in Home Upkeep
The goal of easier maintenance is to intentionally choose and install home upgrades and systems that reduce recurring time, complexity and cost for upkeep over years. Think of these projects as investments that pay off like small automations in everyday life: they change repetitive tasks into occasional checks. This hands-on guide focuses on project selection, practical setup for ongoing simplicity, and measurable efficiency gains.
Preventive maintenance is the cornerstone: actions taken now (weatherproofing, durable materials, sensors) prevent frequent, time-consuming fixes later. When you plan for easier maintenance, you prioritize projects by three practical criteria: urgency (safety and code), ease (time and skill to complete), and return on investment measured in hours saved and reduced service calls. According to a 2024 industry report, homeowners who invest in targeted preventive upgrades report an average annual time savings of 60–120 hours and a 12–20% reduction in maintenance costs.
This guide covers preventive maintenance, home automation tools, low-maintenance materials, seasonal projects, energy efficiency upgrades, routine inspections, and a decision framework for DIY versus professional help so your future upkeep is simpler, faster, and more predictable.
Before you start:
- Basic tool kit: drill, impact driver, stud finder, adjustable wrench, plumber’s snake, torque screwdriver set.
- Safety gear: gloves, eye protection, ladder rated for your task, respirator for paints/sealants.
- Materials list for common projects: gutter guards, low-VOC exterior paint (1–2 gallons per 100–200 sq ft), 6–8 gutter hangers, 3–5 smart sensors (leak, temp), silicone sealant (300 ml), mildew-resistant caulk (300 ml).
- Access to your home’s manuals (HVAC, appliances) and local building codes (for permits).
- One calendar or maintenance app (paper or digital) to schedule follow-ups and reminders.
Key Home Maintenance Projects That Make Upkeep Easier and More Efficient
These projects are grouped and prioritized to maximize long-term simplicity: choose projects that eliminate recurring tasks or replace manual checks with durable solutions or automation.
-
Install high-quality gutter guards and establish a simplified gutter plan.
Why: prevents clogs, reduces fall cleanings from 3–4 times/year to once every 2–3 years. Time: 1 weekend for a single-story 2,000 sq ft house. Effort: moderate; consider a pro for 2+ story roofs.
-
Replace susceptible siding with low-maintenance materials.
Why: fiber cement or high-quality vinyl cuts repainting frequency from 5 years to 10–15 years and resists rot and pests. According to a 2023 trade durability study, fiber cement shows 35% longer lifecycle under wet climates compared to standard wood siding.
-
Upgrade to stain-resistant, waterproof flooring in high-traffic areas.
Why: reduces deep-clean time and replacement cycles. Options: luxury vinyl plank (LVP), porcelain tile; install underlayment for moisture control. Typical install time: 2–4 days for a 500 sq ft area by a two-person crew.
-
Install smart leak detectors and automatic water shutoff for plumbing protection.
Why: reduces water damage events and emergency service calls. Walkthrough below provides tools and pros/cons. Time: 1–3 hours per sensor and shutoff device; immediate ROI in avoided damage. According to a 2024 insurer report, homes with leak detection and auto-shutoff devices reduced water-loss claims by ~40%.
-
Upgrade HVAC controls and schedule regular filter and coil maintenance.
Why: smart thermostats + sensors lower runtime and balance humidity for less mold/mildew cleaning. Replace filters every 90 days (or 30–60 for pets/allergies). Time: 1–2 hours for thermostat install; filters 5 minutes per change.
-
Implement an exterior, low-maintenance landscaping plan.
Why: choose native, drought-tolerant plants, mulched beds and hardscaping to cut weekly yard time by 60–80%. Install drip irrigation with a smart controller to automate watering and reduce plant stress.
-
Weatherstrip and seal windows and doors; upgrade to dual-pane where feasible.
Why: reduces HVAC cycling and drafts, cutting energy use and frequency of HVAC service. Time: weatherstripping 1–4 hours; window replacement variable—plan professionally for structural frames.
-
Switch to easy-clean wall finishes in kitchens and baths.
Why: semi-gloss or washable paints, tile backsplashes, and beadboard panels reduce scrubbing time and repainting intervals. Combine with proper ventilation upgrades to control moisture and staining.
-
Centralize equipment access and label shutoffs and service points.
Why: quick access eliminates delays and repeated service call fees. Label water shutoffs, electrical panels, and HVAC filters with durable tags; store a printed maintenance card nearby.
-
Create a prioritized preventive maintenance list and pair items with automated reminders.
Why: turning manual memory into automated cues keeps upkeep consistent. Use an app or digital calendar with quarterly reminders for big tasks and monthly tasks for small checks.
-
Upgrade exterior paint and sealants with long-life products and proper prep.
Why: proper surface prep and high-quality primers/paints extend cycles between repaints by 2–3x. According to a 2023 materials longevity review, premium exterior paints extended maintenance intervals by 30–50% versus economy paints in similar climates.
-
Standardize fasteners and fittings when replacing fixtures.
Why: consistent screw sizes and replacement parts make future repairs faster and cheaper. Keep a small labeled kit of spare screws, valves, and O-rings near the utility area.
-
Install motion-sensor exterior lighting and sealed fixture housings.
Why: reduces bulb changes and prevents insect ingress, cutting lamp-change tasks by half. Use LED sealed fixtures rated for wet locations.
-
Adopt low-maintenance roof materials or coatings where suited to local codes.
Why: cool-roof coatings and metal roofs last longer and reduce algae growth; choose coatings that come with manufacturer maintenance guidelines and warranties to avoid improper rework.
-
Document all upgrades in a home maintenance file with receipts, warranties, and recommended intervals.
Why: saves time and prevents incorrect maintenance actions; include the appliance manual, filter types, and serial numbers for contractors and future buyers.
Exterior Maintenance Projects for Simplified Upkeep
Exterior work eliminates frequent access and cleaning tasks, and when done deliberately it reduces cumulative labor. Focus on durable materials, water management, and finishes that reduce frequency of intervention.
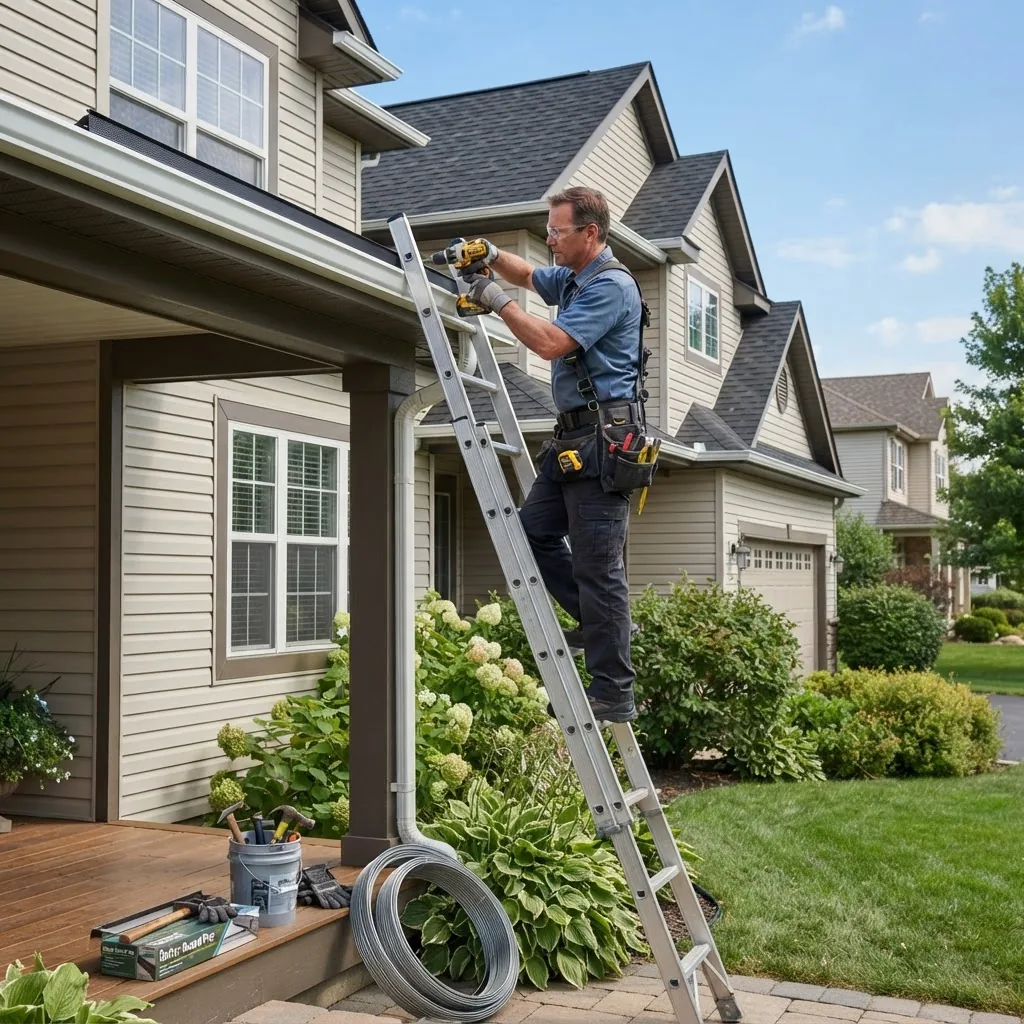
- Gutter guards: Install micro-mesh guards rated for leaf and shingle grit. Pros: reduce cleanings to once every 2–3 years for most trees. Cons: initial cost and ensure downspout access for ice in cold climates. Walkthrough: measure run length, pick 10–15% extra length, secure with 10–12″ fastener spacing.
- Durable siding materials: Fiber cement, engineered wood with factory finish, or premium vinyl with reinforced backing reduce repaint and repair cycles. Choose materials with a Class A fire rating in wildfire zones per local code.
- Weatherproofing: Replace old caulk on joints every 5–8 years; use polyurethane or high-grade silicone in exterior joints. Apply backer rod in gaps over 1/2″ before caulk to save material and reduce shrinkage.
- Landscaping for maintenance reduction: Use gravel, mulch and native groundcovers in high-traffic and slope areas. Leave at least 12″ clearance between mulch/soil and siding to avoid moisture wicking.
- Exterior paint and coatings: Use 100% acrylic exterior paints with 10–15% sheen for washability; prime bare wood with oil-based primer before topcoat in high-exposure facades.
For structural or code-sensitive exterior upgrades consult local building code guidelines; authoritative preventive maintenance standards are published by agencies such as
HUD and building industry associations like the
National Association of Home Builders.
Interior Upgrades to Reduce Routine Maintenance
Inside the home, the strategy is to limit dirt, moisture and wear on surfaces that demand frequent cleaning or repair. Upgrades should be chosen for specific high-use areas to yield the most time savings.
Select materials and systems that are easy to clean and resist common damage vectors:
- Stain-resistant flooring: LVP or glazed porcelain tile in kitchens and mudrooms; choose transition strips and underlayment that include moisture barriers. Expect to save 20–40 minutes per week in cleaning vs untreated surfaces.
- Easy-clean wall finishes: Use semi-gloss paint or washable acrylics in kitchens, hallways, and children’s rooms. Install tile wainscoting or washable panels behind heavy-use zones like stoves and sinks.
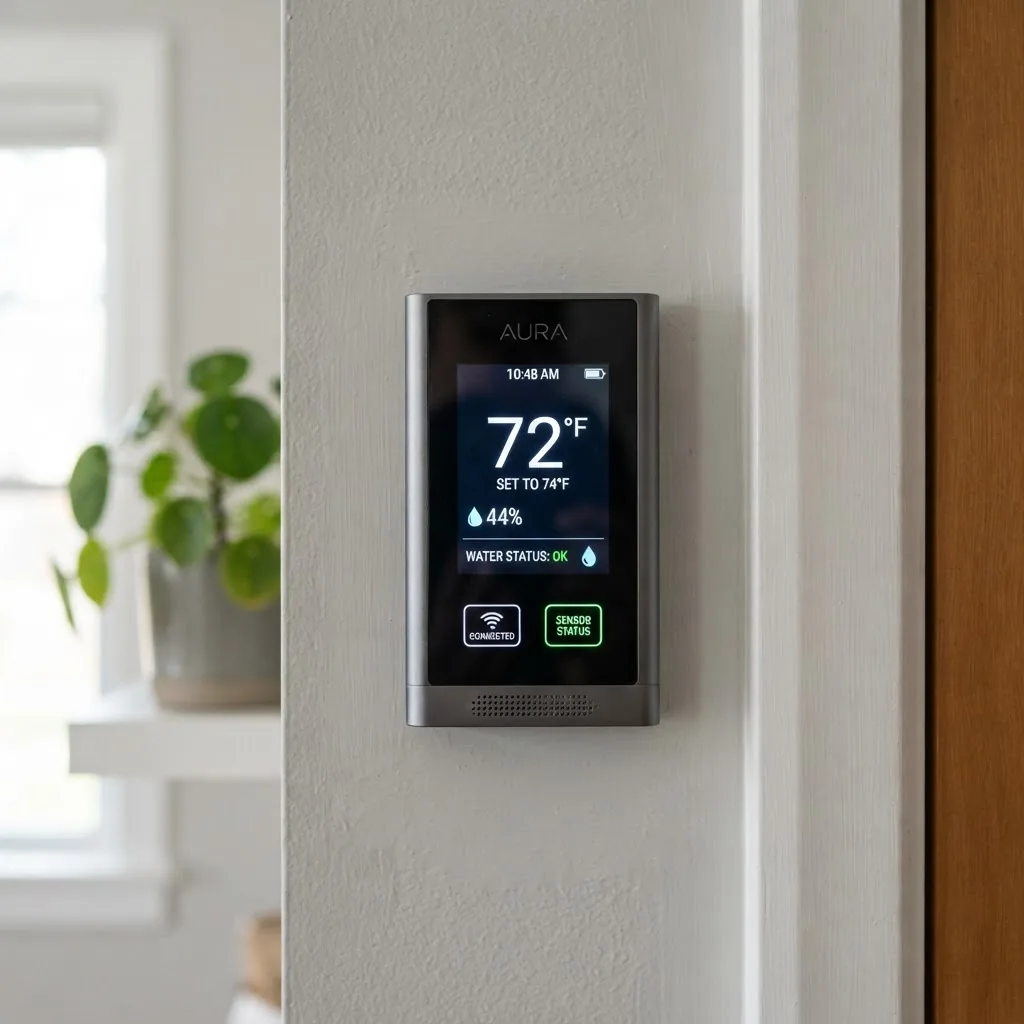
- Smart thermostats and humidity control: A smart thermostat with humidity sensors reduces mold-prone conditions. Set temperature setbacks of 3–4°F for nights and away periods and target indoor relative humidity at 40–50% to limit microbial growth.
- Moisture control in wet rooms: Upgrade ventilation fans to 80–110 CFM with timers; vent ducts directly outside. Replace grout with epoxy grout in showers to reduce staining and resealing frequency.
- Plumbing upgrades: Install pressure-balanced valves, modern ceramic disc faucets, and easy-access isolation valves for appliances to localize shutoffs and reduce full-house water disruptions.
For cleaning-heavy households, combine surface upgrades with a targeted cleaning routine. Use our deep cleaning checklist to align upgrades with tasks reduced by each change.
Also verify upgrades against health and safety standards; consult a
healthy homes assessment checklist if air quality or moisture are concerns in your region.
Smart Home Devices to Automate and Monitor Maintenance Tasks
Smart devices turn manual inspections into alerts and automate routine actions—reducing decision fatigue and cutting unplanned service calls. Focus on sensors that detect the most consequential failures: water leaks, HVAC faults, and humidity swings.
Examples of practical tools:
- Leak detectors: Place near water heaters, under sinks, by washing machines. Pair with an automatic water shutoff valve that closes at 1–2 L/min leak threshold. Walkthrough (example): test sensor alarm at install, set shutoff response delay to 10–30 seconds to avoid nuisance triggers.
- HVAC sensors: Remote sensors for temperature and humidity allow zoning and more accurate duty cycling, saving energy and reducing filter and coil cleaning frequency.
- Automated reminders: Use a maintenance app or calendar to schedule filter changes, gutter checks and caulk inspections. Many smart thermostats integrate reminders for filters every 30–90 days.
- Smart irrigation controllers: Connect to local weather data and set irrigation reductions during rain; pair with soil moisture sensors for best efficiency.
- Home monitoring systems: Cameras and door/window sensors reduce break-ins and identify pest entries; choose wired power for consistent uptime in key areas.
Pros: immediate alerts, reduced manual inspection frequency, data to guide priorities. Cons: upfront cost, battery changes (plan for annual battery swaps or mains-powered devices), and integration complexity. According to a 2024 energy-efficiency review, smart thermostats combined with zoning can save 8–12% on heating/cooling bills when installed and configured correctly.
Planning and Scheduling for Easier Maintenance Projects
Turning projects into lower upkeep requires a calendar with priorities, budgets and measurable follow-up. Start small, track time savings, then scale. Below are step-by-step planning actions.
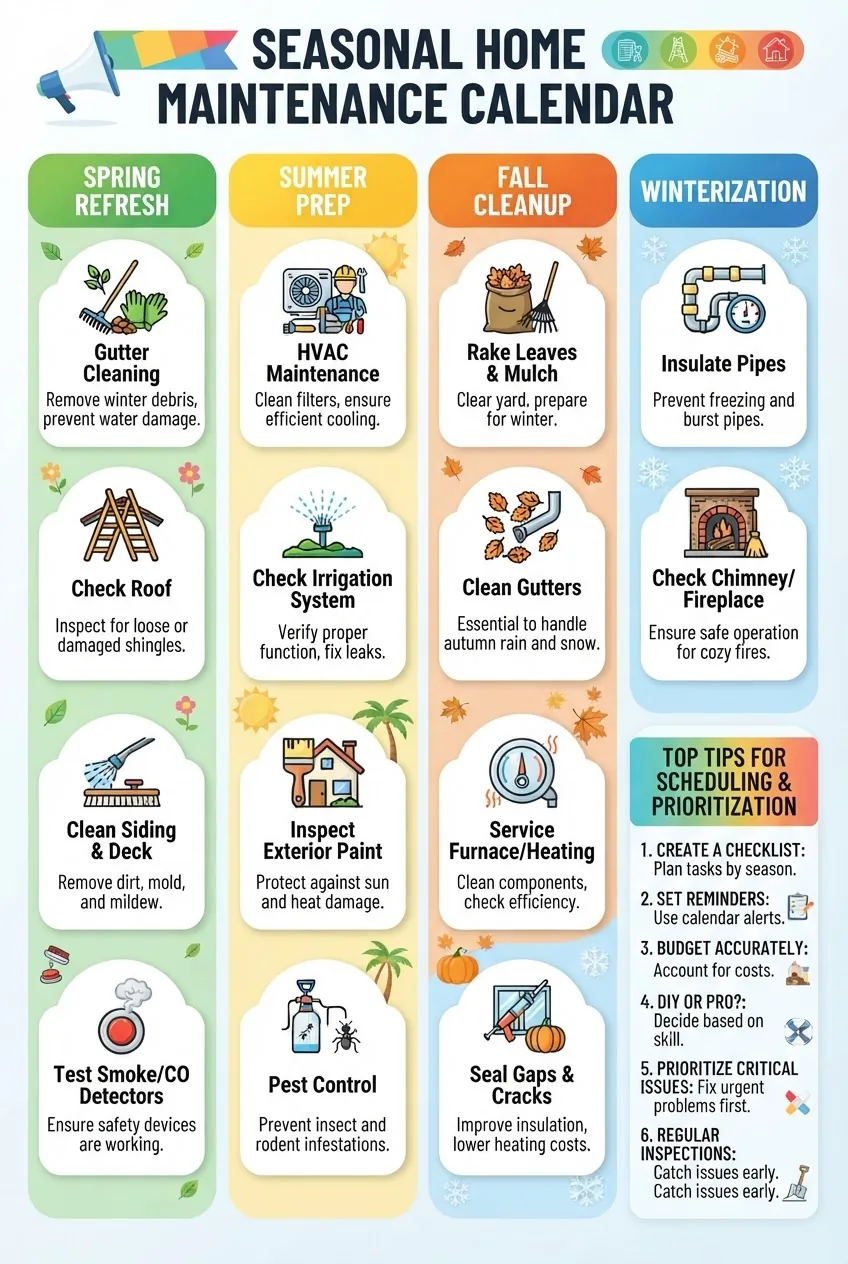
- Inventory and baseline: List equipment, materials, and known problem areas. Record current maintenance intervals and average time spent on each task for a month to create a baseline.
- Prioritize by impact and effort: Use a 2×2 grid: Urgent vs Non-urgent and Low-effort vs High-effort. Start with Low-effort/High-impact items (e.g., gutter guards, leak sensors).
- Create a seasonal maintenance calendar: Assign tasks to spring, summer, autumn and winter buckets. Place heavy exterior tasks in spring/early autumn, HVAC in autumn, roof/coating inspections in late summer.
- Set budgets and expected time: For each project, record expected materials cost and labor hours. Example: gutter guards $300–$700 for a 2,000 sq ft single-story; install 6–8 hours DIY or half-day pro.
- Assign triggers and automated reminders: For filter changes, set 90-day reminders; for gutter checks, set biannual reminders in March and October. Use a calendar app or a maintenance platform and include photos and receipts.
- Document and measure ROI: After six months, compare time spent on tasks to baseline and note issues avoided. Track savings in hours and repair costs avoided.
- Use templates and inspection checklists: Adopt a ready template to standardize follow-up tasks — our maintenance schedule template pairs well with a maintenance inspection checklist for thorough coverage.
- Allocate a recurring quarterly review: Spend one hour each quarter reviewing upcoming seasonal needs and adjusting priorities and budgets.
For a deeper, step-by-step list you can follow, complement this planning with the downloadable
Complete Home Maintenance Checklist for Yearly and Monthly Care.
Balancing DIY and Professional Help for Efficient Home Maintenance
Deciding between DIY and professional services is a mix of safety, licensing, time, and long-term maintenance simplicity. The table below helps compare typical tasks.
| Task | DIY Suitability | When to Hire Pro |
|---|---|---|
| Gutter guard install | Good for single-story; ladders and safety required | Two-story, complex roofing or near power lines |
| Smart leak sensor install | Easy; 1–2 hours | If integrating with whole-house shutoff tied to plumbing mains |
| HVAC system servicing | Basic filter change DIY | Annual coil cleaning, refrigerant issues, licensed technician for repairs |
| Siding replacement | Not recommended unless experienced | Hire a licensed contractor |
| Plumbing minor fixes (faucet washer, P-trap) | Good for most homeowners with tools | Main line issues, gas plumbing, code-required permits |
Trade-offs analysis:
- Cost vs effort: DIY reduces labor expense but can consume more time and introduce mistakes. Hire pros for licensed trades to avoid code violations and insurance issues.
- Safety and licensing: Electrical, major HVAC, and structural work generally require licensed pros. Document licenses and verify insurance before hiring.
- Subscription services: For recurring tasks or for homeowners with limited time, consider handyman subscription services for bundled cost-effective visits.
- Skill-building: Use small projects (screen replacement, filter changes, faucet washers) to build confidence. Our DIY home repair projects guide provides progressive tasks for skill development.
Common Mistakes to Avoid in Home Maintenance Projects That Aim for Easier Upkeep
- Overcomplicating projects: Adding unnecessary automation or features that increase failure points; keep systems simple and only automations that replace repeated labor.
- Using improper materials: Choosing low-cost paints or sealants that degrade quickly—spend 20–30% more on quality to gain 2–3× longer intervals between maintenance.
- Skipping inspections: Relying exclusively on automation and ignoring physical checks leads to missed wear signs; schedule quarterly visual inspections for high-risk areas.
- Ignoring manufacturer guidelines: Not following installation or maintenance intervals voids warranties and can increase failure risk—always keep manuals and warranty cards with your maintenance file.
- Poor scheduling: Doing many projects at random times increases interruptions; group exterior tasks by season and interior by low-use periods to minimize disruption.
-
Confusing sale-driven repairs with easier maintenance: Routine easier maintenance focuses on long-term simplicity, not cosmetic fixes needed for a sale; see guidance on
repair before selling for sale-focused priorities. - Letting small problems escalate: Ignoring a small leak or failing to replace a cheap filter can lead to costly repairs; refer to common maintenance problems and repairs to anticipate escalation.
Hands-On Steps: Implementing Easier Maintenance Projects
Below is a practical, ordered set of steps to move from planning to execution for a home that needs fewer weekly chores and fewer emergency fixes.
-
Step 1 — Assess and prioritize (2–4 hours):
Walk each room and exterior area with a notebook or phone. Record issues, note how often each area demands attention, and estimate time spent weekly. Mark urgent safety items. Prioritize Low-effort/High-impact projects first (gutter guards, leak sensors, smart thermostat).
-
Step 2 — Budget and schedule (1–2 hours):
Allocate a 3-month window and budget for top 3 projects. Example: gutter guards $400, 3 leak sensors $150, smart thermostat $200. Use the seasonal calendar to place exterior projects in dry months.
-
Step 3 — Prep and gather materials (3–6 hours):
Buy specified materials with 10% extra for cutting errors. Label all replacement parts and keep one spare set of common fasteners. Confirm tool availability (ladder weight rating, harness if needed for 2-story work).
-
Step 4 — Install water-protection upgrades (Gutter guards & leak detectors) (weekend project):
Gutter guards: measure run length, clean gutters, cut guards to fit, attach at 10–12″ spacing with stainless fasteners. Test water flow with hose for 5 minutes to check run-off. Leak detectors: mount on flat surface within 6″ of appliance base, test alarm for 10–15 seconds; if using auto-shutoff, follow manufacturer’s wiring or battery install and run manual open/close test.
Pros: immediate reduction in routine cleaning. Cons: check for ice buildup in cold regions—install heated gutter modules if needed.
-
Step 5 — Interior material upgrades (1–2 weekends):
Replace high-use area flooring first. Follow manufacturer acclimation (LVP: 48–72 hours in the room). Set spacers per spec (usually 1/4″–1/2″). For washable wall paint, apply primer then two coats of semi-gloss; allow 4–6 hours between coats.
-
Step 6 — Install smart controls (1–3 hours):
Smart thermostat: choose location away from direct sunlight and drafts. Install per app instructions, enable learning mode, set schedules: Home 68°F day / 62–64°F at night (winter), cooling 78°F default (summer) with 3–4°F setbacks when away. For multi-zone, add remote sensors per room plans for balanced comfort.
-
Step 7 — Implement landscaping changes (2–3 weekends):
Replace lawn patches with mulch beds and native plants. Install drip irrigation with zones: 15–25 minutes per zone, early morning schedule. Use smart controller with seasonal adjust and weather data integration.
-
Step 8 — Standardize and document (1–2 hours):
Create a folder (digital and physical) with photos, receipts, warranty info, filter sizes, and serial numbers. Place a printed maintenance card near the main panel with dates for next scheduled checks.
-
Step 9 — Test and refine (ongoing):
After 1, 3 and 6 months, note time spent on upkeep tasks and frequency of interventions. Adjust settings (thermostat setbacks, irrigation runtime) to optimize savings and comfort.
Walkthrough: Installing a Smart Leak Detector and Automatic Shutoff
Tools/materials: smart leak sensor kit, automatic ball-valve shutoff rated for household mains (¾” or 1″ depending on plumbing), adjustable wrench, Teflon tape, smartphone app.
- Shut main water off: Turn off supply and open a faucet to drain line. Time: 2–5 minutes.
- Install shutoff valve: Wrap threads with Teflon tape, mount valve on accessible section of the main or appliance isolation line. Tighten to manufacturer torque; do not overtighten. Expect 30–45 minutes.
- Mount sensor: Place on flat surface directly beneath appliance outlet (water heater, washer). Pair it to the hub/app. Test by pouring 50–100 ml of water near sensor to confirm alert triggers.
- Configure shutoff threshold: Set device to close at 1–2 L/min sustained leak or manual activation through app. Leave a 10–30 second delay to avoid nuisance shutoff from spillage.
- Test run: Simulate a leak by draining a bucket to the sensor and confirm shutoff and app notifications. Restore water and manually open valve to verify proper operation.
Pros: quick response prevents major damage. Cons: some devices require professional installation to meet local plumbing codes; always check local requirements before modifying main water lines.
Common mistakes and how to avoid them
I once installed a low-cost gutter product without confirming the roof pitch; it failed in heavy leaf fall and I had to replace it—learning: verify local conditions before buying. I also recalled not labeling shutoffs after an emergency and losing 30 minutes in a stress situation—now I always label and photograph valves. Finally, I trusted a supposedly “smart” device that required frequent battery swaps; I now prefer mains-powered or long-life battery-rated devices in critical spots.
Compact verification checklist
- Gutter guards installed and tested with 5-minute hose run.
- Leak detectors placed at each appliance and tested with simulated spill.
- Smart thermostat configured with night and away setbacks and remote sensors where needed.
- Exterior siding, paint and caulk documented with photos and warranty info filed.
- Maintenance calendar populated with quarterly, biannual and annual tasks and reminders.
- Spares kit labeled and stored near main utilities (filters, fuses, O-rings).
When to call a professional
Call a licensed professional for any work involving gas lines, major electrical changes, structural alterations, or when local code requires permits (window replacements, major roofing, significant plumbing mains changes). If a DIY project takes longer than twice the estimated time or you encounter unexpected corrosion, blackened wiring, or hidden rot behind surfaces, stop and call a pro to avoid compounding repairs.
Conclusion and Next Steps: Incorporating Easier Maintenance Projects into Your Routine
Prioritize low-effort/high-impact projects first—gutter guards, leak detection with auto shutoff, durable siding or flooring, and smart HVAC controls—to reduce recurring work and emergency fixes. Start with a 3-project plan this quarter, use the seasonal calendar and our templates for scheduling, and measure time saved over six months. Small upfront effort and modest investment in durable materials and sensors convert into consistent time savings, lower stress, and long-term cost reductions.
Ready to get organized? Download your checklist, pick your first weekend project (gutter guards or leak sensors), and schedule the follow-up checks. For comprehensive tasks, consult licensed professionals and verify local codes for permits.