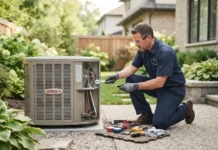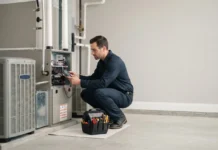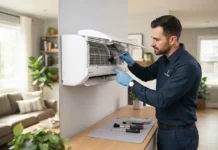
By the end of this hands-on guide you will be able to select, hire and work confidently with a professional contractor for aircon servicing or a full air conditioning installation, understand typical costs, and manage post-service maintenance. Expect to spend 2–6 hours gathering quotes and 1–3 hours preparing your home; no special trade skills required — this is written for a competent homeowner.
Before you start
- Proof of home ownership or landlord permission (if required)
- Copies of recent energy bills and any existing equipment model numbers
- Notebook or phone to record contractor names, license numbers, and quotes
- Basic tools for prep: screwdriver, level, tape (for small pre-install prep)
- Set aside a budget range: servicing $80–$300, installation $1,800–$8,000 depending on system
Start by understanding what contractors actually do and how servicing differs from installation; this clarity will make vetting and contracting much faster.
Understanding Aircon Servicing and Installation Services
A homeowner choosing between routine aircon servicing and a full air conditioning installation service needs to know the difference in scope, typical deliverables and the roles contractors will play. Think of servicing like a car tune-up: inspections, fluid checks, cleaning and minor repairs. Installation is the equivalent of replacing the engine — it’s a multi-step project that requires precise sizing, skilled labour and coordination with electrical and building code requirements.
Core service categories you’ll encounter:
- Routine servicing — filter changes, coil cleaning, fan and belt checks, refrigerant level verification, and efficiency testing.
- Diagnostic repair — troubleshooting non-cooling systems, compressor issues, or electrical faults; often billed hourly plus parts.
- Retrofit upgrades — replacing components like thermostats, indoor coils, or swapping refrigerant types when required by regulation.
- New system installation — system selection, load calculation, ductwork/external unit siting, electrical upgrades, refrigerant charging and commissioning.
- Service contracts — scheduled visits (biannual/annual), priority response, defined pricing for repairs and parts.
Service scope differences explained:
- Servicing focuses on preservation and small repairs — filter checks, condensate drain unclogs, leak detection, and system calibration. It improves efficiency and extends life.
- Installation is capital work — correct tonnage (cooling capacity), matching indoor/outdoor unit pairings, duct sizing, and ensuring electrical capacity and safety compliance.
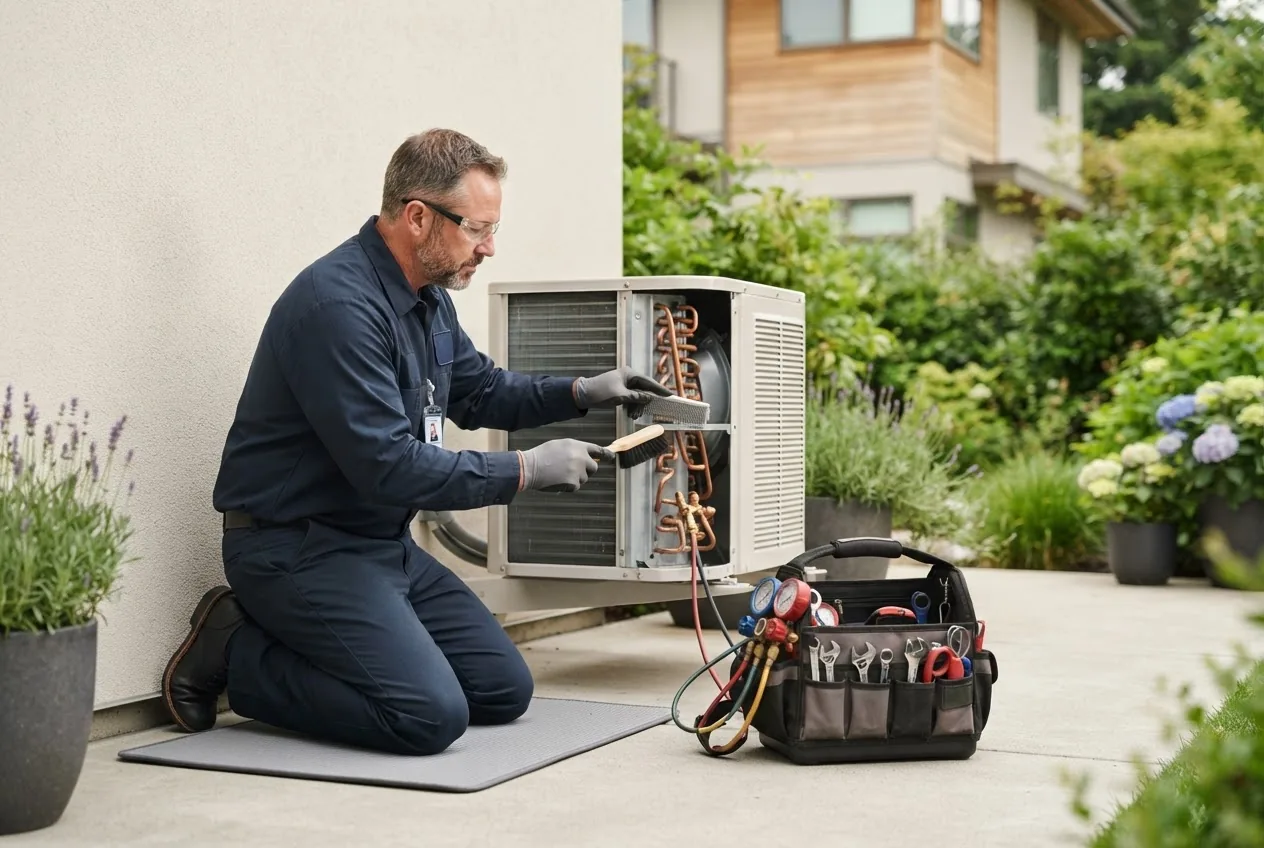
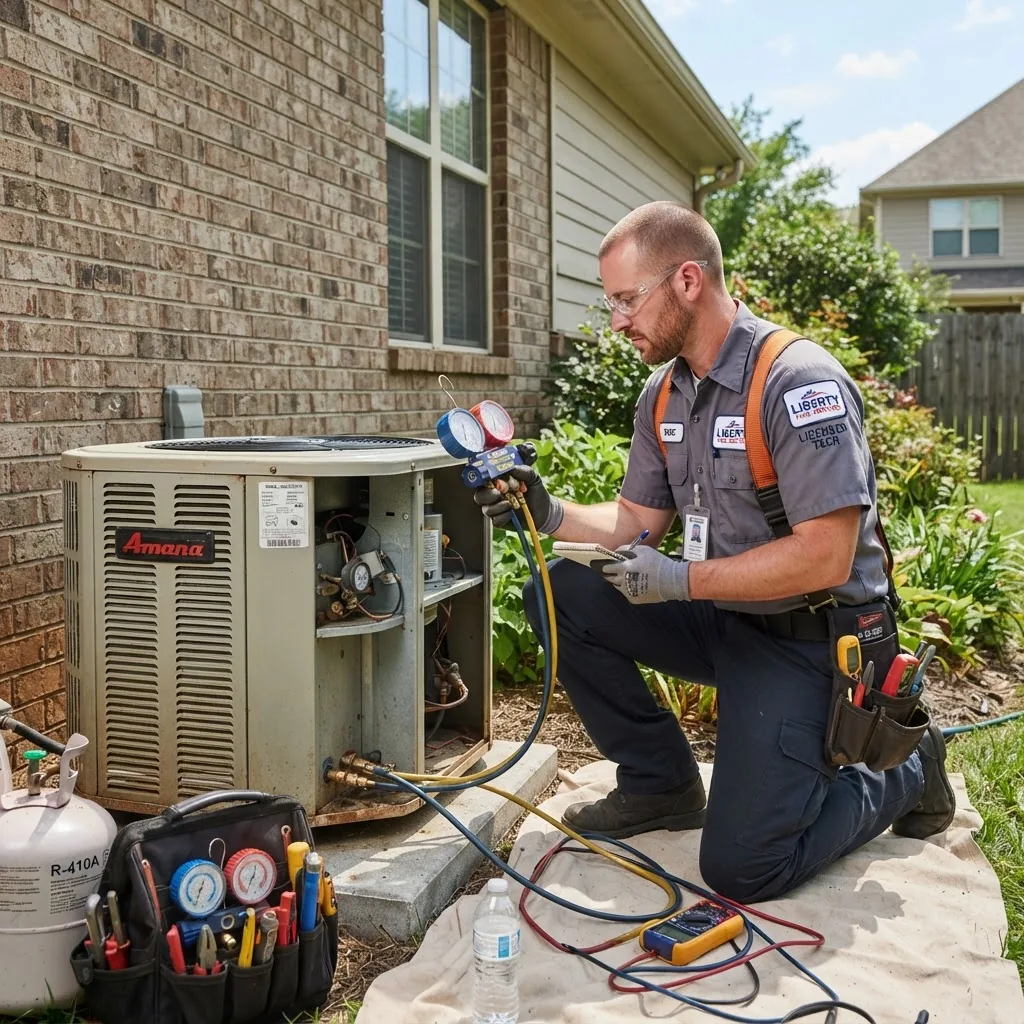
Tools and tech contractors bring: refrigerant gauges, vacuum pumps, electronic leak detectors, multimeters, cordless drills, and torque wrenches. Expect contractors to use pressure gauges to verify refrigerant charge and a vacuum pump to evacuate the system during installation; those two items are critical for a correct install.
Real-world note: According to a 2024 industry report, homeowners who follow scheduled servicing reduce major repair risk by roughly 30% within the first five years (industry report, 2024). Regional rules and market pricing vary widely, so treat figures as directional.
Transition: Now that you know the service types, the next section explains exactly which contractors perform which tasks and how to compare them.
Types of Contractors for Aircon Servicing and Installation
Contractor choice affects price, warranty, and system longevity. Contractors generally fall into clear categories — choose based on project complexity, warranty expectations, and whether the job touches other trades (electrical, ductwork).
-
Local independent HVAC technicians — Typically single-shop operations handling both aircon servicing and small installations. Pros: lower labour rates, direct owner contact. Cons: limited large-project capacity and sometimes narrower warranty handling.
- Best for: routine maintenance, small repairs, and single-room installs.
- professional cleaning for HVAC systems
-
Specialist installers / dealer contractors — Authorized dealers for specific manufacturers. Pros: factory-backed warranties and trained installers. Cons: often higher parts/labour costs and upsell pressure.
- Best for: new system installs where manufacturer warranty is critical.
-
Commercial HVAC contractors — Work on larger systems or multi-zone homes; handle complex ductwork and control systems. Pros: project management experience for large installs. Cons: higher minimum fees.
- Best for: large homes, multi-zone systems, or where duct redesign is required.
- heat pump and aircon service providers
- Multi-trade contractors — Offer HVAC plus plumbing, electrical, or refrigeration services; useful for combined projects. Pros: coordinate cross-trade needs. Cons: may subcontract specialist HVAC tasks.
- Emergency-only or repair specialists — Focus on fast responses and diagnostic repairs rather than planned installs. Pros: speedy troubleshooting. Cons: may overcharge for out-of-hours work.
How I pick: I look at licence class, manufacturer certifications, and whether they carry both contractor liability and workers’ comp insurance. Certified installers and dealer networks are preferable when I need long warranties honored.
Transition: With contractor types clear, the next section walks through how to choose the right contractor step by step.
How to Choose the Right Aircon Contractor
Choosing an ac contractor is the most important step for a successful project. Follow this step-by-step vetting process to minimize risk, compare apples-to-apples quotes, and secure the warranty and documentation you need.
-
Define the job clearly.
Write a one-page brief: system type (split/ducted), number of zones, age of current equipment, and desired outcomes (better efficiency, quieter operation). This makes quotes comparable.
-
Collect at least three written quotes.
Require a breakdown: labour hours, parts, refrigerant, materials, permit fees, and warranty details. Quotes should show line items for equipment vs labour vs materials.
-
Verify credentials and licensing.
Ask for licence numbers and run them with your local authority. For U.S. jurisdictions, consult the building code or licensing board your city or state maintains. For design guidance and standards, cross-check with respected bodies like the International Code Council and industry groups such as ASHRAE. Licensing names and requirements vary regionally, so confirm local rules.
-
Check certifications and manufacturer training.
Look for EPA section 608 certification (U.S.), manufacturer installer badges, and evidence of refrigerant-handling training. Certified dealers usually offer enhanced warranty terms.
-
Read recent customer reviews and ask for references.
Call two recent references and ask: Did the project meet the quoted timeline? Were there surprise costs? Was the site left clean? If reviews show unresolved warranty disputes, move to another contractor.
-
Ask about service contract options and emergency response.
Compare the service contract offerings: annual vs biannual visits, priority service windows, and discount on parts. Consider the value of a service plan if you prefer predictable maintenance costs.
-
Confirm warranties and guarantees in writing.
Get a written copy of both equipment and workmanship warranty. Ask: does a dealer void manufacturer warranty if installation is not by an authorized dealer? Where does the warranty get handled — manufacturer first, contractor second?
-
Evaluate energy-efficiency counselling.
A good contractor runs a Manual J load calculation (or equivalent) to choose correct tonnage and explains SEER rating (Seasonal Energy Efficiency Ratio). If a contractor downplays sizing or offers “one size fits all,” that’s a red flag.
-
Compare contract terms, payment schedules, and permits.
Never pay full upfront. Typical is 20–40% deposit, balance on completion. Confirm who pulls permits — contractor or homeowner — and include permit fees in the quote.
-
Final checklist before signing.
- Written scope and schedule
- Clear warranty language
- Permits responsibility
- Liability and workers’ comp insurance proof
Practical example: I hired a dealer who provided a load calculation and matched a 16 SEER unit to my home; the quoted install included circuit upgrades and a 10-year compressor warranty. After service, a post-install performance test showed a 10% efficiency gain versus the 12-year-old system.
Transition: With a contractor selected, learn what to expect on a standard servicing visit so you can verify work and ask the right questions.
What to Expect During Aircon Servicing
A professional service visit is methodical. Use this numbered checklist to follow the contractor’s work and document deliverables. Think of this as an inspection script you can use when they arrive.
-
Arrival and safety briefing (5–10 minutes).
Technician confirms access, power isolation points and any on-site hazards. Expect them to show ID and provide a short overview of work to be done.
-
Visual inspection (10–20 minutes).
Checks for corrosion, duct damage, electrical panel condition, condensate drain clogs and visible leaks. They should record model/serial numbers and take photos for their report.
-
Filter and airflow checks (5–15 minutes).
Filter inspection or replacement, blower motor check and static pressure test. They will measure airflow and note readings; acceptable pressure varies by system but ask for the recorded figures for your records.
-
Electrical and thermostat check (10–25 minutes).
Voltage and amp readings on fan and compressor with a multimeter; thermostat calibration check. Ask for before and after readings if adjustments are made.
-
Refrigerant system test and leak check (15–40 minutes).
Using refrigerant gauges and an electronic leak detector, the technician verifies charge and looks for slow leaks. If they evacuate and recharge, they should use a vacuum pump and document micron readings — a proper evacuation achieves < 500 microns (typical benchmark) before charging.
-
Coil and fin cleaning (15–30 minutes).
Outdoor condenser coil and indoor evaporator coil cleaning to remove dirt and restore heat exchange efficiency. They may use coil cleaner and low-pressure rinse; confirm they protect surrounding finishes.
-
Operational test and efficiency measurement (10–30 minutes).
Run the system through a full cooling cycle, measure delta-T (temperature drop across the evaporator) — typical healthy systems show 15–20°F (8–11°C) — and confirm thermostat setpoints and airflow.
-
Final report and recommendations (10–20 minutes).
Good contractors provide a written report with photos, readings, recommended repairs, and next service interval. Ask for a copy and keep it with system documentation.
-
Cleanup and sign-off (5–10 minutes).
Technician should leave the area tidy and obtain your sign-off. Ask that any replaced parts be shown or photographed.
Transition: If your project is an installation rather than a tune-up, the next section breaks the professional installation process into precise steps so you can audit the work.
Overview of Professional Air Conditioner Installation
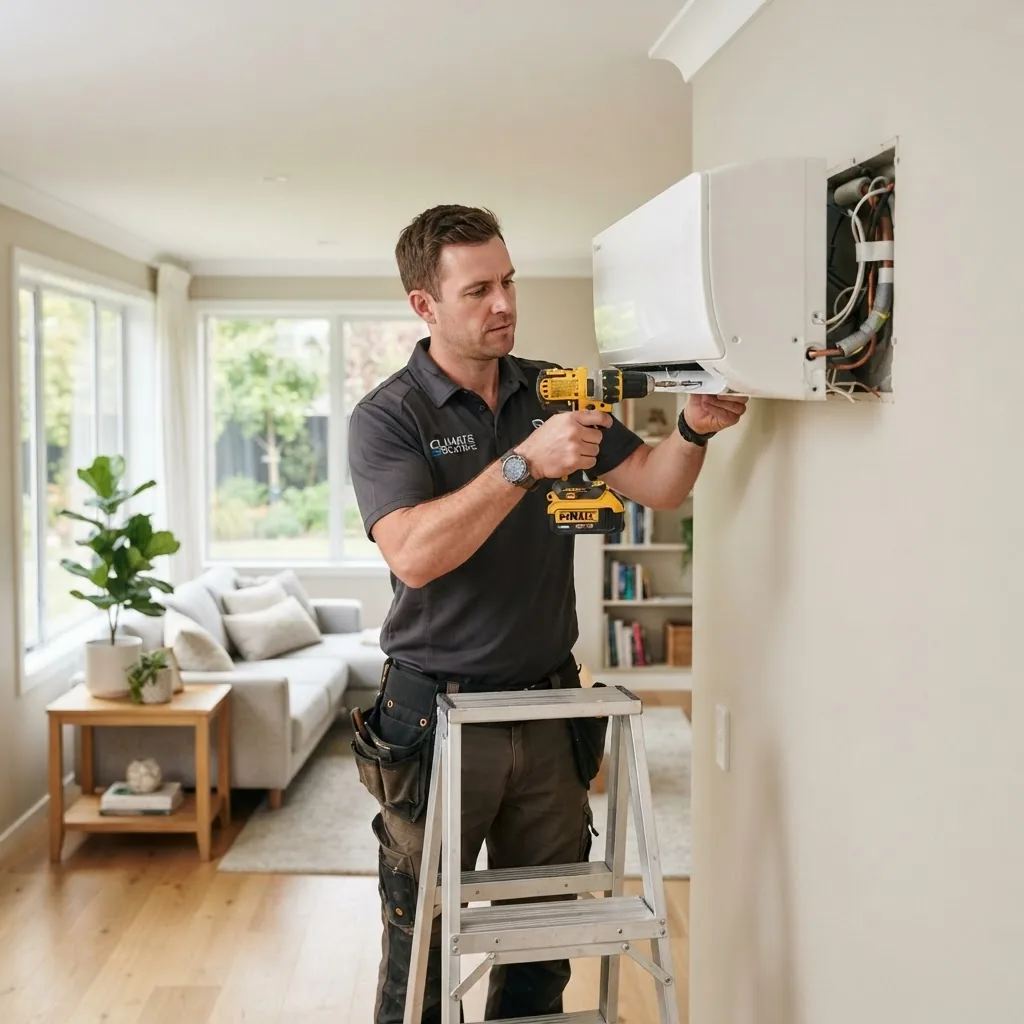
A professional professional air conditioner installation follows a defined workflow: assessment, design, permitting, installation, commissioning and documentation. Contractors should follow industry installation best practices and local code requirements to ensure safety and warranty compliance.
-
Site assessment and Manual J load calculation.
Technician measures room dimensions, insulation levels, orientation, window area and occupancy. A Manual J (or local equivalent) determines correct tonnage. Expect a written calculation; a mismatched tonnage increases run time and energy use.
-
Equipment selection and SEER discussion.
Contractor explains SEER rating (Seasonal Energy Efficiency Ratio) and trade-offs: higher SEER improves efficiency but increases equipment cost. Ask for estimated payback and typical seasonal savings based on your usage.
-
Site preparation and electrical verification.
Contractor checks service panel capacity and may recommend a dedicated circuit. Typical installs require 240V single-phase supply for residential split systems; confirm breaker sizing and conductor gauge are per manufacturer specs.
-
Mounting and mechanical installation.
Indoor and outdoor units are installed per manufacturer torque settings and clearances. Refrigerant lines are run with proper insulation and slope to ensure condensate drainage. If ducts are present, a duct leakage test may be recommended.
-
Evacuation and refrigerant charge.
Using a vacuum pump, the installer evacuates the system to remove moisture and non-condensables; target is commonly < 500 microns. Then they charge to manufacturer-specified refrigerant weight or superheat/subcooling targets, using refrigerant gauges and scales.
-
Electrical hookups and safety devices.
Installers wire controls, set up disconnects, and install safety devices like high/low pressure switches or condensate overflow switches as required.
-
Commissioning and performance testing.
Contractor measures airflow, delta-T, voltage/amperage, and records refrigerant pressures. They should leave a commissioning sheet with all measured values and recommended follow-up checks.
-
Final paperwork: permits, warranties, and manuals.
Professional installation includes signed permits, warranty registration with the manufacturer, and a client handover packet with service schedule and maintenance tips.
Standards note: Follow manufacturer installation manuals and local code; for recognized guidance see ASHRAE recommendations and local building codes via the International Code Council at iccsafe.org.
Transition: Installation and servicing costs vary. The next section breaks down typical pricing and hidden fees so you can budget properly.
Cost Factors and Typical Pricing for Servicing and Installation
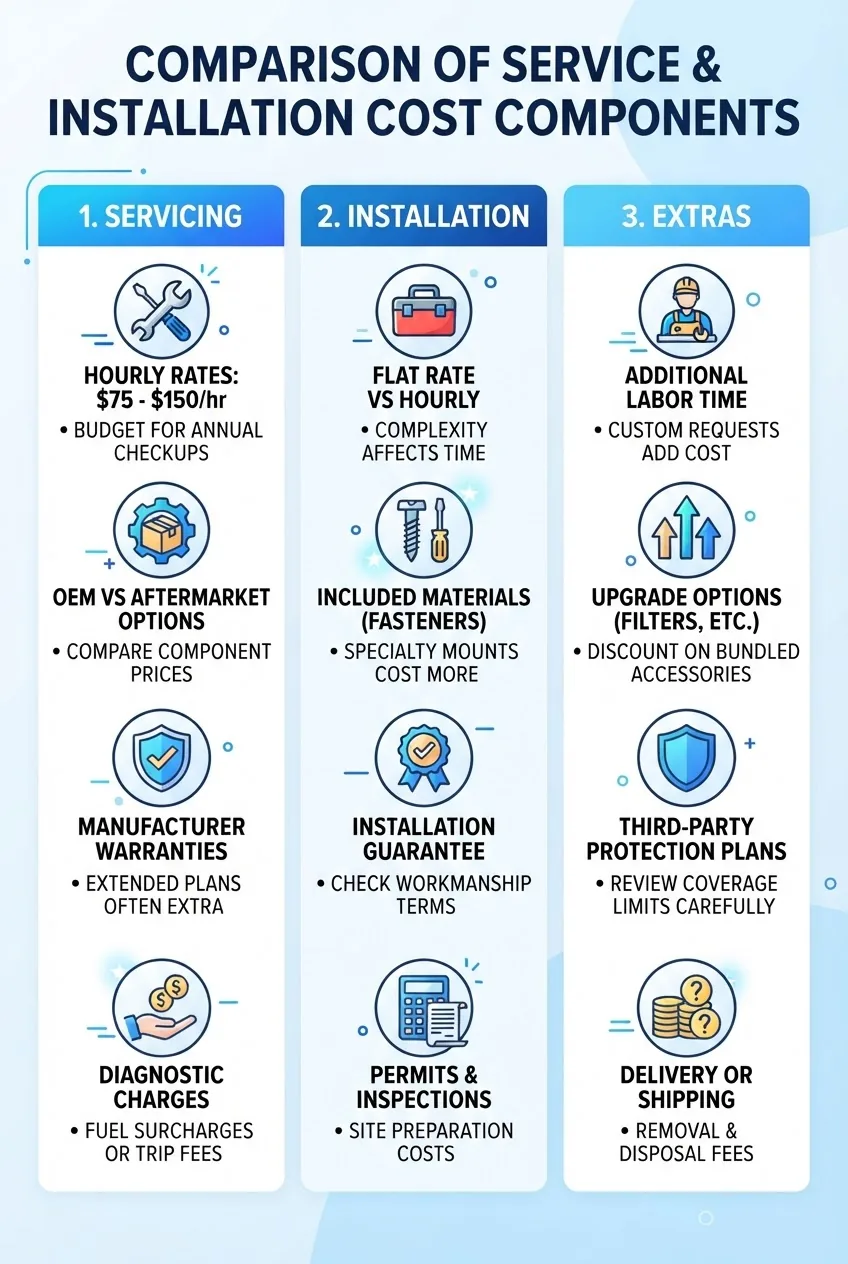
Costs depend on equipment type, labour rates, complexity, permit fees and warranty levels. Below is a clear breakdown to help you plan. Remember regional variation: coastal urban areas often have higher labour and permit fees than rural markets.
| Component | Servicing (typical) | Installation (typical) |
|---|---|---|
| Labour | $80–$250 per visit | $800–$3,000 (depending on complexity) |
| Equipment/Parts | Minor parts $20–$200 | $1,000–$6,000 (unit price varies by SEER) |
| Refrigerant | Leak diagnosis $150–$600 | Charging included; replacement gas is extra if required ($100–$400) |
| Permits & inspections | Usually included in labour or nominal fee | $50–$500 depending on jurisdiction |
| Warranties | Service visit guarantee 30–90 days | Manufacturer 5–10 years; extended warranties extra |
| Hidden fees to watch | After-hours, diagnostic retest fees | Electrical upgrades, duct repairs, structural modifications |
Budgeting tip: ask contractors for “all-in” pricing that includes permits, basic materials, and commission testing. According to a 2024 industry report, average installed cost for a typical 3-ton split system ranges between $3,500 and $6,500 (industry report, 2024) — ask contractors to justify variation with clear scope differences.
Transition: Once work is underway, clear communication and documentation prevent surprises — the next section explains how to work effectively with HVAC service contractors.
Working Effectively With HVAC Service Contractors
Treat the contractor relationship like a short-term project partnership. Clear expectations, timely communication, and documented service history deliver better outcomes and faster warranty resolution.
- Agree on communication channels. Use email for quotes and change orders; keep texts for scheduling updates.
- Schedule strategically. Book servicing in spring or autumn to avoid peak seasonal demand; response times are faster and often cheaper.
- Keep a documented service log. Store commissioning sheets, receipts, and any permit paperwork for warranty claims and resale value.
- professional aircon maintenance and repair tips
- HVAC repair service insights
- finding local AC repair services
- professional HVAC service approaches
Communication checklist:
- Confirm start and finish dates in writing.
- Get a daily contact number for on-site lead for multi-day installs.
- Request progress photos for major milestones.
- Retain all commissioning and test results with invoice.
Transition: Proper legal and safety compliance protects you and your home — read the next section for licensing, insurance and warranty essentials.
Safety, Compliance, and Warranty Considerations
Safety and legal compliance are non-negotiable. Verify contractor licensing, confirm insurance, and follow local building codes. Warranty handling depends on who installs the equipment and how the system is registered.
Key points:
- Request proof of general liability and workers’ compensation insurance before work begins.
- Confirm contractors will obtain required permits; permit sign-off is essential for future resale and insurance.
- Check manufacturer warranty conditions — many require factory-trained installers for full coverage.
- Regulatory resources: consult International Code Council for code guidance and ASHRAE for professional standards. For energy-efficiency metrics and rebate guidance, consult ENERGY STAR.
Warranty caveats: Workmanship warranties are contractor-specific (commonly 1–5 years). Manufacturer warranties (compressor, parts) typically range 5–10 years; extended warranties cost extra and may require annual service to remain valid.
Transition: After installation or servicing, a simple maintenance routine keeps performance high — the next section outlines practical upkeep and resources.
Maintaining Your Aircon Post-Installation and Service
A short, consistent maintenance routine preserves efficiency and warranty. Below are practical tasks, schedules, and sources for in-depth maintenance planning.
- Replace or clean filters every 1–3 months depending on use and filter type.
- Schedule professional servicing at least annually; biannual visits are recommended for heavy-use or older systems.
- Keep outdoor unit clear of debris, and trim vegetation to maintain 24–36 inches of clearance.
- Monitor energy bills for unexplained increases; a 10% rise year-over-year may indicate reduced system efficiency.
- Air Conditioner Maintenance and Service Guide for Homeowners
- detailed air conditioner maintenance guide
- cleaning tips to complement your aircon care
- home cleaning guide with aircon upkeep
- routine home maintenance tasks like gutter cleaning
- routine water heater and aircon maintenance frequency
- routine home maintenance tips
- expert water heater cleaning and care
- preventive water heater and HVAC upkeep
- deep cleaning techniques supporting aircon health
- DIY cleaning tips for home upkeep
- effective HVAC maintenance tips
- expert water heater cleaning and care
For in-depth routines and checklists, consult our Air Conditioner Maintenance and Service Guide for Homeowners and consider a service plan to automate care.
Common mistakes and how to avoid them
I’ve seen contractors and homeowners trip over a few repeat issues. Here are real problems I’ve observed and how I prevent them now.
- Under-sizing the unit: I once accepted a lower quote from a contractor who recommended a smaller unit to save cost — the system ran constantly and humidity rose. I now insist on a written load calculation before agreeing.
- Skipping permit checks: A friend had a roof-mounted unit installed without proper permits; the insurer required rework. I always ask who will handle permits and confirm before work begins.
- Paying full upfront: I paid a large deposit for an install and the crew disappeared for two weeks. Now I release payments on milestones: deposit, mid-point and final sign-off.
- No commissioning report: I once had a warranty dispute where no commissioning sheet existed. I now require all measured values and photos as part of final handover.
Checklist: Verify your work
- Written scope, schedule and itemised quote signed
- Contractor licence and insurance verified
- Commissioning sheet with delta-T, refrigerant pressures, volts/amps
- Manufacturer registration completed for equipment warranty
- Service log started with dates and technician names
- Site left clean, debris removed and outdoor clearances maintained
When to call in a professional
- If refrigerant is lost or suspected leak — call a licensed technician immediately.
- If the system trips breakers consistently or shows electrical burning smells — stop using it and call an electrician/HVAC contractor.
- If delta-T falls below 10°F (6°C) under standard load — book a diagnostic service.
- If unusual noises or compressor failure — arrange emergency repair rather than attempting DIY fixes.
Final practical note: keep a folder (physical or digital) with all permits, commissioning sheets and invoices — this will simplify warranty claims and improve resale transparency.
“A clear scope and a commissioning sheet are the two things that save money and headaches later. If a contractor resists either, consider another bid.” — Senior HVAC consultant with 20 years’ installation experience.
Conclusion: You’ll reduce long-term costs and downtime by choosing the right contractor, insisting on proper installation procedures, and maintaining a simple service schedule. If you’re ready to start, gather three quotes this week and schedule an assessment to get your baseline measurements.