By the end of this hands-on guide you will be able to: assess an urgent AC failure, run safe DIY troubleshooting to buy time, evaluate 24hr AC repair quotes, and pick a reliable emergency contractor. This guide takes about 90–150 minutes to read and assumes a basic DIY comfort level (you can safely use a flashlight, multimeter, and follow step-by-step safety checks).
Before you start
- Prerequisites: smartphone, access to your AC model number, simple tools (flashlight, screwdrivers), and a clear-safe space around outdoor unit.
- Essential tools and materials:
- Flashlight and work gloves
- Multimeter (for voltage checks)
- Refrigerant leak detector or bubble solution
- Thermostat batteries and spare filter (16x20x1 or your model size)
- Notebook or phone to record error codes and technician arrival times
- Safety note: avoid DIY work beyond basic checks if your system is under warranty or you encounter refrigerant lines, burnt smell, or tripped breakers.
- Assess the emergency and determine urgency. Walk each living space, check thermostat, circuit breakers, and outdoor unit status. Note temperatures, noise, smells, and any visible water — these facts change quotes and response priority.
- Run safe, quick troubleshooting to stabilize the situation. Follow the step-by-step checks later in the section “What to Do When Your AC Fails at Night or During an Emergency”. These measures are designed to buy time without voiding warranties.
- Contact 24hr AC repair services and compare response options. Ask for ETA, after-hours call-out fee, diagnostic fee, and whether they carry common replacement parts like capacitors and contactors.
- Evaluate immediate repair versus temporary fixes or replacement. Use the cost breakdown and replacement decision guidance in this guide to decide if an emergency repair is economical during a heatwave.
- Choose a reliable emergency technician and document the call. Verify license, insurance, emergency service guarantees, and request written estimates before major parts are replaced.
- Follow post-repair steps and schedule preventive maintenance. Confirm warranty coverage for emergency repairs and schedule a seasonal tune-up to reduce future after-hours calls.
Understanding 24hr AC Repair Services
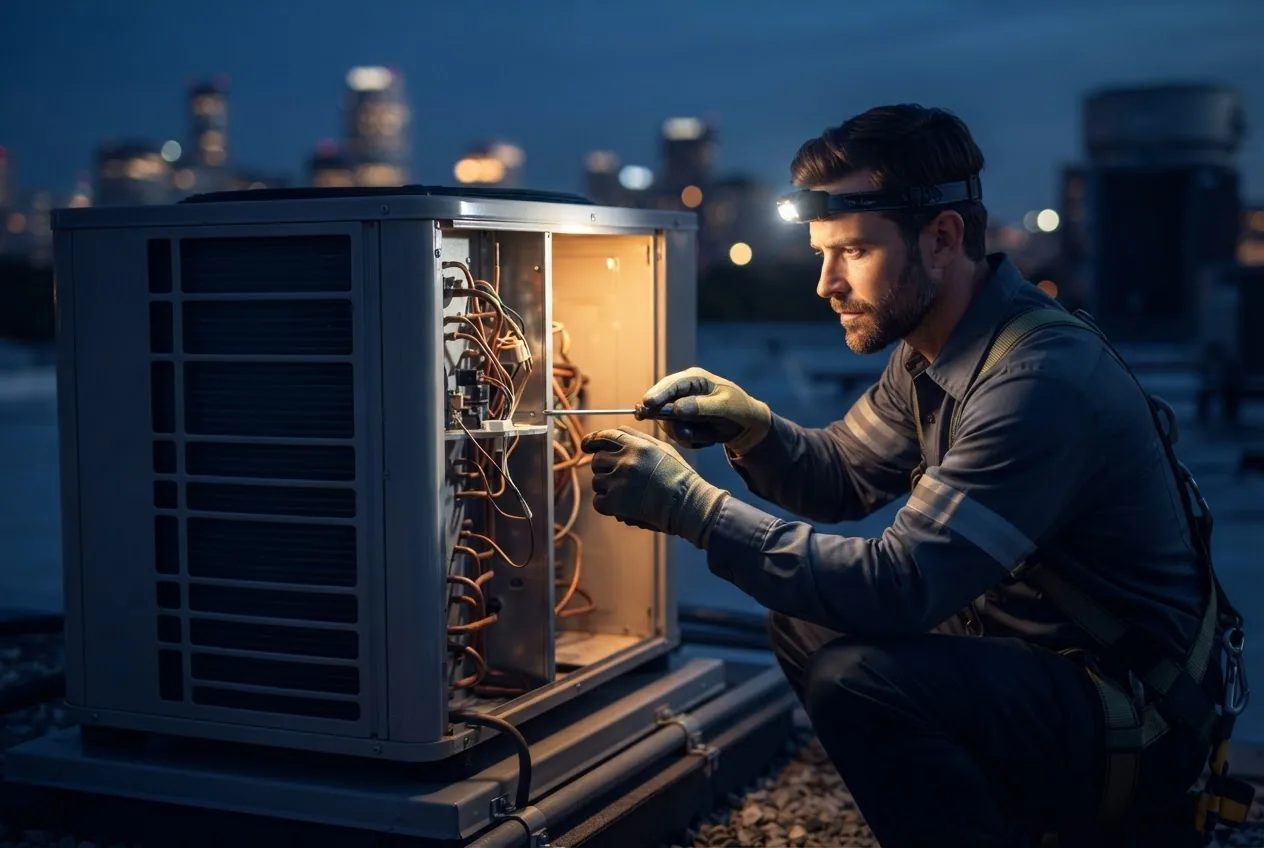
A clear grasp of what 24hr AC repair means helps you act fast and avoid unexpected costs. 24-hour air conditioning repair refers to contractors who provide emergency response outside standard business hours — nights, weekends, and holidays — with technicians prepared for urgent failures. These services prioritize emergency calls, dispatching after-hours HVAC technicians who bring diagnostic equipment and a limited stock of common parts.
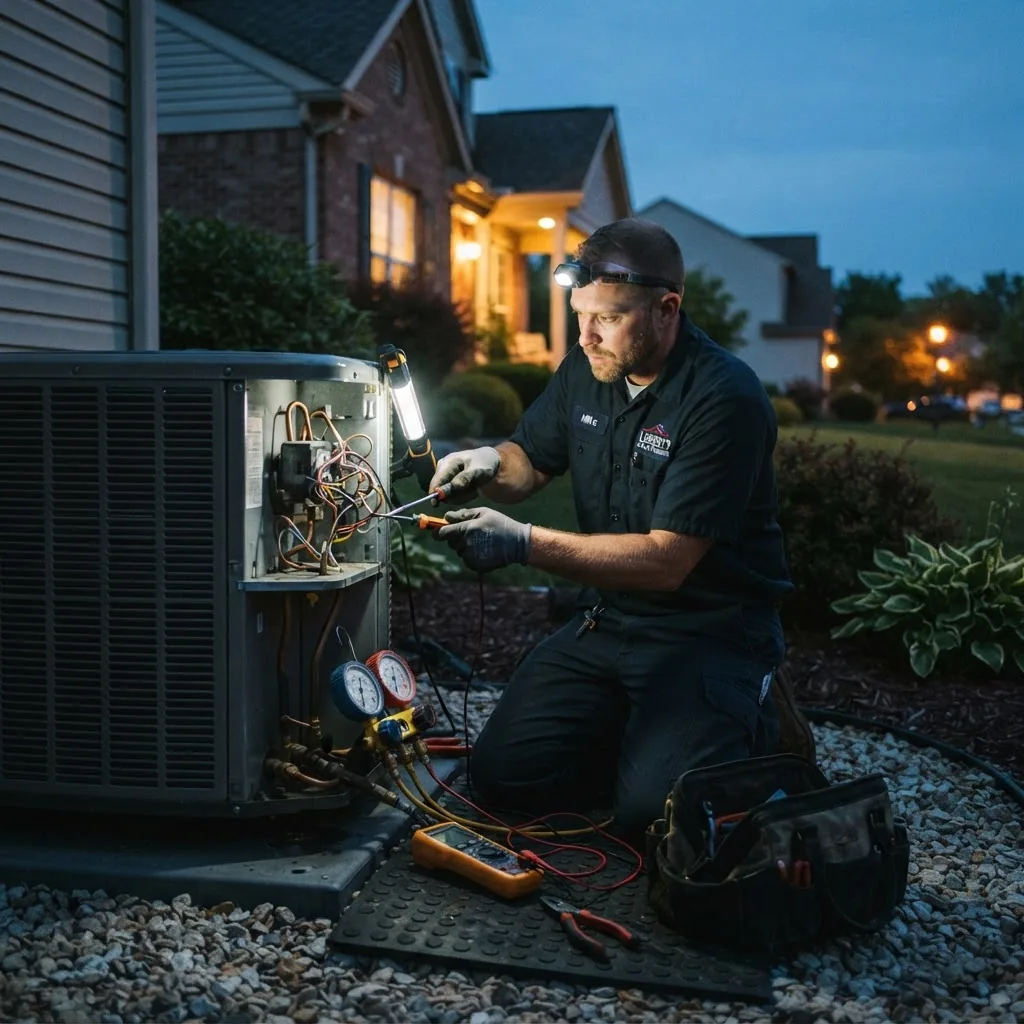
Service availability and technician response time vary by company and location. Emergency AC repair services are built around three main promises: faster response, priority diagnostics, and immediate temporary repairs when possible. Expect different pricing structures (call-out fee, higher labor rates, parts markup) and ask up-front whether the technician will perform a full diagnostic report and provide a written estimate for major repairs.
What Qualifies as a 24hr Emergency AC Repair?
Emergency service criteria typically include risks to health, safety, or property from an AC failure. Examples: loss of cooling during a heatwave causing medical risk, major refrigerant leaks, electrical burning smells, frozen compressors, or large water leaks causing imminent property damage. Less urgent issues — minor airflow reductions or intermittent thermostat issues — usually qualify for scheduled service.
Use this quick triage: anything causing unsafe temperatures, electrical smoke/odor, or water intrusion that threatens floors/walls should be an emergency call. If the problem is simply reduced efficiency and the home is livable, schedule a standard daytime service to avoid premium fees.
How 24hr AC Repair Differs from Standard Repair Services
- Priority dispatch & response time: Emergency services aim for 1–4 hour response windows; standard services often schedule within 24–72 hours.
- After-hours labor rates: Emergency calls typically include a premium—expect 1.5–2x standard labor rates, plus a call-out fee.
- Call-out fee vs diagnostic: 24hr services usually charge a specific after-hours call-out fee that covers rapid dispatch and basic diagnostics.
- Technician readiness: After-hours HVAC technicians carry diagnostic tools and common parts (capacitors, contactors, filters) but limited inventory compared with daytime trucks.
- Temporary vs permanent fixes: Emergency work often focuses on temporary fixes to restore safe cooling quickly; scheduled repairs provide time for thorough diagnostics and parts sourcing.
- Warranties and documentation: Confirm whether emergency repairs maintain manufacturer warranties — some warranties require authorized service centers for certain parts.
- Pricing transparency: Standard services often provide fixed quotes for scheduled work; emergency quotes must account for unpredictability and often list hourly after-hours rates.
Transition: Now that you know what emergency service looks like, we’ll explain the common causes that trigger these urgent calls and how technicians diagnose them.
Common Causes of AC Emergencies
Understanding typical failure modes helps you recognize real emergencies and describe problems precisely to dispatchers. Below I walk through the most frequent breakdown causes and how technicians diagnose them during after-hours calls.
Electrical faults and control failures
Electrical issues are common emergency triggers — tripped breakers, blown fuses, burnt contactors, and failed capacitors can shut systems down immediately. Technicians use a multimeter to test voltage at the condenser fan motor, compressor, and contactor, and look for burnt insulation or loose lugs. According to a 2024 industry report, electrical faults comprised roughly 28% of emergency AC calls, often caused by age and lack of maintenance.
Compressor failure
The compressor is like an engine for your AC; when it fails the system stops cooling. Signs include humming, clanking, or no start at all. Emergency compressor failure often requires immediate assessment: technicians check run capacitors, contactors, and low/high-pressure cutouts before recommending replacement. Compressor replacement is one of the most expensive emergency services and is usually quoted only after diagnostic testing with a manifold gauge set and refrigerant scale.
Refrigerant leaks
A fast refrigerant leak can rapidly degrade cooling and may produce oil stains or hissing sounds. Technicians use refrigerant leak detectors and dye tests to confirm. According to a 2024 industry report, refrigerant recharge and leak repair are common emergency interventions, especially in older R-22 systems that have high parts and refrigerant costs.
Frozen evaporator coil
A frozen indoor coil looks like frost on the indoor unit and is often caused by reduced airflow from clogged filters or fan failure. Thawing and addressing airflow (filter change, blower motor test) can be handled as an emergency service to restore cooling quickly.
Water leaks and drain failure
Condensate overflow or clogged drain lines can cause water damage. During emergency calls, technicians inspect the condensate trap, primary and secondary pans, and may run a condensate pump test. If water intrusion threatens finishes, call emergency home services for simultaneous mitigation — see related resources for water removal and plumbing links below.
Emergency Electrician Near Me Service Guide and Pricing is a useful complement when electrical faults appear to be the root cause.
Transition: the next section gives immediate, step-by-step actions you can take when the AC dies at night or during urgent conditions.
What to Do When Your AC Fails at Night or During an Emergency
This section is a step-by-step triage designed to stabilize your home and gather the information an after-hours technician will need. Follow steps carefully — avoid opening refrigerant lines or touching electrical components unless you are qualified.
- Confirm power and thermostat settings (5 minutes). Check that the thermostat is set to cool, setpoint 5°F lower than room temp, and batteries are fresh. Inspect your breaker panel for tripped AC breakers and reset once. Record breaker label and time. If breakers trip again immediately, stop — this indicates a fault requiring a technician.
- Turn off and then restart the system (10 minutes). Switch the thermostat off, set the fan to “on”, and if outdoor unit is noisy, switch breaker off for 5 minutes, then on. This soft reset can clear control errors. If the outdoor fan or compressor fails to start but you smell burning or see smoke, keep the unit off and call emergency help.
- Check and change the air filter (5 minutes). A clogged filter can reduce airflow enough to cause coil freeze or overheating. Replace with a disposable filter (write size on your phone). A clean filter often restores function and prevents emergency trips.
- Inspect outdoor unit clearance (3 minutes). Remove debris and ensure 2 feet clearance. If the unit is covered in leaves or has physical damage, photograph it for the technician and do not attempt repairs yourself.
- Look for water and electrical hazards (3–5 minutes). If water is pooling near electrical elements, cut power at the main and call emergency services for water removal. For help, consider Emergency Water Removal Service Guide and Cleanup Costs.
- Document sounds, error codes and temperatures (5 minutes). Use your phone to record abnormal sounds and take a photo of the thermostat error code or the indoor unit wiring plate (model and serial number). These details speed diagnosis and give you leverage during estimate negotiations.
- Call an after-hours technician (10 minutes). When calling, ask for ETA, after-hours call-out fee, diagnostic fee, expected labor rate per hour, whether parts are charged separately, and if they accept written purchase orders for larger repairs. Keep the time and representative name. If multiple emergency services are needed (e.g., plumbing or electricity), request coordinated response or consult linked emergency service guides such as 24 Hour Plumber Minneapolis Service Guide and Cost Overview and After Hours Plumbing Service Guide and Emergency Cost Details.
- Prepare the home for the technician (5–10 minutes). Clear a 3-foot path to the indoor and outdoor units, secure pets, and place a chair and lamp near the thermostat to facilitate testing. Have your service agreement, warranty paperwork, and the model/serial photos ready.
Transition: once you understand triage and technician interaction, you’ll need to interpret the cost structure emergency services present — read the detailed cost breakdown next.
Breakdown of Emergency AC Repair Costs
Emergency pricing breaks into predictable components: call-out fee, after-hours labor rate, diagnostic charge, and parts markup. Below is a full breakdown so you can challenge unclear estimates and avoid surprises. For a deeper look at overall emergency HVAC pricing, see our pillar resource on 24 Hour AC Repair Guide for Emergency HVAC Service Costs.
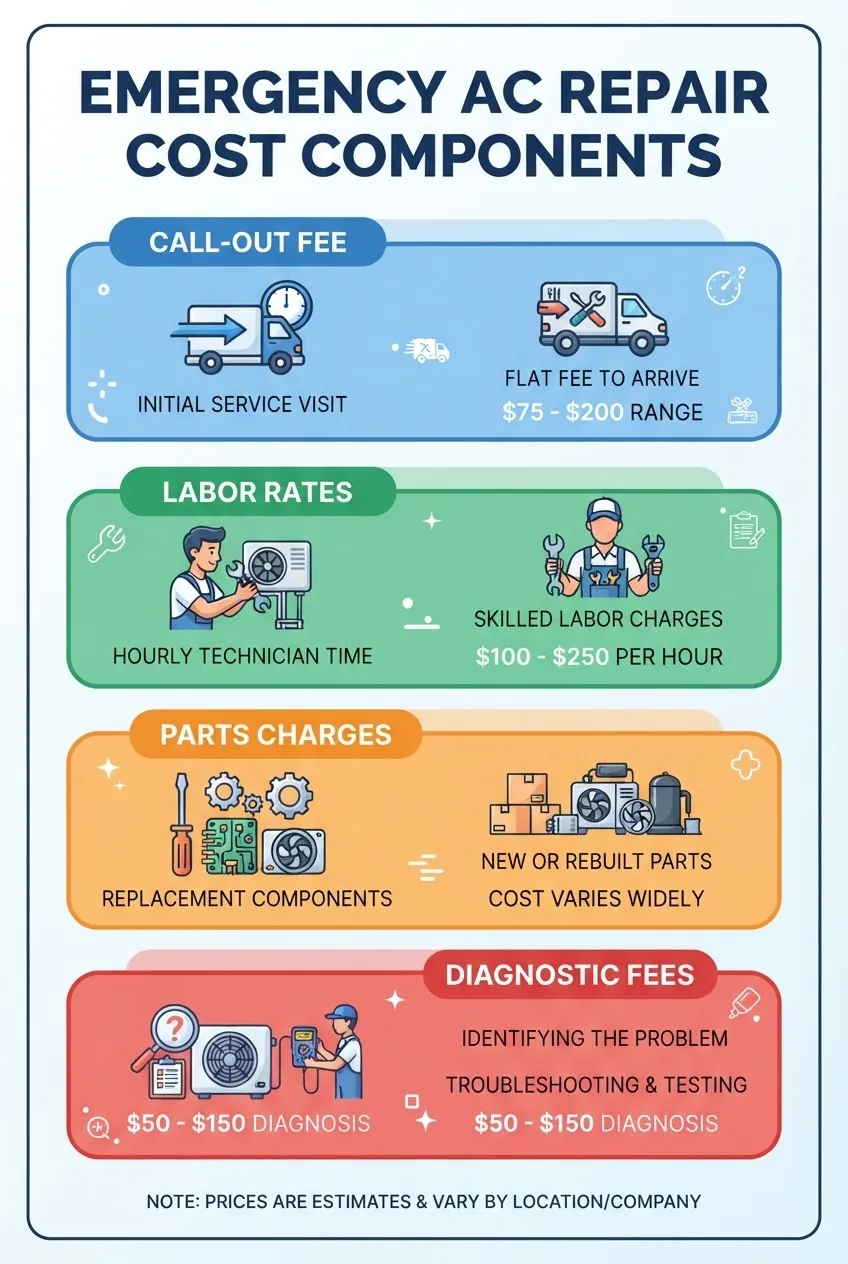
Cost components explained:
| Component | Typical Range | Notes |
|---|---|---|
| After-hours call-out fee | $75–$200 | One-time fee for dispatch and priority response; sometimes waived into diagnostic fee. |
| Diagnostic fee | $80–$200 | Covers testing and written estimate; often applies to repair credit if work performed. |
| After-hours labor (per hour) | $120–$240 | Premium compared with daytime labor; includes technician travel/time. |
| Parts and markup | 1.2x–2.0x retail cost | Higher markup possible for urgent sourcing; OEM parts cost more. |
| Emergency rental or temporary cooling | $50–$300/day | Portable AC or fans if immediate comfort is essential, charged separately. |
According to a 2024 industry report, the median emergency service ticket (after-hours, including parts) was about $420, but regional variation is high. Always ask for a written estimate and compare at least two emergency providers when time allows.
emergency HVAC service costs provides an expanded view of how emergency charges are calculated.
Factors Influencing 24hr AC Repair Pricing
Pricing depends on several variables: location (urban vs rural), severity of issue, time of day, technician expertise, parts availability, and urgency. For example, a broken fan motor at 2AM in a downtown apartment may attract a faster ETA but higher prices due to travel and limited parts on the truck.
Technician qualifications also matter: certified technicians (NATE, manufacturer-authorized) often command higher labor rates but reduce the risk of callbacks. According to a 2024 industry report, licensed-authorized provider interventions had 18% fewer repeat emergency calls within 90 days.
Warranty status can reduce parts costs if the manufacturer covers the failed component — however, many warranties exclude after-hours labor fees. Consult your warranty paperwork and consumer protection guidance at consumer.ftc.gov before authorizing expensive emergency replacements.
Average Cost Ranges for Common Emergency AC Repairs
| Repair | Emergency Cost Range | Typical Notes |
|---|---|---|
| Capacitor or contactor replacement | $150–$450 | Common emergency fix; often done same visit. |
| Refrigerant recharge (leak not found) | $150–$450 | Costs higher for R-22; leak tracing is extra. |
| Blower motor replacement | $300–$800 | May be temporary fix if control boards fail. |
| Compressor replacement | $1,200–$3,500+ | High-cost; often recommends system replacement for older units. |
| Thermostat replacement | $100–$350 | Smart thermostats cost more; wiring checks add time. |
According to a 2024 industry report, average emergency call totals (call-out fee + one part + labor) tend to fall between $200–$700 for common component failures. Remember that parts availability and the need for same-day shipping can push totals higher quickly.
Transition: knowing how pricing is structured, you must be able to pick a reliable 24hr emergency service — the next section gives a practical checklist.
How to Choose a Reliable 24hr Emergency AC Repair Service
Choosing the right emergency contractor saves money and restores safe cooling faster. Below is a practitioner’s checklist with exact questions and verification steps I use when hiring after-hours HVAC help.
- Verify licensing and insurance: Ask for license number and verify with your state or local regulator. Confirm liability insurance and worker’s comp coverage for technicians.
- Confirm emergency protocol and ETA: Ask for a written ETA window (e.g., “arrive within 2–3 hours”).
- Request transparent pricing upfront: Ask for call-out fee, diagnostic fee, hourly after-hours labor rate, and parts markup percentage. Get it in writing if possible.
- Check certifications: Look for NATE certification or manufacturer-authorized badges; these indicate technician training and may preserve warranties.
- Read recent after-hours reviews: Ask how they handle follow-up and credit for misdiagnosed calls. Prefer companies that provide written invoices and parts return policies.
- Guarantees and warranties: Confirm whether the emergency repair has a 30–90 day workmanship guarantee and how warranty claims are handled after-hours.
- Fleet readiness: Ask if the dispatched truck carries common emergency parts (capacitors, contactors, fan motors) to reduce trips and total cost.
- Payment and financing: Ask whether cards, financing, or payment plans are accepted for large emergency replacements.
When comparing providers, request at least two estimates where time allows. If your home has other concurrent urgent needs (plumbing or gas), use these cross-service resources when vetting: 24 Hour Furnace Service Requirements and Repair Cost Guide, 24 Hour Plumber Minneapolis Service Guide and Cost Overview, and Emergency Electrician Near Me Service Guide and Pricing.
Authority signal: Industry bodies recommend clear emergency protocols; consult ACCA and AHRI for standards and contractor best practices before signing large emergency work orders.
Clogged Drain Service Near Me Guide and Plumbing Costs and Gas Line Plumbers Service Guide and Repair Cost Overview are useful when your emergency may involve plumbing or gas issues.
Transition: after you restore cooling and choose a contractor, you can prevent many repeat emergencies with a consistent maintenance plan — the next section lists the practical steps.
Preventing Future AC Emergencies — Maintenance Tips
A simple seasonal maintenance routine cuts emergency call rates significantly. This section lists concrete tasks, frequencies, and thresholds I use with residential clients to reduce after-hours breakdowns.
- Replace filters every 30–90 days. Use the exact size stamped on the old filter, and mark the replacement date. A clogged filter increases stress on the blower and can cause frozen coils within weeks.
- Schedule professional tune-ups twice a year. Spring and fall inspections by a licensed technician include refrigerant level checks, electrical torque testing, and coil cleaning. According to a 2024 industry report, regular tune-ups reduce emergency calls by about 35%.
- Keep outdoor unit clear—2 feet minimum. Trim foliage, remove debris, and wash fins gently with a garden hose to maintain airflow.
- Monitor energy bills and performance. Sudden increases in electricity use can signal compressor or refrigerant issues early.
- Address small repairs early. Replace failing capacitors and contactors promptly; these are inexpensive compared with compressor failure.
- Install surge protection. A whole-home surge protector reduces damage from electrical storms and can prevent hard-start failures in compressors.
For home-maintenance tasks you don’t want to do yourself, consider local handyman options or plumbing support — resources include Local Handyman Service Guide and Home Repair Cost Info and Handyman Quote Guide for Hiring and Cost Estimates. For broader home emergencies, also see Emergency Plumbing Near Me Service Guide and Repair Costs.
Transition: sometimes repeated emergencies indicate that repair is no longer economical — the next section covers when to replace your AC instead of performing emergency repairs.
When to Consider Replacing Your AC Instead of Emergency Repair
Deciding between repair and replacement during an emergency is a common dilemma. Use a practical comparison of lifespan, energy cost, and urgency to make the call.
| Consideration | Repair | Replace |
|---|---|---|
| Unit age | <12 years — often worth repairing | >12–15 years — replacement typically recommended |
| Cost comparison | Repair if <50% of replacement | Replace if repair >50% of new system cost |
| Energy efficiency | Temporary fix, lower efficiency | New units save 10–40% on energy; see ENERGY STAR guidance |
| Warranty and future risk | May void limited warranties if unapproved parts used | New warranty and reduced emergency risk short-term |
Trade-off example: replacing a 14-year-old unit with a failing compressor often pays back in energy savings and fewer emergencies. For energy-efficiency factors consult ENERGY STAR for selection guidance and potential rebates.
Case Study: Emergency Heatwave Repair Walkthrough
Experience snapshot: during a July heatwave a homeowner called a 24hr service at 11:00 PM when indoor temperatures hit 83°F and the outdoor unit was silent. The dispatched technician arrived in 90 minutes, performed voltage checks with a multimeter, tested pressures with a manifold gauge set, found a failed start capacitor, and replaced it from the truck stock. The call-out fee was $125, parts $85, labor 1.5 hours at $160/hour — total $450. The homeowner avoided compressor replacement and documented the repair to preserve warranty coverage.
Walkthrough: Common Diagnostic Steps Technicians Use During Emergency Calls
Below is the exact diagnostic sequence a competent after-hours technician typically follows. Knowing these steps helps you validate the work performed.
- Visual inspection (2–5 minutes): Check for physical damage, oil stains, and debris.
- Safety checks (1–2 minutes): Confirm electrical disconnects and PPE for technician safety.
- Power verification (5 minutes): Use a multimeter to measure line voltage at the condenser and indoor unit.
- Control and thermostat test (3–5 minutes): Verify thermostat wiring and signaling with a thermostat tester or by forcing system on.
- Component tests (10–20 minutes): Check capacitors (microfarad meter), contactors, blower motor amps, and fan motor continuity.
- Refrigerant and pressure checks (10 minutes): Attach manifold gauges to evaluate charge; use a refrigerant leak detector if pressures are low.
- Report and estimate (5–10 minutes): Prepare a written diagnostic and recommend temporary or permanent repairs with costs and ETA for parts if needed.
Tools commonly used: multimeter, manifold gauge set, refrigerant leak detector, infrared thermometer, microfarad meter, refrigerant scale, and a basic parts kit (capacitors, contactors, fuses). These tools allow rapid, accurate triage during after-hours calls.
Common mistakes and how to avoid them
I once accepted a technician’s verbal “we’ll need a compressor” statement during a heatwave without asking for a written diagnostic. The result was a large invoice for an unnecessary part that could have been avoided with an extra 10-minute test. Now I always request a written diagnostic, second opinions for high-cost parts, and photos before major replacements.
Another frequent error I’ve seen: homeowners attempting to add refrigerant without leak detection. That temporarily restores cooling but hides, and often worsens, the problem. Don’t authorize refrigerant recharges without leak tracing — it can be a false economy and may violate warranty.
Quick checklist before the technician leaves
- Written diagnostic and itemized invoice received.
- Photos of damaged parts and the indoor/outdoor units taken.
- Workmanship guarantee period and terms spelled out.
- Parts return policy and warranty transfer for replaced components.
- Follow-up appointment scheduled for permanent repairs, if only a temporary fix was used.
When to call in a professional instead
Call a licensed emergency technician immediately if you detect electrical burning smells, visible arcing, refrigerant line damage, or repeated breaker trips. Also call if your occupants include infants, elderly, or medically vulnerable people and indoor temperatures exceed 80°F for prolonged periods.
Transition: as you finalize decisions, remember warranties and consumer rights — check guidance from consumer protection agencies and industry standards outlined earlier.
Final summary: use the quick triage steps to stabilize your home, document everything, compare written emergency estimates, and prefer licensed, certified providers with after-hours guarantees. With these steps you’ll minimize cost and downtime and make confident repair or replacement decisions.