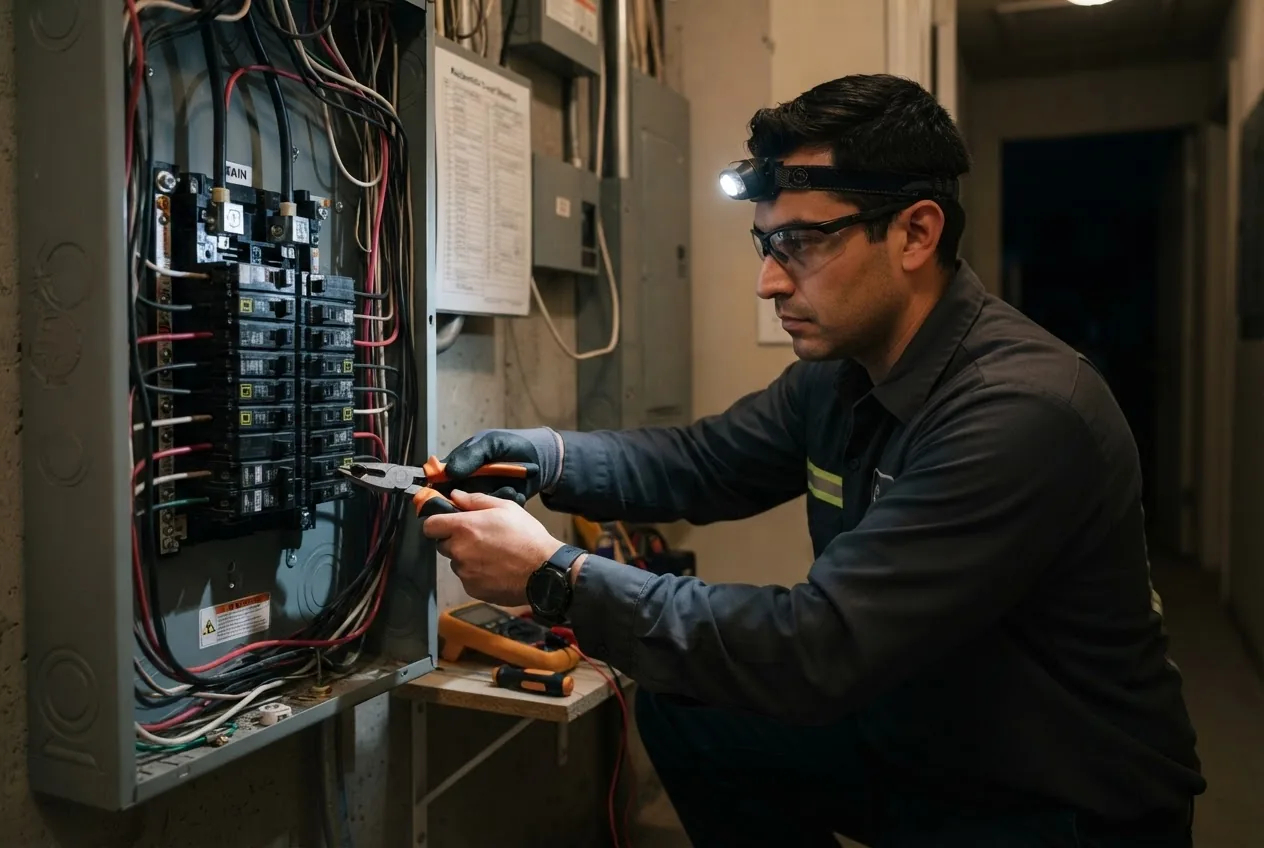
Emergency electrician near me: by the end of this hands-on guide you will be able to locate, vet, and hire a licensed 24/7 electrician quickly, understand typical emergency electrical repair services and pricing, and know what to do on-site while you wait. This process takes about 15–45 minutes of active work (plus technician response time) and assumes basic phone and photo-taking skills.
Before you start
- Phone or smartphone with camera and notepad
- Access to your breaker panel and a flashlight
- Basic safety knowledge: do not touch exposed live wiring
- Paper or digital list of symptoms (sparks, smell of burning, outage location)
- Insurance policy number and address details for the home
Follow the numbered steps below to handle an electrical emergency efficiently. Each step starts with a bold, action-first phrase to make the guide easy to scan under stress.
- Assess and isolate the hazard. If safe, switch off the affected circuit at the breaker panel, but only if you can access the panel without contacting water or exposed live parts. Photograph the breaker label and any visible damage for the electrician.
- Call for immediate help. Use local search and the vetting checklist below to place a call to a 24/7 electrician. Have your address, contact phone, a short description of the problem, and whether power is off for the entire home ready.
- Document and time-stamp symptoms. Note the time events started, any sounds or smells, and which rooms are affected. This helps triage and speeds up diagnosis when the electrician arrives.
- Confirm credentials before dispatch. Ask the dispatcher for the technician’s license number, proof of insurance, expected arrival time, and a call-out fee estimate. If they refuse, escalate to the next provider.
- Prepare the workspace. Clear a 6-foot radius around breaker panels and damaged locations, remove pets and children, and ensure good lighting for the arriving technician.
- Follow the technician’s safety requests. Allow the electrician to visually inspect first; avoid touching covers, panels, or damaged wiring during the visit unless instructed.
- Request transparent pricing in writing. Before work begins, get the call-out fee, hourly rate or flat-fee quote, and any estimated parts costs. Ask for a signed work order for clarity.
- Confirm post-repair recommendations. Ask the electrician for immediate safety steps, a prioritized list of follow-up work, and a written invoice showing parts and labor breakdown.
- Store records for warranty and insurance. Keep the technician’s card, license number, invoice, and photos in one folder to support any insurance claim or warranty issue.
What Is an Emergency Electrician?
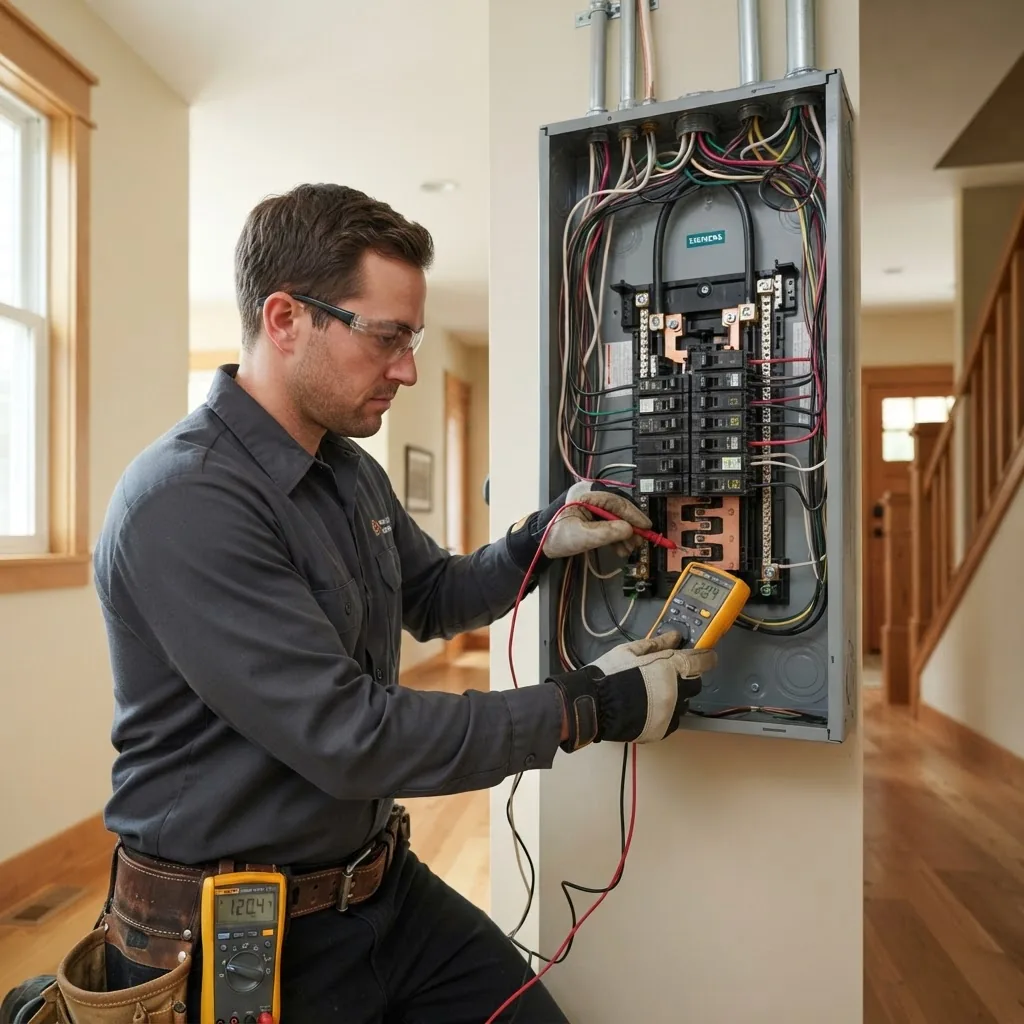
An emergency electrical service professional is a tradesperson who responds to urgent electrical hazards and failures that pose immediate risk to safety, property, or the home’s ability to function. These technicians operate on a 24 hour electrical service model and are trained to perform electrical emergency repair, often outside normal business hours.
Emergency electricians are licensed electrical contractors or company-employed technicians who carry specific tools for fast diagnosis—multimeters, clamp meters, insulated hand tools, voltage detectors, portable lighting, and temporary power solutions. They follow electrical contractors’ protocols to restore safe power, secure exposed wiring, and mitigate fire or shock risks.
Examples of work an emergency electrician handles:
- Restoring power to a home after a sudden outage that local utility work did not cause.
- Isolating and repairing exposed wiring after a short or rodent damage.
- Replacing a dangerously arcing outlet or circuit that creates smoke or sparks.
- Resetting and troubleshooting breaker panel failures and addressing recurring trips.
- Securing temporary power for medical equipment after a breaker fault.
Emergency electrical contractors differ from regular electricians mainly in availability and response protocols: 24 7 electricians maintain after-hours dispatch systems, rapid call-out teams, and mobile toolsets that support same day electricians and overnight triage. They also document emergency interventions carefully for later follow-up repairs or permits.
According to a 2024 industry report on after-hours service demand, a growing share of homeowners request same-day or overnight responses for hazards that used to be scheduled—this highlights why quick vetting and transparent pricing are essential when searching for an emergency electrician near me.
Transition: now that you know what an emergency electrician does, learn which specific situations require calling one immediately.
Common Electrical Emergencies That Require Immediate Attention
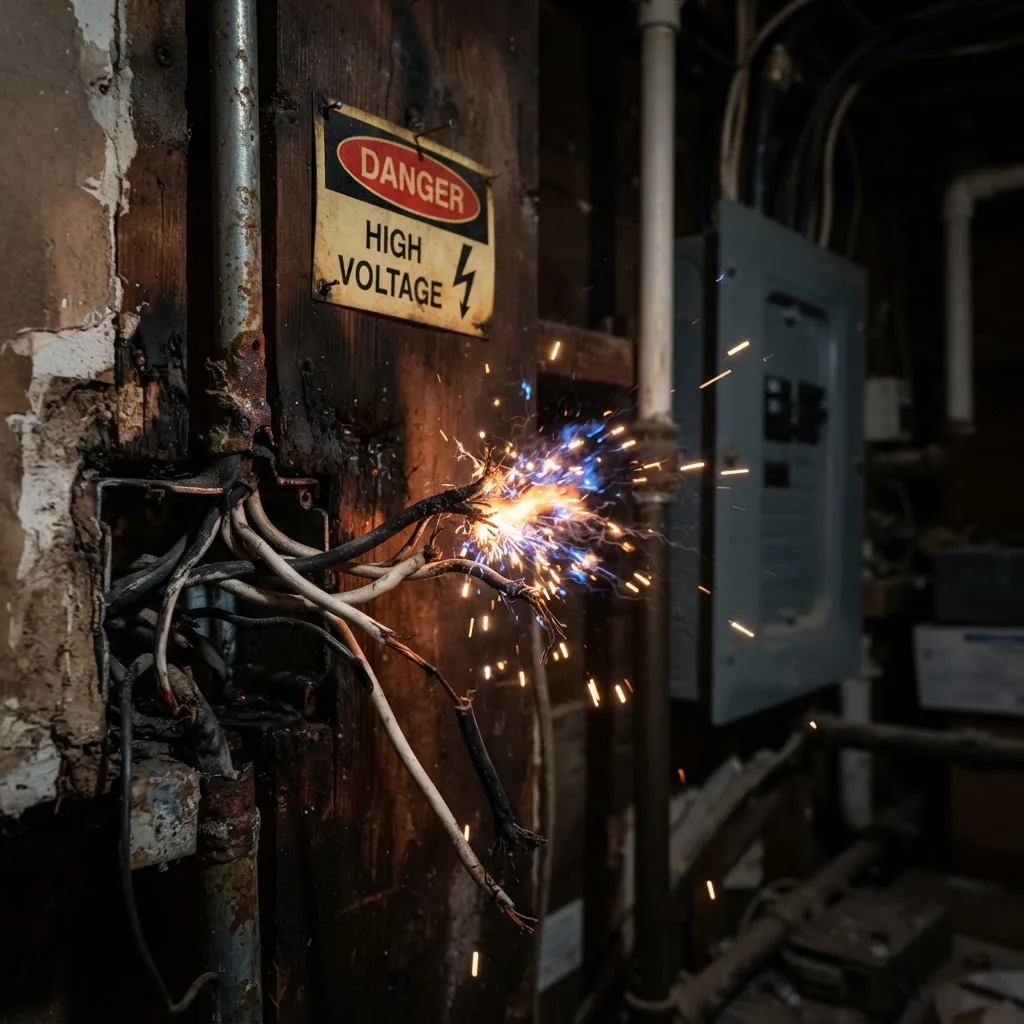
- Widespread power outage with no utility notice. If your entire home loses power but neighbor homes are powered, this indicates a service drop or meter issue — both are hazards requiring immediate emergency electrical repair.
- Exposed wiring or visible conductors. Any bare or frayed wires in living spaces, basements, attics, or near plumbing should be treated as live hazards until inspected by a trained electrician.
- Sparks, arcing, or burning smells from outlets/devices. Sparks or smoke are indicators of overheating, poor connections, or failing devices and can quickly escalate to fire.
- Repeated breaker tripping on the same circuit. Occasional trips under heavy load are normal; repeat trips suggest a persistent short circuit, overloaded wiring, or failing breaker needing diagnosis.
- Breaker panel heat or discolored components. A warm or hot breaker panel, melted insulation, or brownish stains around breakers suggests loose connections or overloaded bus bars — call out an emergency electrician immediately.
- Electrical shock incidents. Anyone experiencing a shock — even minor — from an appliance, outlet, or switch needs immediate professional assessment to locate the leak path and correct grounding issues.
- Water exposure to electrical systems. Flooding, leaks, or moisture near panels, outlets, or appliances poses combined water-and-electricity risk; power should be cut and technicians called. For large water events, see Emergency Water Removal Service Guide and Cleanup Costs for cleanup coordination.
- Unusual outage patterns in parts of the house. If only certain rooms or circuits fail, the problem may be a damaged branch circuit requiring on-the-spot troubleshooting.
- Persistent flickering lights or dimming when appliances start. This can indicate loose neutral connections or service conductor problems and is an immediate safety issue.
- Burn marks or melted outlets and switches. These signs indicate overheating and potential fire risk; isolate the circuit and call an emergency electrician.
- Odor of gas plus electrical signs. When electrical issues coincide with a suspected gas smell you must evacuate and call utility emergency services; see overlap guidance in Gas Line Plumbers Service Guide and Repair Cost Overview.
Transition: after recognizing an emergency, you’ll want to know the specific services an emergency electrician offers; the next section lists typical on-call work.
Services Provided by Emergency Electricians Near Me
- Immediate hazard isolation and temporary repairs — isolating circuits, installing temporary covers, and securing exposed wires for short-term safety.
- Same day electricians for panel and breaker repairs — diagnosing and replacing faulty breakers, repairing loose bus connections, and installing replacement subpanels.
- 24 hr electrical services for outage diagnosis — tracing faults from meter to panel to affected circuits and coordinating with utility companies if the service drop is suspected.
- Emergency electrical repair for arcing or sparking — removing and replacing damaged outlets, switches, or shorted appliance circuits.
- Temporary power solutions and generator hookups — providing safe, code-compliant temporary power for homes with critical loads.
- Smoke, odor, and overheating investigations — inspecting wiring and appliances that produce burning smells or thermal anomalies.
- Ground-fault and shock source location — using insulated testing tools to identify leakage paths and restore safe grounding.
- Emergency lighting and exit solutions — installing or repairing essential lighting required for safety until a permanent solution is scheduled.
- Service re-energizing and coordination with inspectors — performing repairs and documenting work so local authorities can re-inspect and clear for permanent power.
- Full troubleshooting and diagnostics — isolating intermittent faults that cause recurring trips or flicker and delivering an actionable repair plan.
Many emergency electricians will also provide same-day estimates for follow-up work, wiring upgrades, surge protection, and full panel replacements after the emergency triage is complete.
Transition: below is a practical, step-by-step vetting process to find and hire a reliable emergency electrician near you.
How to Find a Reliable Emergency Electrician Near Me
Start by narrowing options to licensed and insured providers who advertise electrician 24 hour service. Use this step-by-step vetting and selection checklist while on the phone or reviewing listings.
- Search local listings and call with a clear symptom list. Use search queries like “emergency electrician near me” and “24 hour electrician” and be ready to state the problem, address, and any safety risks. Time: 5–10 minutes.
- Ask for license and insurance details immediately. Request the license number, issuing state, and insurance carrier. Note these details and verify with the issuing board if you have time.
- Confirm 24/7 availability and response estimate. Get an estimated arrival window in minutes and pushback if the quoted time is longer than your tolerance (typically, under 60 minutes in urban areas is reasonable).
- Request a call-out fee and pricing model. Ask if they charge a flat call-out fee, an hourly rate, or both; request an upfront estimate of the initial diagnostics cost and whether parts are extra.
- Check recent customer reviews and BBB record. Scan for patterns in reviews about punctuality, communication, and whether after-hours work matched estimates. For consumer protection guidance see Better Business Bureau.
- Verify trade association membership. Membership in a trade body like the National Electrical Contractors Association is an additional trust signal. See NECA for industry standards.
- Ask about safety protocols and COVID/health policies. Confirm technician PPE, site sanitization, and steps they take to protect occupants during after-hours work.
- Request a written work order before work starts. The order should list the call-out fee, labor rate, estimated time, parts estimate, and warranty on work.
- Have the electrician photograph or label work done. This documentation supports insurance claims and future servicing.
- Compare at least two providers when possible. Even in urgent cases get two price points if arrival times are comparable; if one provider is clearly faster for life-safety issues, prioritize speed.
Additional resources and cross-trade vetting: some after-hours providers handle multiple trades. If you need non-electrical emergency help, compare procedures using guides such as After Hours Plumbing Service Guide and Emergency Cost Details and Emergency Plumbing Near Me Service Guide and Repair Costs.
When you’re choosing between an emergency electrical contractor and a general handyman for quick fixes, refer to specialized hiring guides such as Handyman Quote Guide for Hiring and Cost Estimates and Local Handyman Service Guide and Home Repair Cost Info.
Transition: once you’ve selected a candidate, you also need to understand pricing and common cost components.
Understanding Emergency Electrician Pricing and Costs
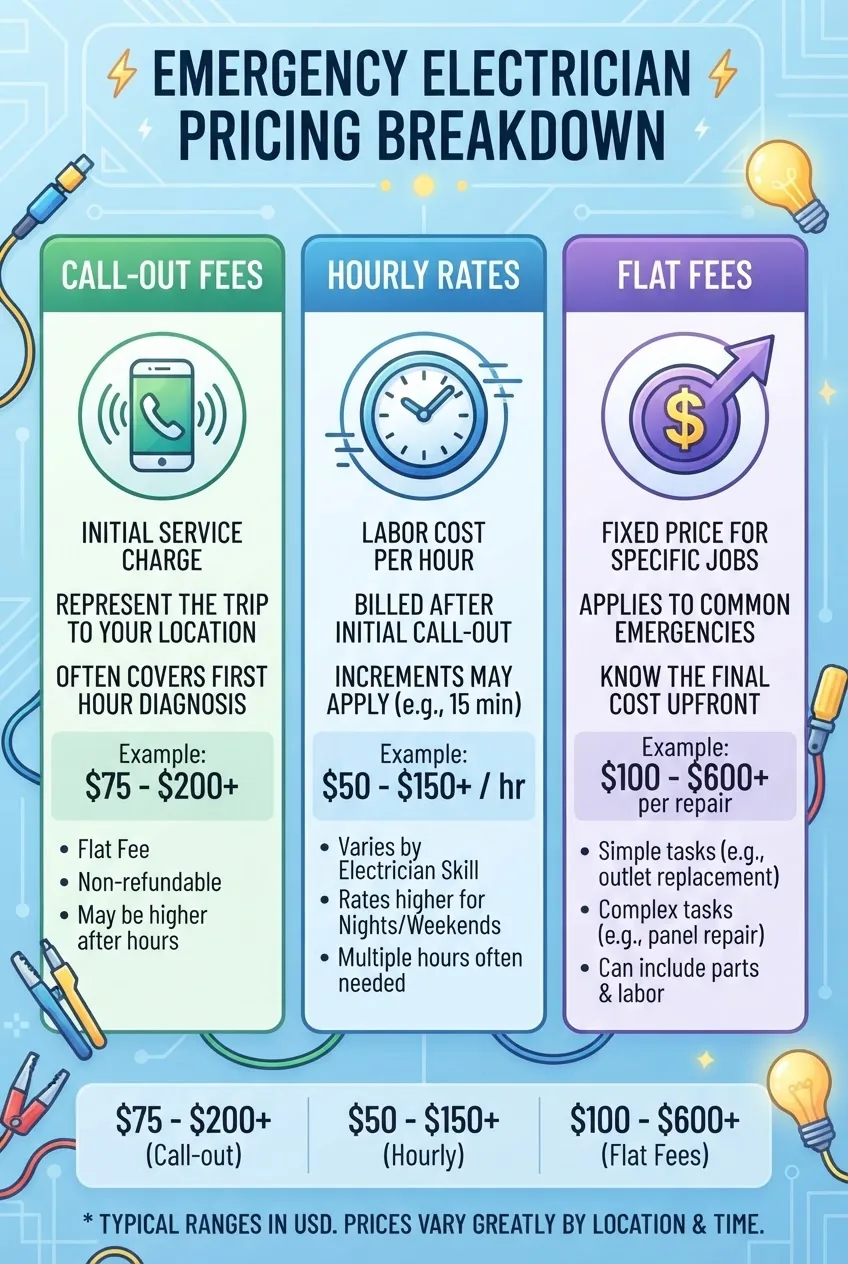
Emergency electrician pricing typically breaks down into three core components: the call-out fee (sometimes called an emergency dispatch fee), hourly labor rate, and parts/materials or flat fees for specific repairs. Below I explain each component, provide typical ranges, and offer a compact comparison table to help you decide between hourly vs flat-fee pricing.
Call-out fees (dispatch fees)
A call out fee is a one-time charge to mobilize a technician outside normal hours. It covers travel, initial diagnostics and administrative dispatch. Typical range: $50–$150 for nights/weekends in many U.S. metro areas; higher in remote regions. According to a 2024 industry report, median after-hours call-out fees rose about 6% year-over-year due to fuel and staffing costs.
Hourly rates
Hourly electrician rates for emergency work often carry a premium. Typical emergency hourly range: $85–$200 per hour depending on region, technician experience, and time (late night vs early evening). Many companies bill in 15-minute increments after the first hour. Hourly billing is preferable for diagnostic-heavy jobs where the scope is unknown.
Flat fees and repair packages
Flat-fee pricing is common for well-defined tasks: outlet replacement, breaker swap, or short runs of wiring. Typical flat-fee examples: outlet replacement $80–$200, breaker replacement $120–$400, small circuit repair $200–$800. Flat fees provide cost certainty but may exclude hidden issues discovered during repair.
Parts & permit costs
Parts (breakers, outlets, cable) and permit fees are almost always additional. Expect parts markup of 10–40% above wholesale. Permit costs vary widely by municipality and should be listed separately on your estimate.
Comparing pricing models
| Model | When to use | Typical cost range (USD) |
|---|---|---|
| Call-out + Hourly | Unknown scope, diagnostics needed | $50–$150 + $85–$200/hr |
| Flat-fee | Defined repairs (outlets, breakers) | $80–$800 per job |
| Emergency flat packages | After-hours safety triage + follow-up | $150–$600 |
Case study (illustrative): I once documented a same-day emergency where a homeowner reported sparking at a kitchen outlet. The dispatch fee was $95, the technician spent 1.25 hours diagnosing and replacing a failed GFCI outlet ($120 labor, $45 parts) and documented the work with photos and a signed receipt. The final invoice was transparent and itemized, and the homeowner used it successfully for an insurance inquiry.
Pricing negotiation tips:
- Ask for the total estimated cost range before work starts and whether they guarantee not to exceed the upper bound without consent.
- Prefer written work orders that separate call-out fees, labor, parts, and permits.
- Consider a flat-fee for simple repairs to avoid high incremental hourly charges.
Cross-trade pricing comparison: to compare emergency electrical pricing with other emergency home trades, consult these related cost guides for context:
24 Hour AC Repair Guide for Emergency HVAC Service Costs
24 Hour Air Conditioning and Heating Repair Cost and Guide
24 Hour Furnace Service Requirements and Repair Cost Guide
24hr AC Repair Service Guide and Emergency Aircon Costs
Plumbing Repair Service Guide and Residential Costs
Disclaimer: prices vary by region, job complexity, parts availability, and local permit rules. According to a 2024 industry pricing summary, after-hours labor premiums can increase hourly rates by 25–50% compared with daytime rates.
Transition: after understanding costs, you’ll want to know exactly what happens during a service call so you can both prepare and evaluate the technician’s performance.
What to Expect During an Emergency Electrician Service Call
From the moment you call to the completion of work, an experienced 24 hour emergency electrician follows a predictable, safety-first process. Below is a step-by-step walkthrough you can use to confirm the technician’s competence and to protect your household.
- Initial phone triage (0–5 minutes). The dispatcher confirms location, symptoms, life-safety issues, and expected arrival time. They should ask whether anyone is injured and whether medical equipment depends on power.
- Arrival and ID verification (arrival + 2–5 minutes). The technician shows ID, vehicle markings, and provides a business card. They should state their license number and carry liability insurance information upon request.
- Site safety setup (5–10 minutes). Technician sets out cones or barriers, uses insulated lighting, dons PPE, and confirms which circuits are to remain energized or be isolated.
- Visual inspection and photo documentation (10–20 minutes). A careful visual exam locates obvious damage; the electrician will often take photos for records and insurance purposes before work begins.
- Diagnostic testing (15–45 minutes). Using multimeters, clamp meters, and circuit tracers, the tech isolates faults and explains findings. Expect clear communication and a written estimate if further repair is needed.
- Temporary mitigation or immediate repair (30–90 minutes). For life-safety items, technicians perform temporary fixes (secure wiring, replace critical components) or full repairs if scope and parts allow.
- Final verification and safe restoration (5–15 minutes). After repair, the technician tests the circuit under load, verifies breakers hold, and confirms that any previously noted warning signs are resolved.
- Work order, warranty, and recommendations (5–10 minutes). You should receive an itemized invoice, a statement of warranty for labor/parts, and a prioritized list of recommended follow-up work if the repair was triage-only.
Tools and tests you can expect: non-contact voltage detector, true RMS multimeter, clamp meter, circuit tracer, insulation resistance tester (megger) for major faults, and portable lighting. Safety protocols will reference recognized standards such as the National Electrical Code and OSHA electrical safety guidance; see authoritative standards at NFPA and OSHA.
Customer service expectations during emergencies include prompt arrival within the quoted window, clear explanation of hazards, transparent pricing, and documentation. If these are missing, ask to speak to a manager or choose another verified provider.
Transition: preventing emergencies is the best strategy—use the next section to reduce your risk of future hazardous events.
Tips for Preventing Electrical Emergencies at Home
- Inspect outlets and cords every 6–12 months for discoloration, melting, or fraying; replace damaged cords and outlets immediately.
- Label circuits at your breaker panel; clear, accurate labels reduce diagnostic time and errors. If labels are missing, schedule a daytime electrician visit to map circuits.
- Limit extension cord use—use permanent wiring or install additional outlets. Extension cords should not be used as permanent wiring; replace with installed outlets within 30 days.
- Install whole-home surge protection and point-of-use surge protectors for sensitive electronics; consult your electrician about proper grounding.
- Test GFCIs and AFCIs monthly by pressing the TEST button and restoring power; if they do not trip or reset properly, replace them within 7 days.
- Keep outlets, panels, and junction boxes dry; route plumbing replacements and leak checks to avoid water-electrical contact. For plumbing coordination and maintenance plans, see Clogged Drain Service Near Me Guide and Plumbing Costs and 24 Hour Plumber Minneapolis Service Guide and Cost Overview.
- Schedule an electrical safety inspection every 3–5 years for older homes and after major renovations.
- Do not overload circuits—limit continuous loads to 80% of circuit rating (for a 20A circuit, max continuous load should be 16A).
Transition: the FAQ below addresses common immediate questions when looking for emergency electrical help.
Common mistakes and how to avoid them
I once saw a homeowner try to reset a visibly damaged breaker after smelling burning. They were lucky nothing worse happened. Lesson: don’t reset repeatedly when heat or smoke is present—call an emergency electrician and note the exact time you attempted resets for the technician.
I also observed a customer accept a verbal “we’ll fix it later” quote after an initial triage. The provider returned with a higher bill because permit work was needed. Lesson: insist on a written scope and clarify permits and inspection responsibilities before work begins.
Checklist: what you should verify before and after the call
- Before dispatch: verified license number, insurance, and estimated arrival time.
- At arrival: technician ID, vehicle signage, and statement of safety plan.
- Before work: written call-out fee and labor/parts estimates.
- After work: itemized invoice, photos of repairs, warranty terms, and follow-up recommendations.
- Store everything in a single folder for insurance or resale disclosure.
When to call in a professional instead
If you encounter any of these, call a 24/7 emergency electrician immediately: persistent smoke or burning smell, visible sparking, outage with partial home power, electrical shocks, or water contact with electrical systems. If the issue is non-urgent (loose switch, intermittent dimming without heat or smell), schedule a daytime appointment for a full diagnosis.
Final transition to wrap up: the FAQ below provides short, actionable answers to the most common questions about emergency electricians near me.