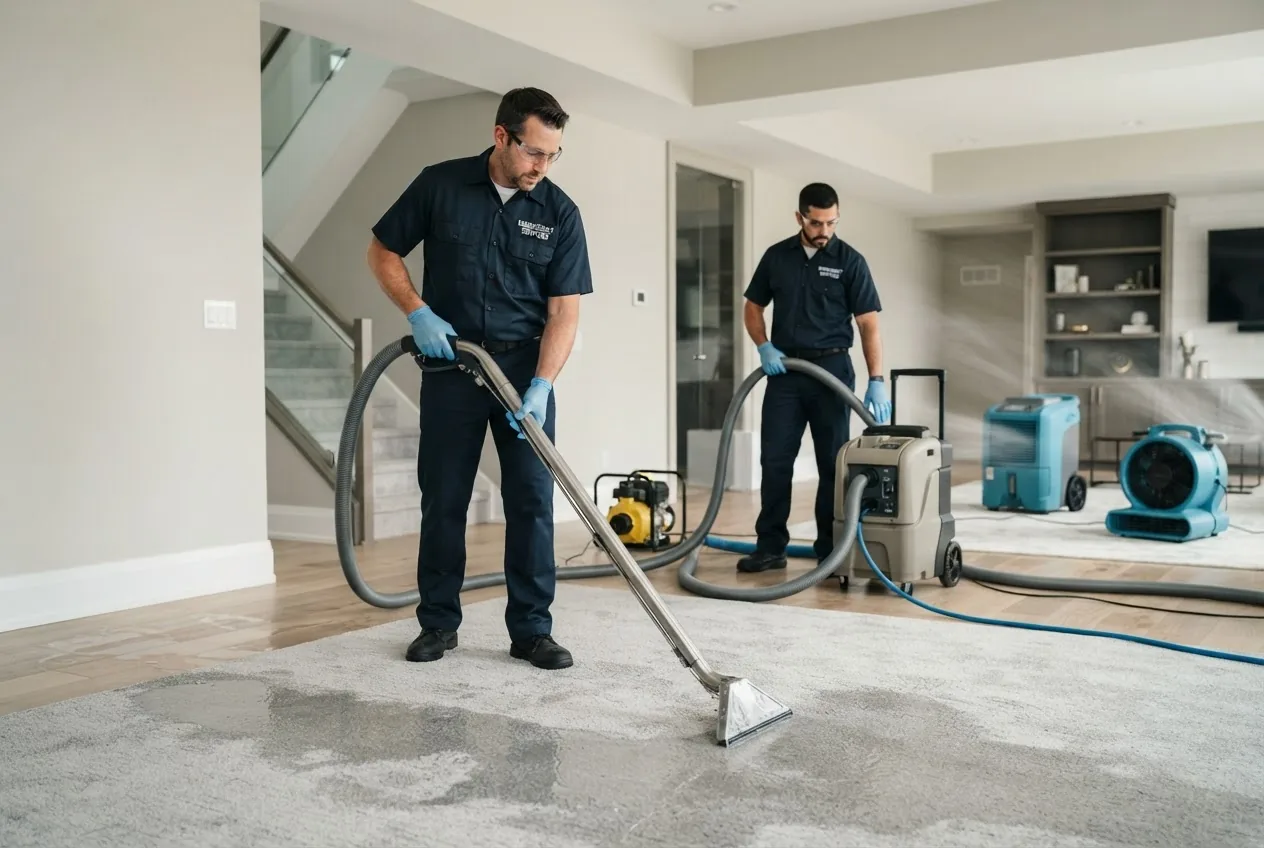
By the end of this guide you will be able to identify when to call for professional emergency water removal, run an initial safe extraction if required, estimate realistic costs, and verify that drying and mold-prevention steps were completed. Time to complete: an initial response and extraction can take 1–6 hours; full drying and verification typically 48–120+ hours. Skill level: homeowner with basic tools; know when to switch to pros.
Understanding Emergency Water Removal
This section explains what professional water extraction and emergency water removal entail, the categories of water damage responders use, and why classification matters for safety, cleanup technique and cost. Below I define the three standard water-damage categories and list common contamination sources so you can rapidly assess risk.
- Category 1 — Clean Water: Water from a broken supply line, rain that has not been contaminated, or appliance leaks that are potable. Clean water is the lowest contamination risk but will degrade to higher risk within 48–72 hours if not extracted and dried. According to a 2024 industry report, delays over 48 hours increase restoration costs by 30% on average.
- Category 2 — Grey Water: Water containing some contaminants (dishwasher, washing machine overflow, toilet tank water). Grey water can cause illness and requires more aggressive drying and disinfection; professionals often use antimicrobial treatments and disposal procedures.
- Category 3 — Black Water: Highly contaminated water from sewage, rising floodwater, or long-standing stagnant water. This requires PPE, sewage removal protocols, disposal per local regulations, and usually specialized remediation contractors following IICRC standards.
- Clear vs. rising floodwater: Floodwater driven by storms often carries soil, debris and potential chemical contaminants; treat it as Category 3 until tested.
- Structural vs. surface intrusion: Surface pooling on finished floors needs fast extraction; structural intrusion into walls/insulation necessitates controlled demolition and drying to remove trapped moisture.
Why the categories matter: they determine PPE, disposal rules, allowable DIY actions, and whether insurers classify the loss as covered per policy wording. For technical cleanup standards see IICRC standards and for health risk guidance see the EPA mold resources at EPA: mold.
Transition: Knowing categories and sources clarifies when an immediate emergency response is necessary. The next section outlines the most common triggers and why fast action matters.
When and Why You Need Emergency Water Removal Services
Emergency water removal is required when water threatens life safety, structural integrity, or when contamination risks are high. Rapid extraction and drying limit mold growth, reduce repair scope, and increase insurance claim success. Below are the most common urgent scenarios households face.
- Burst water supply lines or hot-water heater failures causing rapid flooding.
- Sewage backups into basements, bathrooms or drains (Category 3 risk).
- Storm-driven flooding with rising external water entering the envelope.
- Sump pump failure during heavy rain leading to basement or crawlspace inundation.
- Major appliance failure (dishwasher/washer) causing multi-room spread.
- Slow leaks into wall cavities discovered only after visible staining — requiring emergency drying to prevent hidden mold.
- Fire-suppression water (sprinkler or firefighter water) that soaks multiple levels.
Urgency factors: standing water over one inch typically demands extraction within 24 hours; moisture in wall cavities or insulation needs action within 48 hours to avoid mold colonization. Timing matters for both restoration scope and insurance documentation.
24 hour AC repair service costs offer a useful benchmark for 24/7 availability and premium emergency pricing — compare response windows and callout fees.
emergency plumbing service costs are often directly tied to water emergencies such as burst pipes or failed valves.
Related emergency service comparison: For broad context on rapid-response trades and customer expectations, also check consumer guidance from the FTC.
Transition: With causes and urgency clear, walk through a field-tested, step-by-step emergency water removal workflow you can follow safely as a homeowner or to supervise technicians.
Step-by-Step Guide to Emergency Water Removal Process
Before you start, gather what you’ll need and confirm safety: PPE, pump or wet vac, extension cords with GFCI, fans/dehumidifiers, trash bags, basic tools and a camera for insurance documentation.
- Prerequisites and required materials:
-
- Personal protective equipment: N95 or P100 respirator, nitrile gloves, rubber boots, eye protection.
- Tools: submersible pump (2,000–4,000 GPH for basements), 6–12 gallon wet/dry vacuum, long-handled squeegee, buckets.
- Drying equipment: axial air movers (2–6 units), desiccant or refrigerant dehumidifier (capacity 50–120 pints/day), hygrometer (RH and temperature).
- Cleaning supplies: EPA-registered disinfectant, detergents, trash bags, plastic sheeting, tape, and moisture meter.
- Documentation: smartphone/camera, notepad, and a list of room dimensions.
- Ensure safety and turn off electricity — If water reaches outlets, panels, or you smell gas, do not enter. Shut power at the main only if safe to access; otherwise call an electrician. For gas odors, evacuate and call the utility. According to a 2023 fire-safety survey, 28% of secondary incidents after floods were due to energized equipment.
- Stop the source — Isolate supply valves, shut off main water, or clamp broken lines. If sewage or external flood is the source, prioritize containment and call professionals. If the cause is plumbing-related and you need a quick reference, see 24 hour plumber Minneapolis guide.
- Document damage for insurance — Photograph affected areas, measure water depth, note start times. Insurers often require immediate mitigation evidence to approve claims.
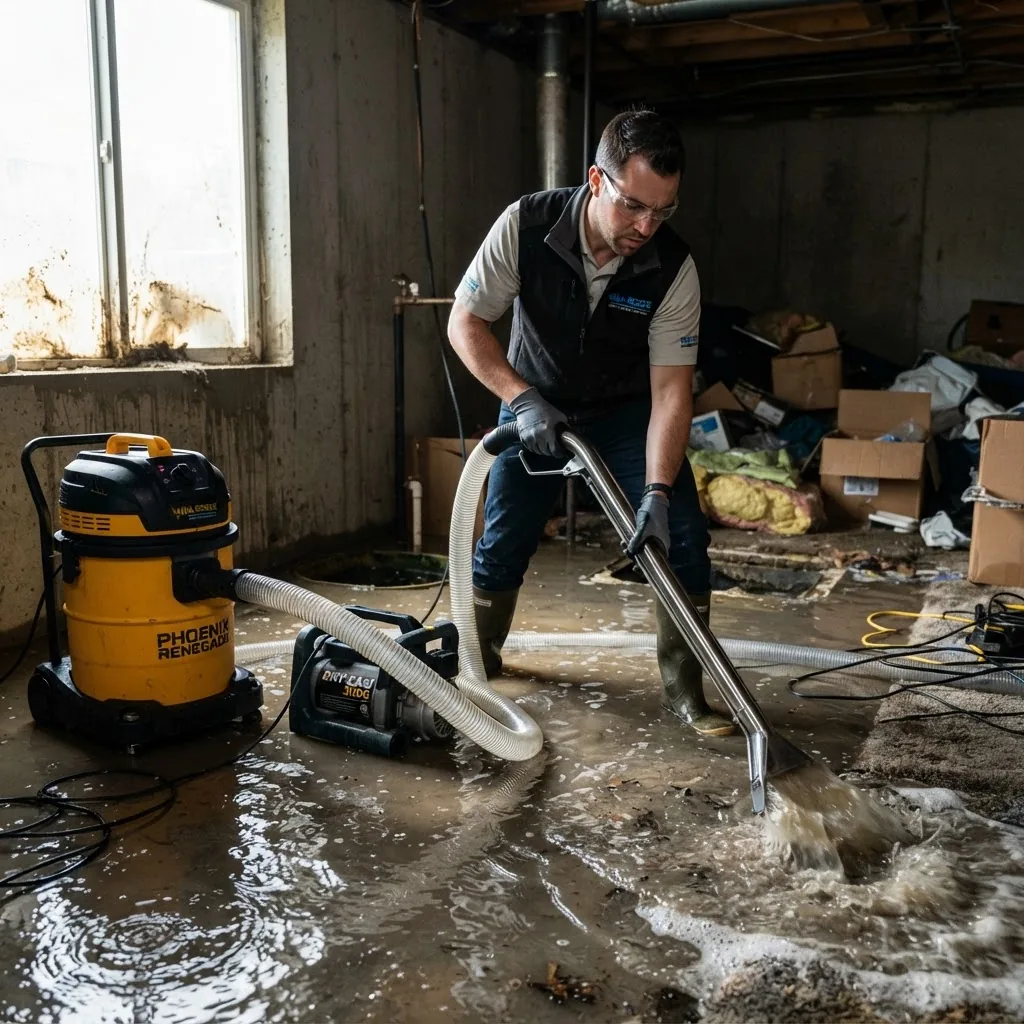
- Extract standing water — Use a submersible pump for >1″ depth or large basements (pump capacity 2,000–4,000 GPH). For shallow spread use a wet/dry vacuum. Work from the lowest point outward. Pump discharge should be into storm drains or curbside following local regulations — do not pump into sanitary sewers unless permitted.
- Remove soaked contents and salvageable items — Move furniture and porous materials outside or to a dry zone. Items like particleboard, upholstered furniture, and insulation often require disposal. Label items moved and document their condition.
- Begin controlled demolition where necessary — Remove wet drywall up to 12–24 inches above the visible waterline and cut into wall cavities if insulation is wet. Use plastic containment if creating dust. This prevents hidden moisture pockets that cause mold.
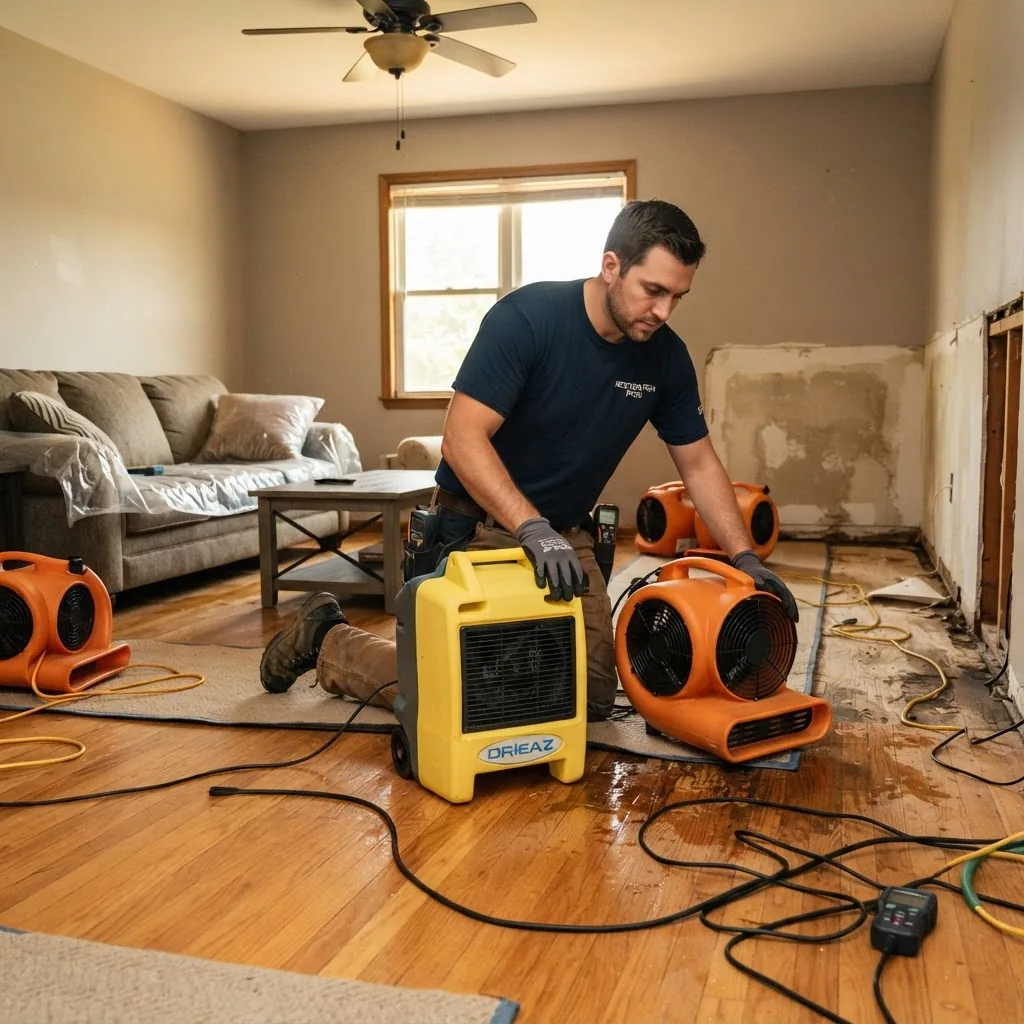
- Set up drying equipment — Place axial air movers to create airflow along surfaces (aim at a 45° angle). Position dehumidifiers in the affected zone; for typical single-family rooms use a refrigerant dehumidifier sized 40–70 pints/day, for large basements use 70–120 pints/day or desiccant units in cold climates. Target reduction: achieve 10–15% relative humidity (RH) or at least reduce indoor RH below 50% as measured with a hygrometer.
- Monitor moisture and adjust — Take baseline moisture readings of walls, floors and structural members and log readings every 12–24 hours. Expect 48–72 hours for surface drying with adequate equipment and 3–5 days for deeper structural drying; longer if insulation or subflooring remains wet.
- Clean and disinfect — For Category 1 and 2 events use detergent cleaning and an EPA-registered disinfectant. For Category 3 (sewage) follow IICRC S500 protocols: remove all contaminated porous materials and disinfect all affected surfaces; use PPE and follow local disposal rules.
- Verify restoration readiness — Only replace insulation and finish materials after moisture content is within safe thresholds: wood studs <16% MC (moisture content) or per manufacturer thresholds, and internal wall cavity RH under 50% for 48 consecutive hours. Record verification data for insurance and future reference.
- Finalize repairs and preventive work — Replace removed drywall, flooring and insulation. Consider upgrades: backflow preventers on sewer lines, sump pump with battery backup, or relocating mechanical equipment above projected flood levels.
Common mistakes and how to avoid them (practitioner notes)
I once delayed cutting drywall after extracting standing water because the room felt dry; hidden cavity moisture sustained mold that required full replacement — cut to expose and measure within 24 hours. I’ve also seen homeowners use only box fans; without dehumidification, drying stalls and mold begins.
Post-steps checklist
- All standing water pumped and removed — yes/no
- Moisture readings logged (initial and current) — values attached
- Air movers and dehumidifiers placed and running — model & capacity noted
- Contaminated porous materials removed and documented
- Final RH below 50% for 48 hours or wood MC <16%
- Photos and receipts uploaded for insurance claim
When to call a professional
Call a licensed restoration contractor when water is Category 2/3, water covered more than 150 sq ft, structural members are saturated, or if you lack PPE or equipment. Also call professionals for insurance coordination or when electrical systems are involved.
Transition: Now that you have a step-by-step field procedure, here’s a deep dive into how companies price emergency water removal so you can budget and spot fair estimates.
Costs of Emergency Water Removal – What to Expect
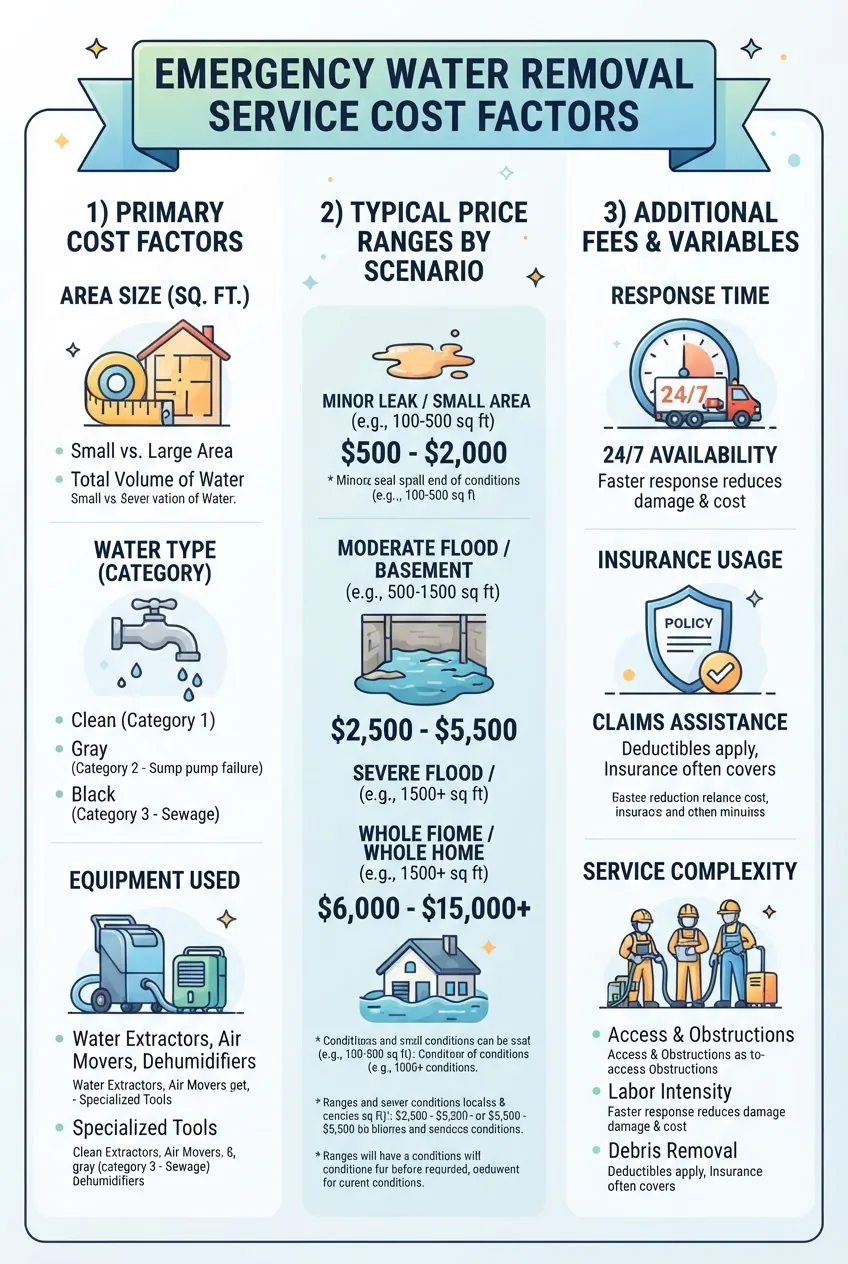
Pricing for emergency water removal services varies with urgency, water category, area size, accessibility, equipment needs and disposal. Below I break down typical pricing models, per-scenario ranges, and common add-ons. Expect premium rates for nights/weekends or 24 hour response.
Common pricing models:
- Flat call-out fee + per-hour labor (typical for small jobs): call-out $150–$350; tech hourly $75–$150 per hour.
- Per-square-foot extraction and drying (common for insurance claims): $1.50–$6.00 per sq ft depending on water category and materials affected.
- Equipment and materials included vs billed separately: dehumidifier usage, drying mats, antimicrobial treatments often billed as add-ons ($50–$500).
Below is a practical comparison table of typical cost ranges by scenario to help you prepare conservative estimates:
| Scenario | Typical Price Range | Notes |
|---|---|---|
| Small room spill (<150 sq ft), Category 1 | $200–$800 | Call-out + 2–4 hours labor; minimal drying equipment. |
| Basement flooding (250–800 sq ft), Category 2 | $1,200–$6,000 | Pumps, several air movers, 2–5 days drying; dehumidifiers included. |
| Sewage backup (any size), Category 3 | $2,000–$10,000+ | Containment, PPE, demolition and disposal; full remediation. |
| Whole-house flood / storm damage | $10,000–$50,000+ | Large-scale demolition, reconstruction and multi-week drying. |
Line-item cost drivers and typical add-ons:
- Response/dispatch fee: $75–$350 — premium for nights/weekends.
- Labor: $75–$150 per technician per hour — more for certified specialists or hazardous remediation.
- Equipment rental/usage: air movers $15–$35/day each; dehumidifiers $25–$75/day each; specialty pumps priced per job.
- Demolition and disposal: $300–$3,000 depending on materials removed and disposal of hazardous waste (sewage).
- Antimicrobial/odor work: $50–$1,000 depending on product and coverage area.
- Moisture testing and documentation: $150–$500 for professional moisture mapping and completion reports.
Real-world examples (practitioner case studies):
- Example A — Small laundry room overflow (Category 1): A 100 sq ft room extracted and dried by a local crew in 6 hours. Invoice: $225 call-out + $300 labor + $80 equipment = $605 total.
- Example B — Finished basement flood (Category 2): 600 sq ft, required pumps, 6 air movers, 2 dehumidifiers for five days. Invoice: $350 call-out + $2,400 labor + $1,250 equipment + $800 demolition = $4,800 total. Documentation included for insurance.
- Example C — Sewage backup into utility room (Category 3): Immediate containment and full removal of affected drywall and insulation; sewage disposal fees applied. Invoice: $450 call-out + $3,000 remediation + $1,200 disposal = $4,650 total.
How insurers typically handle costs: Most homeowner policies pay for “sudden and accidental” incidents (e.g., burst pipe) but exclude gradual neglect. Always review policy language and capture mitigation receipts — quick professional mitigation improves approval odds. For emergency pricing comparisons across trades, see the air conditioning repair cost guide and 24 hour furnace repair costs.
Other cost comparisons to consider: emergency HVAC and after-hours plumbing premiums. See 24hr AC emergency repair costs and after hours plumbing service costs for similar premium structures.
NOTE ON LOCAL REGULATIONS: Some municipalities restrict pumping contaminated water to storm drains or require permits for disposal; check local public works regulations and include those fees in estimates. For hazardous water cleanup protocols follow IICRC S500 guidance and consult local environmental agencies as required.
Transition: Costs aside, hiring the right contractor reduces risk and speeds recovery — below are vetted selection tips and hiring red flags.
Choosing the Right Emergency Water Removal Service
Select contractors who can prove credentials, provide transparent cost breakdowns, and coordinate with insurers. Below is a practical checklist and hiring guidance drawn from industry best practices and consumer-protection principles.
Hiring checklist (verify all before work begins):
- Do they operate 24/7 and provide clear response-time commitments?
- Are technicians IICRC-certified (WRT or WTR) or are company certifications documented?
- Do they provide a written scope, line-item estimate and moisture map before reconstruction?
- Is emergency pricing (call-out, hourly, equipment) documented and explained?
- Do they handle insurance paperwork or provide documentation supporting claims?
- Can they supply references or before/after case studies and reviews?
- Are they licensed and insured for both liability and pollution/contaminated waste handling in your jurisdiction?
Red flags to avoid: contractors pressuring for immediate full payment, refusing to provide documentation, or quoting unusually low flat fees with vague scopes. Consumer protection resources at FTC consumer guides recommend getting at least two estimates and retaining all documentation.
24 hour plumber Minneapolis guide can help identify reliable plumbers when the water source originates from plumbing failures. Also consider contacting a licensed electrician if water reached electrical systems — see emergency electrician guide.
Request these deliverables from any prospective contractor: detailed written estimate, equipment list with capacities, schedule of drying and verification, contractor insurance proof, and a list of subcontractors if used. For post-extraction repairs you may need a handyman; compare quotes with handyman quote guide before committing to reconstruction contractors.
Transition: If you cannot get a pro immediately, follow the safe temporary steps below — but remember these are stopgaps, not substitutes for certified remediation.
DIY Tips and Precautions for Temporary Water Cleanup
Short-term homeowner actions can limit damage before pros arrive. Follow safety-first steps, document everything, and avoid actions that could worsen contamination or void insurance.
- Confirm electrical safety — If water reached outlets or appliances, do not enter until power is isolated. If unsure, stay out and call a professional electrician.
- Wear PPE — At minimum: N95 respirator, gloves, rubber boots, eye protection when handling contaminated water.
- Remove lightweight contents — Move rugs, electronics, and boxed items to higher ground; open exterior doors and windows for ventilation if outdoor air is dry.
- Remove water using wet/dry vacs and mops — Don’t attempt to pump sewage-contaminated water; that requires professionals. For clogged drains leading to backups, know that local plumbers list typical fees and response times; see clogged drain service costs.
- Use fans and open doors — Box fans help surface evaporation but pair with dehumidification when humidity is high; otherwise drying stalls.
- Discard unsalvageable porous items — Carpets glued to concrete, upholstered furniture, and insulation often retain contamination and should be bagged and removed.
- Document actions — Photograph every step and keep receipts for purchased supplies and rental equipment.
Safety warnings: never mix bleach with ammonia-based cleaners; avoid entering floodwater with open wounds; and avoid running HVAC systems if ducting or the system was exposed to contaminated water until inspected.
For plumbing repairs post-mitigation, compare local repair pricing with the plumbing repair cost guide to budget appropriately.
Transition: Emergency removal only buys time — proper restoration and mold prevention determine long-term outcomes. The next section details post-extraction cleanup and monitoring.
After Emergency Water Removal – Cleanup, Restoration, and Mold Prevention
After extraction and primary drying, focus on restoration, monitoring, and measures to prevent mold recurrence. Follow IICRC S500 protocols for remediation and consult EPA health guidance when mold is present.
- Do’s
- Do verify moisture content: wood MC <16% or baseline pre-loss readings; interior cavity RH <50% for 48 hours.
- Do retain documentation of all readings, equipment run-times and receipts for insurance.
- Do use licensed contractors for mold remediation when visible mold covers >10 sq ft or for HVAC contamination.
- Do replace wet insulation and porous materials removed during mitigation.
- Do upgrade preventative systems (sump pump, backflow preventer) where cost-effective.
- Don’ts
- Don’t re-install drywall or flooring until verification readings meet thresholds and a professional signs off.
- Don’t paint or seal over damp materials — trapped moisture causes paint failure and mold growth.
- Don’t assume odor elimination equals dryness — odors often persist until deep moisture is removed.
Mold risk and mitigation: Mold can begin to colonize within 24–48 hours on wet organic materials. According to a 2024 industry report, starting professional drying within 24–48 hours reduces mold remediation claims by approximately 45%. For remediation standards consult the IICRC and for health risks see EPA guidance.
Post-restoration tasks and local costs: you may need a handyman for trim, baseboard, or cabinet reinstallation; check local handyman cost info to budget repairs.
Monitoring plan (12–30 days): inspect for musty odors, perform spot moisture checks weekly for three weeks, and photograph problem areas. If moisture rebounds after equipment removal, call the restoration contractor to reassess drying strategy.
Choosing the Right Emergency Water Removal Service