By the end of this guide you’ll be able to triage a home HVAC emergency, estimate likely 24-hour costs, and choose a trustworthy service. Expect 45–90 minutes to read and prepare; skill level assumed: homeowner with basic DIY confidence and phone-based troubleshooting experience.
Before you start
- Phone, charged (save local emergency HVAC numbers)
- Flashlight and basic tools (screwdriver, pliers, multimeter if available)
- Access to your unit’s make, model and installation year
- Paper and pen to record technician name, arrival time and quoted prices
- Safety gear: gloves, dust mask, eye protection
24 hour ac repair and related emergency HVAC services are fast-moving; this hands-on guide organizes immediate actions into clear steps, then expands into topic-specific chapters so you can both act and plan. Follow the numbered steps below first, then dive into the detailed H2 sections for background, costs, and provider selection.
- Secure safety and power: Cut power at the breaker for the HVAC circuit if you smell gas, see electrical arcing, or observe leaking fluids; do not attempt repairs. Note: gas issues require immediate evacuation and calling gas emergency services.
- Quick diagnosis and containment: Identify symptoms (no cool air, strange noises, water pooling). Photograph the outdoor unit and the air handler’s wiring label—these images speed up remote triage with dispatch.
- Contact an after-hours provider: Call at least two 24/7 services and compare ETA, emergency fee, and warranty handling; ask for technician certifications and proof of insurance.
- Document the call: Record dispatcher name, estimated arrival, and the after-hours premium. Typical after-hours flat-fees range from $75–$250 extra; get it in writing or as an SMS.
- Prepare access and safety: Clear a 3-foot radius around indoor and outdoor units, secure pets, and ensure safe, well-lit access for the technician.
- Follow technician instructions: During the visit, ask for a written estimate before work starts, request part SKU numbers for replacements, and insist the technician logs refrigerant handling per EPA rules.
- Decide repair vs. replacement: If quoted repair is over 50% of unit replacement cost and the unit is older than 10–12 years, consider replacement. Use the checklist at the end to finalize the choice.
- Retain all records: Keep photos, invoices, and the technician’s diagnostic notes for warranty or insurance claims.
- Follow up preventive actions: Schedule a post-emergency full diagnostic within 7–14 days to catch issues the emergency visit only patched.
Understanding 24 Hour AC Repair and Emergency HVAC Services
This section explains what constitutes emergency HVAC repair and how 24/7 response differs from routine service. An emergency call is triggered when a system failure poses safety risks, causes significant property damage risk, or leaves occupants without critical heating or cooling.
Key differences between after hours and routine service:
- Response window: 24/7 HVAC services advertise calls answered anytime, but realistic ETAs vary—expect 30 minutes to 3 hours depending on time and location.
- Work scope: Emergency visits prioritize safety and restoring partial function (e.g., stop a refrigerant leak, replace a failed capacitor) rather than full diagnostics or energy-optimizing replacements.
- Pricing model: After-hours labor often adds a flat emergency fee plus higher hourly rates; parts may be charged at retail markups.
- Service guarantees: Many 24 hour hvac repair providers offer limited emergency guarantees (24–72 hours). For full warranties, schedule a follow-up during regular hours.
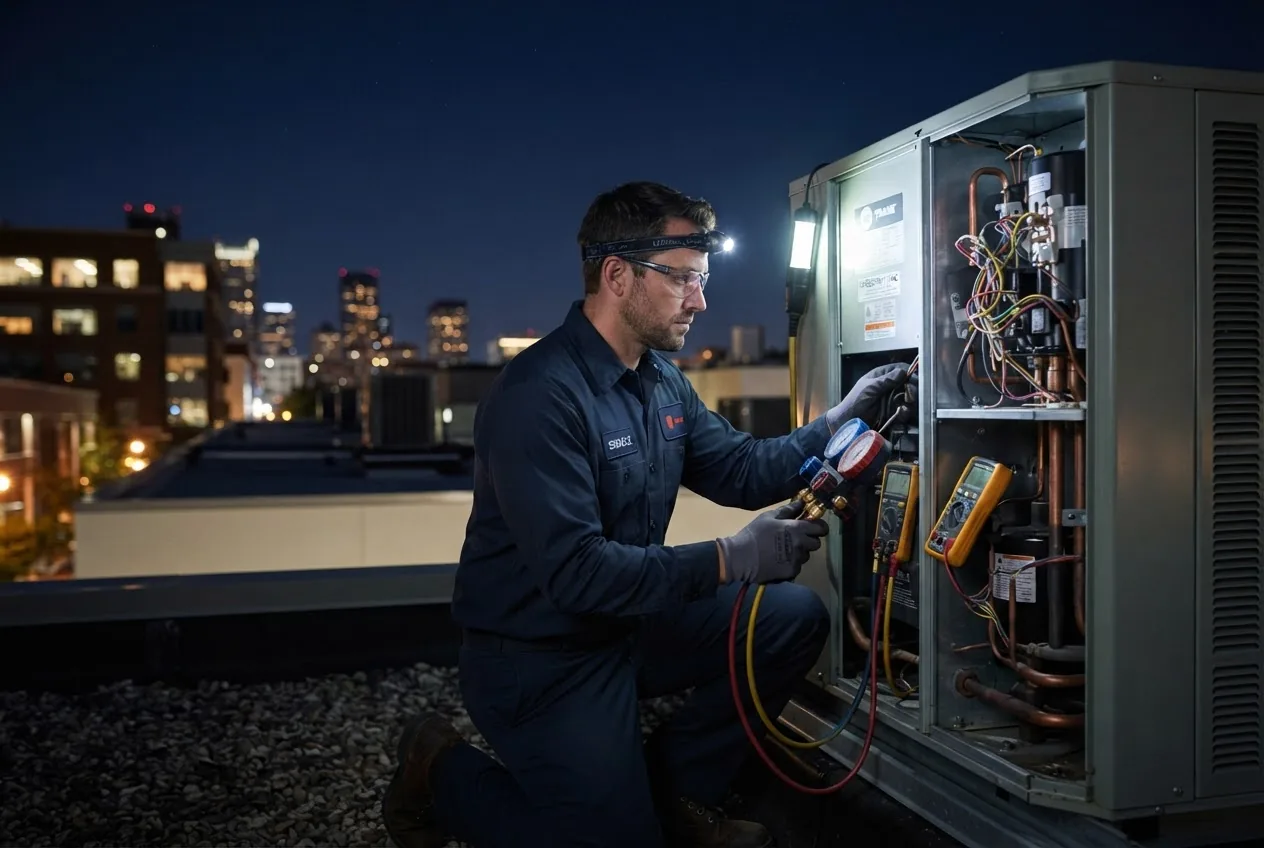
Tools and technology common in emergency calls: refrigerant leak detectors, clamp multimeters, combustion analyzers (for gas furnaces), and heat pump diagnostic modules. Industry experts recommend asking technicians about their certification (for example, NATE) and refrigerant handling training. According to a 2024 industry report, technicians with NATE certification reduce diagnostic time by an average of 20% compared with uncertified technicians, improving emergency response efficiency.
24 Hour AC Repair Guide for Emergency HVAC Service Costs
Safety and consumer protection: technicians must follow EPA refrigerant rules and local licensing. For guidance on efficiency and safe refrigerant practices see ENERGY STAR and local licensing boards. According to a 2024 consumer report, homeowners who verified licensing and insurance before hiring had 35% fewer post-service disputes.
Common AC Emergencies and HVAC Situations Requiring 24 Hour Repairs
Below are the most frequent emergency scenarios technicians respond to, with quick diagnostics and on-site actions you can expect. Numbered for field clarity, each scenario shows the immediate risk and typical stabilization steps.
- No cooling during extreme heat: Symptoms: compressor not running, warm air at vents. Emergency action: technician checks breakers, contactor, capacitor, and confirms refrigerant pressure. Possible on-site fixes: capacitor or contactor replacement; temporary coolant top-up is rare due to leak concerns.
- Complete power loss to the outdoor unit: Symptoms: outdoor fan and compressor silent. Emergency action: verify AC circuit breaker, condenser disconnect, and control voltage. Often a failed run capacitor or shorted compressor windings are isolated; some issues require part replacement and extended downtime.
- Major refrigerant leak (visible oil, hissing): Symptoms: rapid loss of cooling, frosted lines, visible oil stains. Emergency action: isolate the circuit and repair leak patch or cap off line if full repair requires a multi-day job. EPA refrigerant rules apply—ask for documentation.
- Water pooling or active flooding from the unit: Symptoms: standing water near indoor air handler or ceiling stains. Emergency action: stop the condensate pump or drain, clear the primary drain and install temporary containment. If water has reached electrical components, shut power and call immediate service and, if needed, an Emergency Water Removal Service Guide and Cleanup Costs.
- Unusual or dangerous combustion smells (gas furnace): Symptoms: rotten-egg smell, yellow pilot light, soot. Emergency action: evacuate, shut off gas at the meter if trained, and call gas emergency services. Never operate a furnace showing combustion anomalies.
- Heat pump failure in winter: Symptoms: defrost cycle problems, no heat output, excessive ice on outdoor unit. Emergency action: technician checks defrost board, reversing valve, and outdoor thermostat; sometimes a temporary electric resistance heater is recommended until parts arrive.
- Loud mechanical noises or arcing: Symptoms: banging, screeching, or visible electrical arcing. Emergency action: immediate power cut and call for emergency electrical and HVAC service to avoid fire risk.
- Control board or thermostat failure during heatwave: Symptoms: unresponsive thermostat, erratic cycling. Emergency action: swap in a backup thermostat or bypass to restore basic control until full repair is completed.
When HVAC failures cause water damage or risks to other systems, coordinate services. For water extraction and restoration guidance, see Emergency Water Removal Service Guide and Cleanup Costs.
Cost Breakdown for 24 Hour AC Repair and Emergency HVAC Services
Emergency HVAC pricing can be opaque. Below is a transparent breakdown of typical cost components, sample price ranges, and real-world examples so you can evaluate quotes. Costs vary by region, time, and system complexity; all estimates include after-hours premiums unless noted.
Cost components
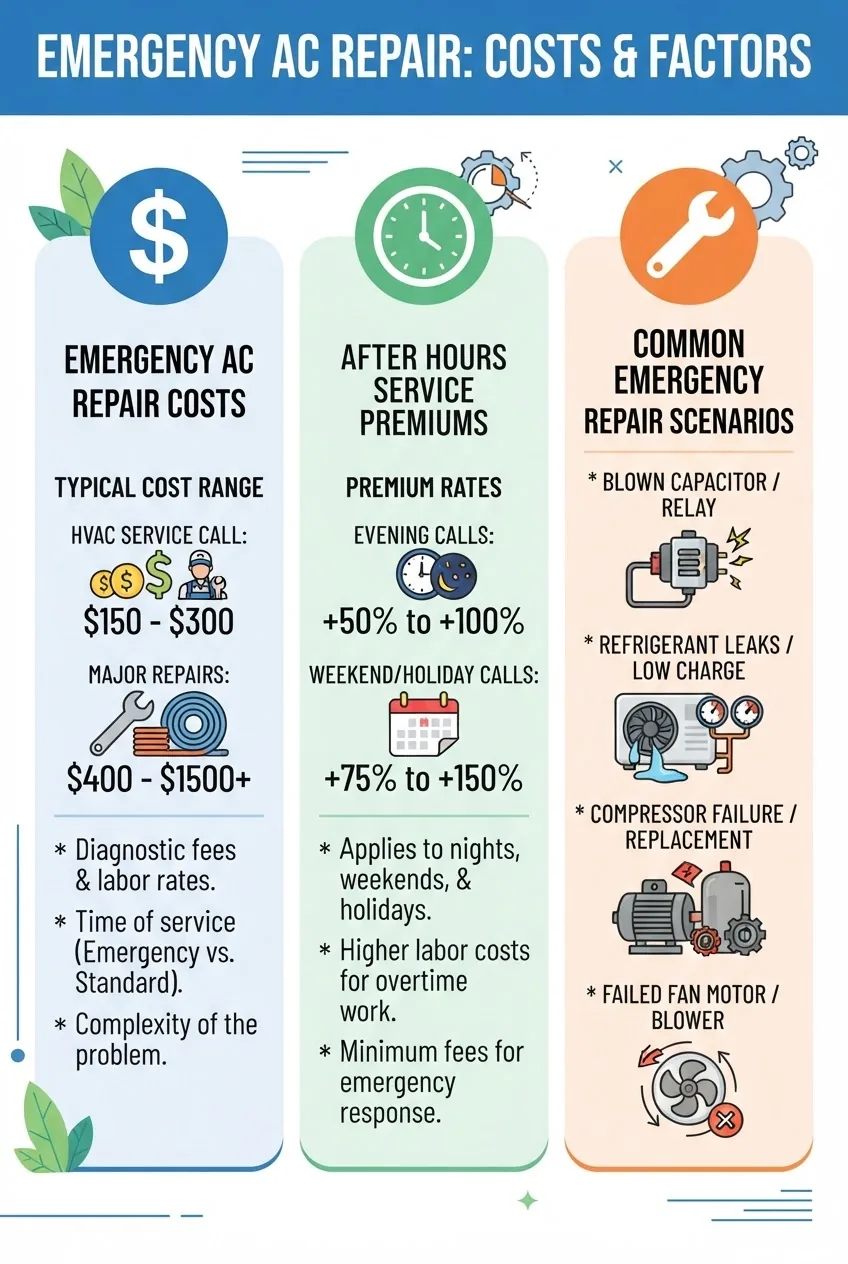
- Emergency call-out fee: Flat fee charged for after-hours dispatch — typically $75–$250.
- Hourly labor: After-hours rates often $120–$250/hr; daytime rates typically $80–$150/hr.
- Parts and markup: Parts (capacitors, contactors, compressors) are billed at cost plus 10–40% markup depending on provider policy.
- Diagnostic fee: Many services waive this if you authorize repair; otherwise $50–$150.
- Travel surcharge: Remote locations or late-night responses may add $25–$100.
Typical emergency price examples (realistic ranges):
| Issue | Common emergency fix | Estimated total cost |
|---|---|---|
| Capacitor or contactor failure | Part replacement, safety check | $200–$600 |
| Refrigerant leak (minor) | Locate leak, patch, recharge (EPA paperwork) | $400–$1,400 |
| Compressor or major motor fail | Compressor replacement or temporary bypass | $1,200–$4,000+ |
| Condensate overflow / water damage control | Pump/line replacement, water removal coordination | $300–$1,500 |
Case study (practitioner example): A homeowner called at 2:15 a.m. with no cooling during a 95°F night. Dispatch arrived at 3:05 a.m., replaced a failed run capacitor ($95 part) and charged a $150 emergency fee plus $180 labor — total billed $425. The technician documented the capacitor SKU, the start and finish times, and provided a follow-up diagnostic offer for $89 within business hours. According to a 2024 industry report, median emergency visit totals for single-family homes were approximately $520.
Regional and seasonal variations: expect 10–40% higher costs in peak demand seasons and urban areas. Always request a written quote and ask about parts SKUs, warranty on labor for emergency visits, and whether diagnostic fees apply if you decline the repair.
For a broader look at combined heating and cooling emergency pricing, consult the 24 Hour Air Conditioning and Heating Repair Cost Guide and the 24hr AC Repair Service Guide and Emergency Aircon Costs.
Warranty and insurance: Ask if the emergency service will void manufacturer warranties (rare, but possible if non-certified parts are used). For insurance coverage—particularly for water damage—document everything and check with your insurer immediately. Industry experts recommend keeping service contracts active; according to a 2024 consumer report, homeowners with active HVAC maintenance contracts were 30% less likely to need costly emergency replacements.
How to Choose a Reliable 24 Hour HVAC Repair Service
Choosing a trustworthy emergency contractor reduces risk and surprise costs. Use the step-by-step checklist below during calls and before authorizing emergency work.
- Verify licensing and insurance: Ask for license number and verify with your state’s contractor licensing board. Ask for proof of liability insurance and worker’s comp coverage.
- Confirm certifications: Request technician certifications such as NATE, EPA refrigerant certification, and any manufacturer-specific training.
- Check response time and guarantee: Get a guaranteed ETA window and written emergency-service guarantee (24–72 hours typical).
- Request a written emergency estimate: Include emergency fee, hourly labor, travel, and parts markup percentage. Do not accept verbal-only quotes.
- Read recent reviews and dispute history: Check Better Business Bureau or Consumer Reports for complaint patterns.
- Compare two local providers: Use at least two quotes to compare costs, ETAs, and proposed fixes.
- Ask about parts provenance: Confirm OEM or approved aftermarket parts and ask for part SKUs on the invoice.
- Verify payment terms: Avoid full payment upfront; hold final payment until completed work and required documentation (EPA refrigerant paperwork, warranty) are provided.
Supplemental resources: when issues involve electrical safety, coordinate with an Emergency Electrician Near Me Service Guide and Pricing. For gas line concerns, request a gas line specialist; confirm their documentation as with HVAC techs: Gas Line Plumbers Service Guide and Repair Cost Overview.
When comparing quotes, use the Handyman Quote Guide for Hiring and Cost Estimates to evaluate labor vs. parts vs. emergency premiums fairly.
What to Expect During a 24 Hour AC Repair Emergency Call
Below is a typical emergency-call walkthrough from dispatch to resolution, with recommended homeowner actions and expected timelines.
- Call and triage (0–15 minutes): Provide symptoms, model info, and whether children/elderly are affected. Ask for ETA and emergency fee. Request technician certification details.
- Technician dispatch and travel (15–180 minutes): ETA depends on time, traffic, and call volume. Keep the access area clear and have account info ready. If ETA exceeds an hour and the home is occupied by vulnerable people, ask for temporary cooling measures (fans, cold packs) and consider relocation options if necessary.
- On-site assessment (15–45 minutes): Technician conducts safety checks: gas leaks, electrical continuity, compressor and fan operation, and refrigerant pressures. You will usually see a visual inspection plus instrumentation (clamp meter, refrigerant gauges, leak sniffer).
- Immediate stabilization (30–90 minutes): If the issue is a simple part failure (capacitor, contactor), the technician may replace it and test. If the problem is a refrigerant leak or compressor failure, they may patch temporarily, cap lines, or secure the unit and provide a written plan for full repair or replacement.
- Estimate and authorization (5–20 minutes): Technician presents a written emergency estimate. If you authorize, work begins immediately; if you delay, confirm whether they will return at the next available slot and what the re-dispatch fee will be.
- Completion and documentation (10–30 minutes): After repair, technician documents serial numbers, part SKUs, pressures, and any safety tests (combustion analysis for furnaces). Ask for a copy of all paperwork and photos of replaced parts.
- Follow-up scheduling: Good providers schedule a non-emergency follow-up within 7–14 days for a full diagnostic and to confirm the emergency fix remains stable.
Practitioner tip: I always confirm the technician logs refrigerant recovery per EPA rules and gives a completed copy. If not provided, request it before paying — missing refrigerant documentation can complicate later warranty or insurance claims.
Preparing for HVAC Emergencies: Tips and Preventative Measures
Preventive work reduces emergency calls. These actionable steps—timed and quantified—help you avoid a late-night service call and can reduce emergency costs by up to 40% per a 2024 homeowner analysis.
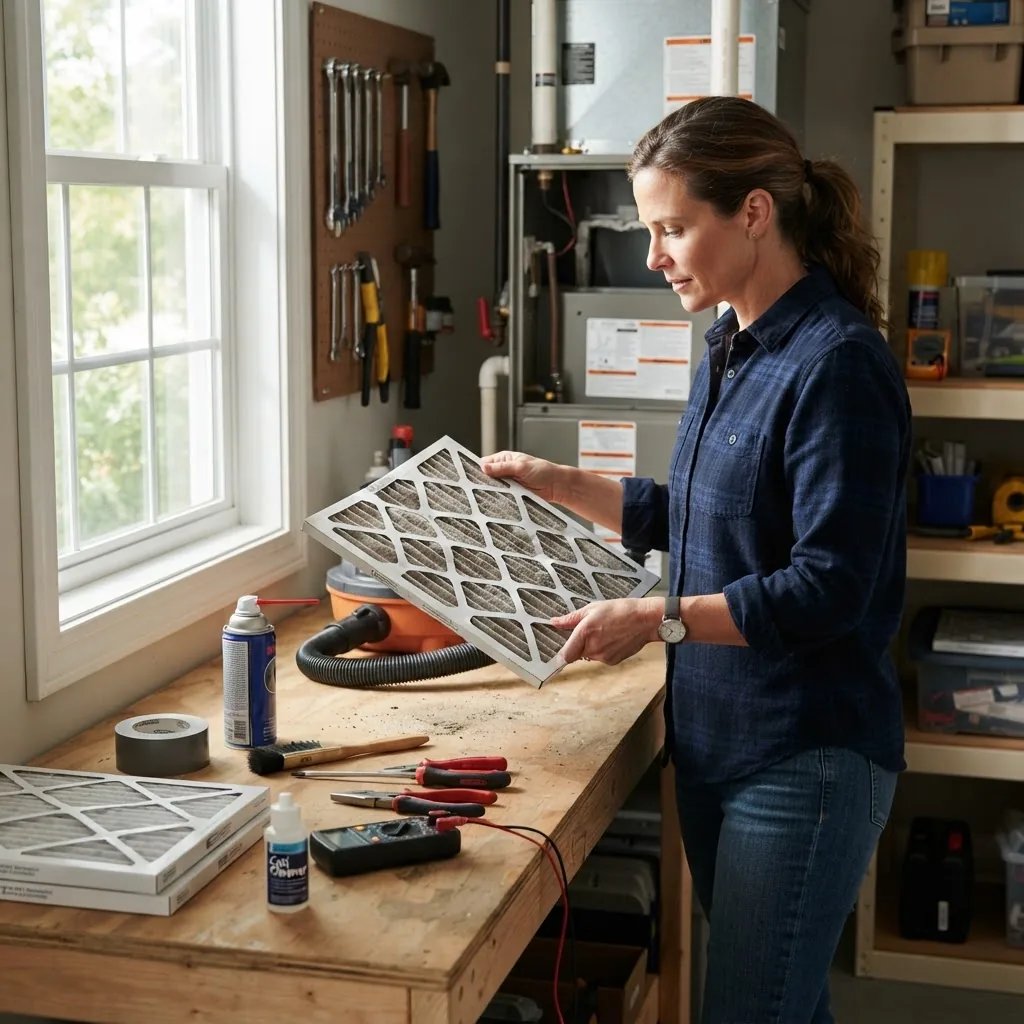
- Monthly filter checks: Inspect and replace disposable filters every 30 days (MERV 8–11 common). Washable filters: clean monthly and dry fully before reinstalling.
- Seasonal professional tune-up: Schedule biannual HVAC maintenance—spring for cooling, autumn for heating. Ask for a 20-point checklist; expect a service visit time of 60–90 minutes and a charge of $85–$170.
- Clear airflow paths: Maintain 3-foot clearance around outdoor units and keep vent registers unobstructed; inadequate airflow increases compressor stress and failure risk.
- Inspect condensate drainage: Every 3 months, pour 1 quart of water through the primary condensate drain to verify flow; if slow, consider a $100–$250 condensate line cleaning to avoid overflow emergencies.
- Install smart alerts: Use a smart thermostat with runtime and fault alerts; set push notifications for rapid temperature swings greater than 6°F in 30 minutes.
- Keep emergency contact list: Save at least two 24/7 providers and one local restoration service. For plumbing overlap during HVAC failures, keep links to after-hours services such as 24 Hour Plumber Minneapolis Service Guide and Cost Overview, After Hours Plumbing Service Guide and Emergency Cost Details, and Clogged Drain Service Near Me Guide and Plumbing Costs.
- Prepare basic supplies: Keep 2–3 ice packs, battery fans, and a portable USB power bank for fans to help vulnerable occupants while waiting for service.
- Document your system: Keep make/model/serial and installation receipts in one place (paper or cloud). This reduces dispatch time and ensures correct parts ordering.
- Coordinate multi-trade support: If water or electrical damage accompanies HVAC failure, have links ready to Emergency Plumbing Near Me Service Guide and Repair Costs and local handyman services Local Handyman Service Guide and Home Repair Cost Info to minimize downtime.
- Plan for cleanup: If leaks occur, have a restoration partner: Emergency Water Removal Service Guide and Cleanup Costs so you can immediately start mitigation to avoid mold.
For minor repairs and maintenance that may be handled by a handyman, reference the Plumbing Repair Service Guide and Residential Costs and the Local Handyman Service Guide and Home Repair Cost Info.
When to Repair vs. Replace Your AC Unit in an Emergency
Emergency situations often force quick decisions. Use the table below and the rule-of-thumb thresholds to decide.
| Situation | Repair | Replace |
|---|---|---|
| Unit age < 8 years | Repair usually cost-effective | Replace if repair >70% of unit value |
| Unit age 8–12 years | Repair if minor (capacitor, control board) | Replace if compressor or coil failure |
| Unit age > 12 years | Repair only for temporary patch | Replace for long-term reliability and efficiency |
| Repair cost vs replacement | Repair if <50% of replacement cost | Replace if repair >50% of replacement cost |
If the emergency involves a furnace or your emergency choice is tightly linked to heating options, see the 24 Hour Furnace Service Requirements and Repair Cost Guide for furnace-specific replacement thresholds.
Common mistakes and how to avoid them
I have seen these errors repeatedly in emergency calls; avoid them.
- I paid the full fee before work: I once authorized full payment for a late-night fix and later discovered parts had a high markup. Avoid full prepayment; pay after work and documentation.
- I accepted a verbal quote: A homeowner I assisted agreed to a verbal price and later faced higher charges. Always insist on a written emergency estimate before the technician begins non-emergency work.
- I didn’t verify credentials: I overlooked certification during a late call; the follow-up uncovered improper refrigerant handling. Verify license, insurance, and EPA certification upfront.
- I delayed documentation: I failed to photograph the failed part and we couldn’t make a warranty claim. Always photograph and get SKUs and serials on the invoice.
Compact checklist
- Breaker and power check completed
- Emergency fee and ETA written down
- Two provider quotes obtained when possible
- Technician certifications verified (NATE, EPA)
- Written estimate with parts SKUs before work
- Photos and documentation retained
- Follow-up diagnostic scheduled within 7–14 days
When to call a professional instead
Call an emergency professional immediately if you detect gas smell, electrical arcing, active water leaks into living spaces, or if occupants are at health risk from temperature extremes. For non-life-safety issues like minor thermostat glitches or clogged filters, schedule a regular-hours visit unless the system fails entirely during a peak event.
Transition: The detailed practical steps above prepare you for immediate action; next, the FAQ section answers common, precise homeowner questions about 24 hour AC repair.