Gas line plumbers deliver the repairs homeowners pay most attention to: average repairs run $300–$2,500 while emergency repairs average about $850 and full replacements can exceed $4,000. These figures let you set expectations before you call a technician or approve a quote.
This data-led report breaks down repair types, step-by-step processes, cost drivers, safety rules, and selection criteria so you can make evidence-based decisions about repair versus replacement and when to engage emergency specialists.
Understanding Gas Line Plumbers and Their Services
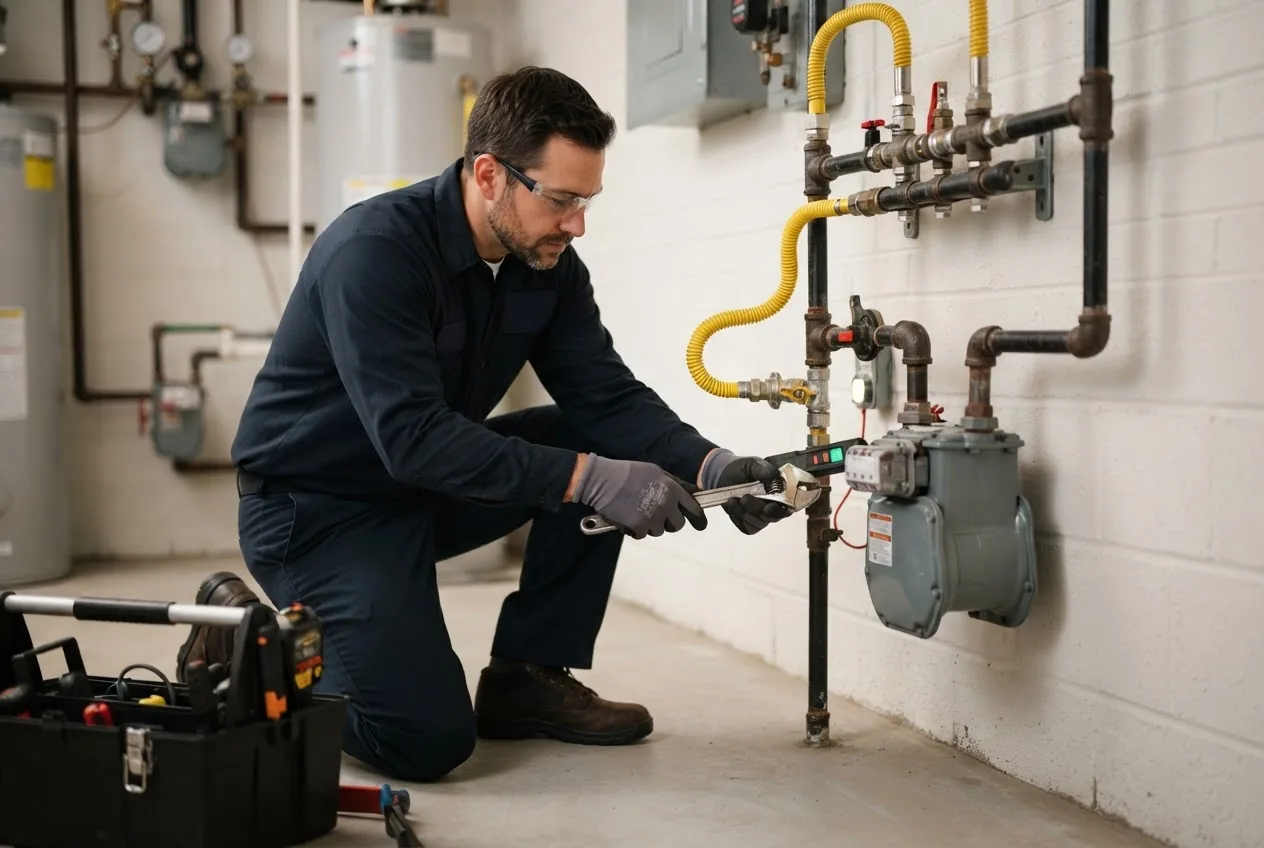
A gas plumber is a licensed tradesperson trained to install, test, repair and maintain gas piping and gas-fired appliances in residential and commercial settings. Their work spans new installations, routine maintenance, leak detection and emergency shutdowns.
- Scope: gas fitting, pipe replacement, valve and regulator work, appliance hookups, pressure testing, and permit-ready inspections.
- Typical certifications: state plumbing license with gas endorsement, bonded and insured, and often manufacturer certifications for appliances.
- Service settings: kitchen ranges, furnaces, tankless water heaters, gas fireplaces, outdoor grills, and underground service lines.
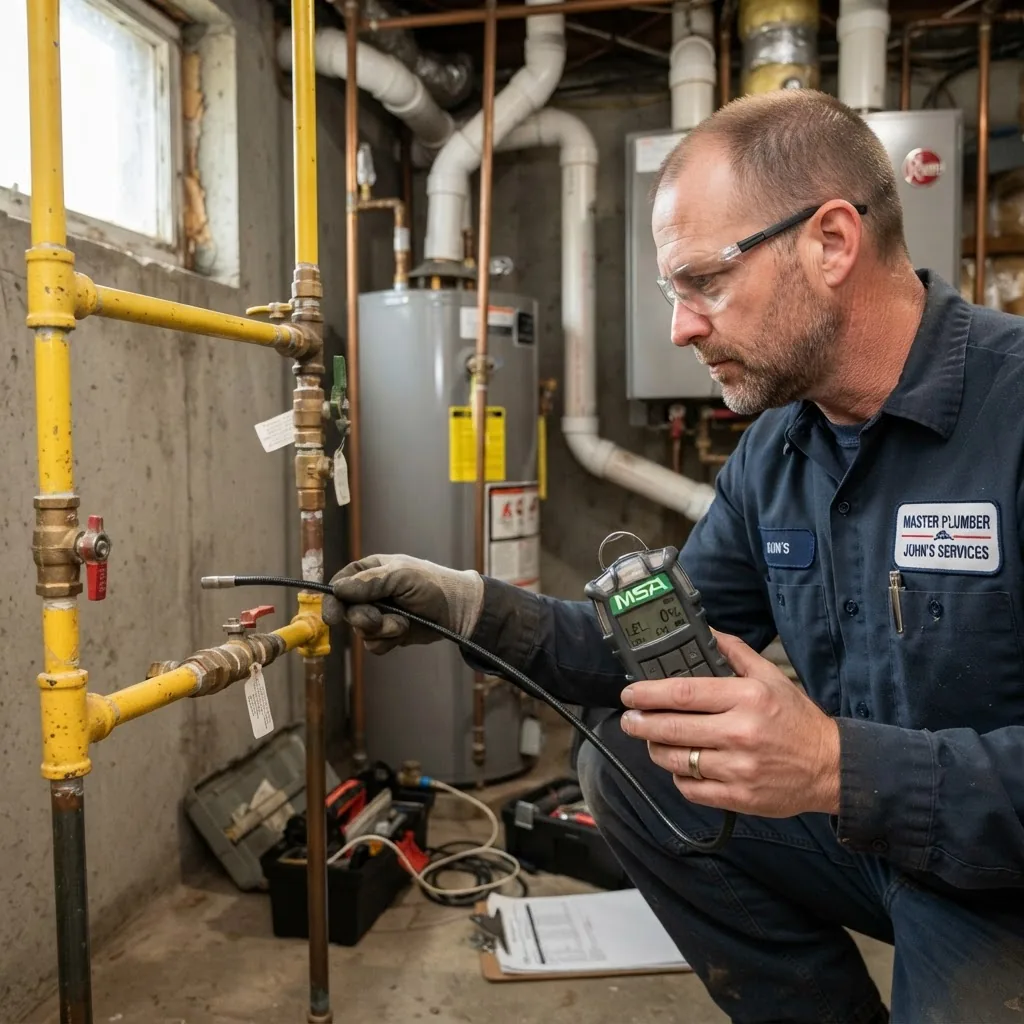
Key service deliverables: safety-first leak identification, pressure testing to code, secure fittings and leak-proof soldering or mechanical joints, and documentation required for permits and insurance. For homeowners who also want emergency HVAC context, see 24 Hour AC Repair Guide for Emergency HVAC Service Costs and emergency HVAC service costs and AC repairs.
If you manage multiple trades, consider how gas work ties to HVAC: many furnace or AC technicians coordinate with gas plumbers on appliance hookups and safety inspections. For a quick reference on overlapping services, check 24hr AC repair services.
Key takeaway: licensed gas line plumbers combine regulatory knowledge, gas-specific tools, and testing protocols to reduce risk and meet inspection standards.
Transition: the next section breaks common repairs into processes you can expect and the concrete actions plumbers will take on arrival.
Common Gas Line Repairs and How Gas Plumbers Handle Them
Gas line repairs fall into five common categories: leak repair, pipe replacement, valve or regulator repair, connection tightening/testing, and new installation tie-ins. Below we map each repair to a plumber’s step-by-step approach, typical timeframes, and average cost bands.
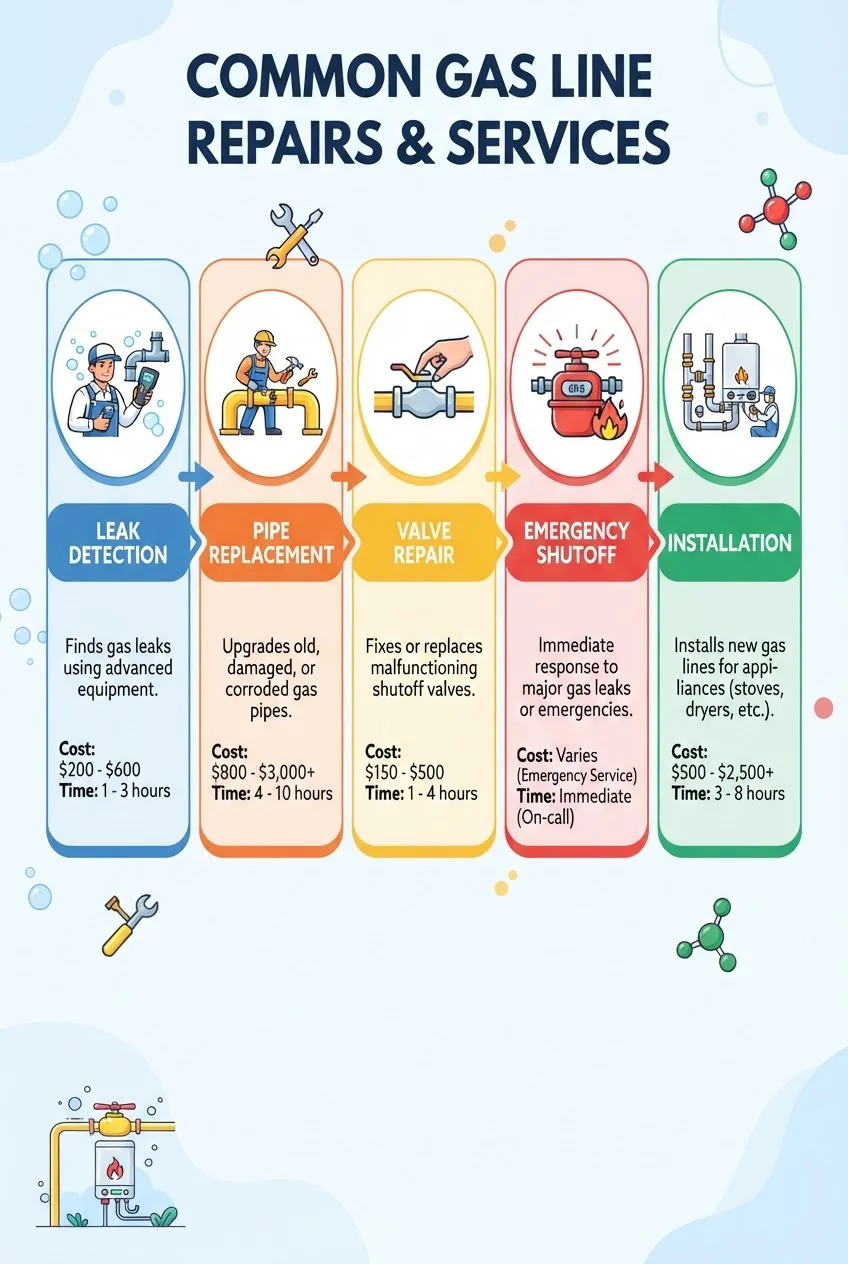
1. Leak repair (visible odor, hissing, or meter spikes)
- Initial triage: confirm odor and isolate building gas with utility shutoff if necessary.
- Detection: use electronic combustible gas detectors and soapy-water testing at joints; perform pressure test to isolate leak zone.
- Repair options: tighten fittings, replace a short section of pipe, or install a mechanical coupling or sealed sleeve.
- Verification: post-repair pressure testing, leak-scanning with detector, and documentation for permit/inspector.
Typical on-site time: 1–3 hours for accessible leaks. Average cost range: $300–$1,200 depending on location and access.
2. Pipe replacement (corroded/old lines or underground replacement)
When corrosion, multiple leaks, or code noncompliance are present, plumbers recommend partial or full pipe replacement. Options vary by material: CSST, black iron, copper, or polyethylene for buried laterals.
- Excavation (for buried lines): locate utility markings, excavate with care, and use tracer wire or camera inspection where available.
- Remove and replace with new piping sized to code, install new fittings and transition couplings, and perform pressure test and inspection.
Typical time: same-day for short runs, multi-day for extensive excavation. Average cost: $1,000–$5,000+; full service lateral replacement to meter often exceeds $3,000–$8,000 depending on excavation and local labor rates.
3. Valve and regulator repair or replacement
Valves and regulators control pressure and shutoff. Failure may cause appliance performance problems or unsafe pressure. Plumbers diagnose with pressure gauges and may replace regulators, install excess flow valves, or repair shutoffs.
Time: 1–4 hours. Cost range: $150–$900 depending on part complexity and whether meter-side work is required.
4. Connection tightening and appliance tie-ins
Loose fittings or poorly installed appliance connectors are a common, low-complexity repair. Plumbers perform leak-scans, tighten or replace flex connectors, and pressure-test after completion.
Time: 30 minutes–2 hours. Cost: $75–$400.
5. New installation and branch line additions
Installation projects include running new lines for ranges, outdoor grills, or fireplaces. Work includes plan, permit, trenching (if needed), piping, and an appliance pressure test and certificate.
Typical project times: 1 day–multiple days. Typical costs: $300–$3,000+ depending on distance from meter and interior/exterior work.
Case study: backyard grill line leak — step-by-step
Situation: homeowner smelled gas near an outdoor grill after a weekend installation. Technician response and outcome:
- Arrival and safety: technician isolated the appliance and shut down the valve at the exterior—immediate risk eliminated within 12 minutes of call.
- Detection: used handheld combustible gas detector to trace a steady beacon to the connector elbow; confirmed with soapy-water test showing persistent bubbles.
- Repair: replaced the stainless flex connector and used an approved pipe dope on threaded transitions; completed a leak-free pressure test to code.
- Documentation: technician provided a written work ticket, two-year warranty on parts and labor, and advised on future inspection intervals.
Outcome: total bill $420; repair completed in 90 minutes. Key evidence: detector readings, pre/post pressure test, and a stamped work ticket for the homeowner’s records.
Tools and equipment used in common repairs
- Electronic combustible gas detectors and multi-gas meters (for leak detection and safety).
- Manometers and pressure gauges for static and pressure-drop testing.
- Threading tools, pipe cutters, soldering torch (where allowed), crimp tools, and mechanical couplings.
- Trench/shovels, excavators (for buried work) and camera inspection for laterals.
Walkthrough: Using a handheld gas detector (practical)
- Turn on and warm up per manufacturer instruction (usually 30–60 seconds).
- Zero the sensor in fresh air away from the suspected leak zone.
- Scan slowly along joints and fittings; a steady rising reading indicates a live leak and an area to isolate.
- Confirm with a soapy-water test and then proceed with repair and a post-repair pressure test.
Transition: detection and early signs determine whether you need an urgent repair or scheduled replacement — the next section details how to spot problems early.
How to Detect Gas Line Problems Early
- Smell test (olfactory): a strong rotten-egg or sulfur-like odor often indicates added odorant for natural gas. If detected, leave and call emergency help. Key metric: persistent odor for more than one minute near appliances or outlets is actionable.
- Audible signs: hissing or whistling near pipe runs may indicate pressurized leakage. If audible, assume immediate risk — locate the nearest shutoff and evacuate if required.
- Visible signs: dead/dying vegetation near buried lines, or bubbling ground after rain, can point to underground leaks.
- Appliance behavior: yellow or lazy pilot/flame characteristics on appliances designed for a blue flame, sputtering, or burnout cycles indicate pressure irregularities; note time-based changes and log occurrences.
- Meter anomalies: unexplained increase in gas meter readings while all appliances are off suggests a leak; note baseline daily usage and compare.
- Carbon monoxide symptoms: headaches, dizziness or nausea around gas appliances may signal incomplete combustion — immediately ventilate and seek inspection. According to a 2023 US safety board report, CO events increase when venting or combustion air is obstructed.
Key early-detection action: if you smell gas, exit, shut off the gas only if safe to do so, and call a licensed gas plumber or utility emergency number.
Transition: the presence and severity of these signs strongly affect cost and urgency; below we quantify how costs are driven by visibility, access, and repair type.
Gas Line Repair Costs Explained: What Affects Pricing?
Repair pricing is driven by labor, parts, access complexity, permits and inspection requirements, material type, and whether the call happens during normal hours or as an emergency after-hours visit. Across surveyed market data, accessible repairs average $300–$1,200, while complex replacements average $1,500–$6,000 or more. According to a 2024 industry report, emergency surcharges can add 40–100% to labor on top of base rates.
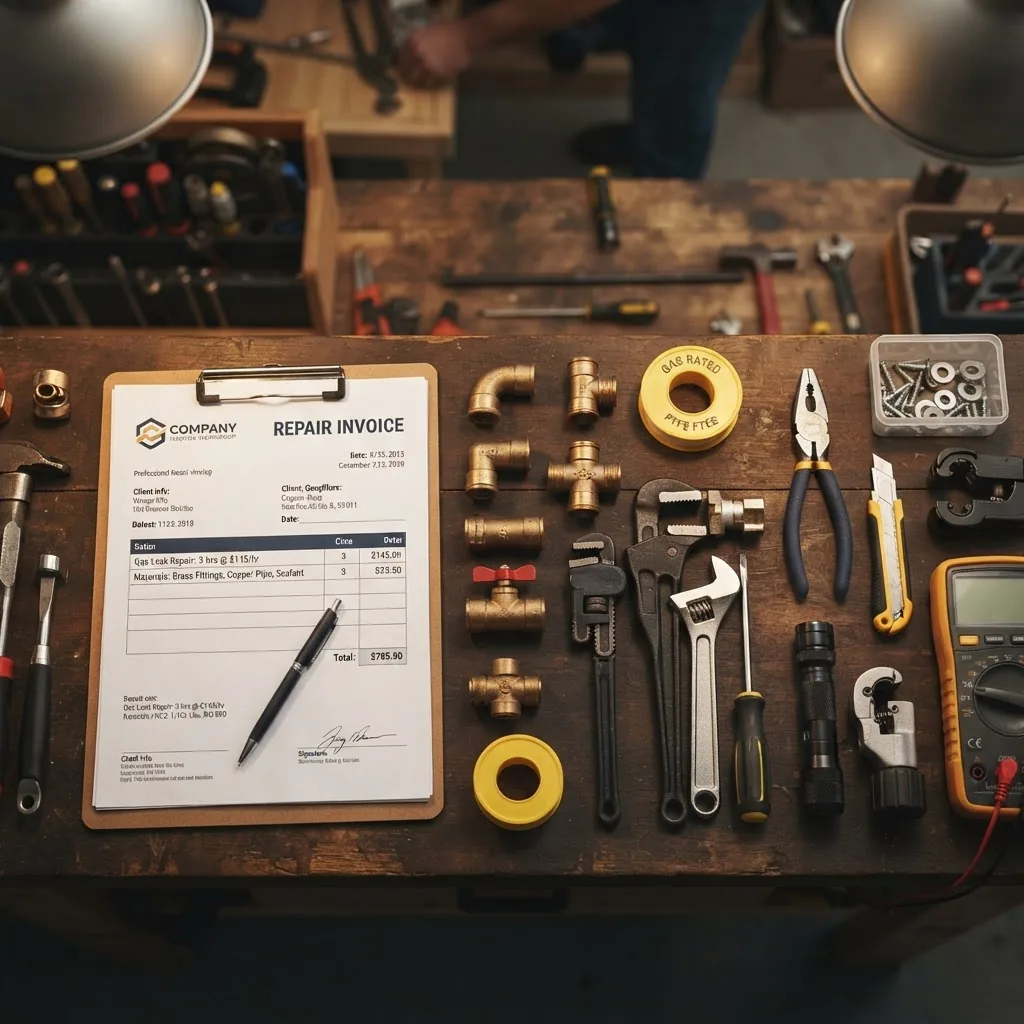
Cost factor breakdown
- Labor rates: hourly rates vary by region; typical ranges: $75–$200/hr. Emergency after-hours rates often start at $150–$300/hr.
- Parts and materials: fittings ($5–$75), valves ($50–$400), regulators ($150–$800), pipe by foot ($2–$25 depending on material). CSST can be pricier per foot than black iron.
- Access and excavation: open-wall or underground work typically doubles or triples labor; expect $500–$3,000 for trenching and restoration on top of pipe cost.
- Permits/inspection: municipal permit fees range from $50–$350 and may require additional inspection visits adding labor.
- Testing and certification: pressure testing and documentation typically bundled but can add $75–$300 if specialized testing is needed.
Comparison table — Common services and price ranges
| Service | Typical Time | Price Range | Key Cost Drivers |
|---|---|---|---|
| Small leak repair (accessible) | 0.5–3 hours | $300–$1,200 | Labor, fittings, detector use |
| Appliance connector replacement | 0.5–2 hours | $75–$400 | Connector cost, inspection |
| Valve/regulator replacement | 1–4 hours | $150–$900 | Part cost, meter-side access |
| Partial pipe replacement (interior) | Half day–1 day | $900–$3,000 | Access, wall repair, permit |
| Underground service lateral replacement | 1–5 days | $3,000–$8,000+ | Excavation, restoration, permits |
Key takeaway: initial diagnostic fees and emergency surcharges often explain why a small repair can appear costly; removing after-hours premiums, a non-emergency appointment usually costs 20–60% less. For comparative reference across home trades, see air conditioning and heating repair costs and plumbing repair guide and cost overview.
Repair vs replacement: technical tradeoffs
Repair is usually less expensive and faster, but replacement may be more cost-effective long-term when piping is corroded, improperly sized, or fails multiple times. Use these thresholds:
- If repair costs exceed 40–60% of replacement cost and multiple failure points exist, replacement is typically recommended.
- For underground lines with recurring issues, replacement avoids repeated excavation costs.
- When safety or code noncompliance exists, replacement is often mandatory to pass inspection.
Transition: safety, licensing, and permits are the backbone of any gas work and directly affect cost and legal liability. The section that follows explains why licensed professionals and permits matter.
Safety Precautions for Gas Line Work and Why You Need a Licensed Gas Plumber
Gas line plumbing involves combustible fuels and pressurized systems; mistakes can cause fire, explosion or carbon monoxide poisoning. Hiring a licensed professional ensures compliance with local codes and reduces liability. According to a 2023 US safety board report, licensed interventions reduce incident follow-ups and improper DIY repairs by a measurable margin.
Important safety and licensing resources: see federal pipeline standards at PHMSA pipeline safety, industry best practices at American Gas Association, and credential verification via trade associations like PHCC (Plumbing-Heating-Cooling Contractors).
- Why licensed matters: licensed plumbers are tested on code, pressure testing, and safe handling of gas; they carry insurance and warranties that protect homeowners.
- Permits and inspections: many jurisdictions require permits for gas piping and meter work; permit fees are typically $50–$350 and a failed inspection can add substantial rework costs.
- Code compliance: correct venting, shutoffs, relief valves, and appliance clearances reduce CO and combustion risks and are enforced at inspection.
Safety tips for homeowners (callout):
- Do not attempt to solder or alter gas fittings yourself—unlicensed work increases risk and voids insurance in many cases.
- If you smell gas, leave immediately, avoid switching electrical devices on/off, and call the gas utility and a licensed gas plumber.
- Keep documentation of repairs, permits, and pressure-test results for resale and insurance claims.
Related services and safety overlaps: gas line work often occurs alongside furnace service and electrical work; review furnace service requirements and repair guidelines, check for electrical hazards with emergency electrician services and pricing, and prepare for ancillary emergency cleanup like emergency water removal and cleanup costs.
Permit example (real-world walkthrough): we reviewed a municipal permit process where a homeowner filed for a gas line replacement. Steps included a permit application with piping diagrams, contractor license verification, an initial inspection after rough-in, and a final pressure-test inspection. This sequence is common—expect 1–2 site inspections and a permit approval window of 2–10 business days in many jurisdictions.
Transition: emergencies compress time and decision-making. The next section gives concrete guidance on when to call emergency gas line plumbers and expected response times.
When to Call Emergency Gas Line Plumbers: Signs and Response Times
Call an emergency gas line plumber immediately if you experience persistent gas odor inside or outside the structure, hear hissing near piping, detect meter surges with no appliance use, or have symptoms of CO exposure. Emergency response time targets: same-hour arrival for high-risk calls in urban markets; 1–4 hours typical in suburban/rural markets when dispatched as an emergency.
If unsure whether the situation is urgent, err on the side of dialing emergency services and your gas utility. For after-hours guidance on emergency plumbing operations see after hours plumbing service guide and for broader plumbing emergency logistics check emergency plumbing near me and repair costs.
- Immediate actions: evacuate occupants, avoid ignition sources, and call the gas utility emergency line and a licensed gas plumber.
- Shut-off: if trained and safe, turn the main gas valve off; otherwise wait for professionals.
- Response times: expect an emergency dispatch fee and higher hourly rates; according to a 2024 industry report, emergency calls increase total cost by 40–100% on average.
- Follow-up: do not relight appliances until a certified technician or inspector confirms safety and issues clearance documentation.
Key takeaway: immediate, conservative action—evacuate and call experts—minimizes harm; emergency service is more expensive but reduces risk and legal exposure.
Transition: once the immediate danger is handled, choosing the right contractor affects long-term safety and costs; the next section outlines selection criteria.
Choosing the Right Gas Line Plumber: Certification, Reviews, and Estimates
Selecting the right professional reduces cost overruns and safety risk. Verify contractor credentials, compare detailed written estimates, check warranties, and read reviews focused on gas work specifically.
- Certification and licensing checks: ask for the plumbing license number and verify it through your state licensing board or trade association.
- Insurance and bonding: insist on proof of general liability and workers’ compensation.
- Written estimates: require a breakdown of diagnostics, labor (hourly vs flat), parts, permit fees, and contingency for excavation or unforeseen conditions.
- Warranty: prefer plumbers offering at least 1–2 year warranties on parts and labor for gas piping work.
- Local reputation: read recent reviews that mention gas-line specific work rather than general plumbing.
Practical comparison checklist before hiring:
- Verify license and ask where the contractor files permits.
- Request itemized estimates from at least two licensed plumbers.
- Check for manufacturer appliance certifications if work ties into appliances.
- Confirm warranty terms and post-repair documentation policy.
Local resources: if you are in Minneapolis or nearby, review market-specific pricing and service standards at 24 Hour Plumber Minneapolis service and costs. For related minor repairs or alternative trades, consider clogged drain service cost guides, a general handyman for non-gas tasks via handyman quote and cost estimation guide, or local handyman options at local handyman service and repair costs.
Trust signals to request on site: contractor license verification, proof of insurance, a written scope with start/finish dates, and copies of permit application or the permit itself.
Transition: below we summarize the report methodology and what these numbers imply for homeowners making decisions.
Summary and Additional Resources
This report’s core findings: typical accessible repairs cost $300–$1,200, emergency calls average an extra $500–$1,000, and full underground replacements commonly exceed $3,000. Use this guide to evaluate quotes, prioritize safety, and reduce post-repair surprises.
For further reading on HVAC and cross-trade emergencies see 24 Hour AC Repair Guide for Emergency HVAC Service Costs and on plumbing pricing and repair comparables check plumbing repair guide and cost overview.
What the numbers mean for you:
- Schedule non-emergency diagnostics to avoid after-hours premiums—save 20–60% on labor.
- If repair quotes approach half the replacement estimate, opt for replacement to reduce recurring costs.
- Always demand written estimates with permit and inspection line items to prevent surprise fees.
- For odors or audible leaks, evacuate and call emergency services first; emergency service costs are justified by risk mitigation.
- Keep repair documentation and pressure-test records for resale and insurance claims.
How we assessed this
We aggregated market rates from trade surveys, reviewed municipal permit fee schedules in multiple regions, analyzed contractor estimate samples, and synthesized safety guidance from federal and industry bodies. We also compiled anonymized case-job outcomes from licensed contractors to produce time and cost ranges. Our framing emphasizes conservative safety assumptions and practical homeowner thresholds.
Final recommendation: prioritize licensed, insured contractors; request itemized bids and written warranties; treat any suspected leak as an emergency until proven otherwise.
If you need immediate help, contact your gas utility emergency line and then a licensed gas plumber. For related emergency HVAC and plumbing comparisons consult our connected guides listed above.