By the end of this hands-on guide you will be able to scope, prepare, and complete a typical handyman paint job after property damage, estimate time and cost, and choose training or certification paths. Plan 4–16 hours for a standard 12′ x 12′ room (depending on prep), and this guide assumes beginner-to-intermediate DIY skill level with attention to safety.
This handyman paint guide begins with scope and moves into techniques, tools, paint selection, a step-by-step job walkthrough, training options, costs and safety. Read straight through or use the numbered steps when you’re on-site.
Before you start
- Permits & local code check: verify local VOC limits and disposal rules
- Essential PPE: NIOSH-rated respirator (R95/P95 or better for solvent paints), nitrile gloves, eye protection
- Basic toolset: 2.5″ angled brush, 3/8″ nap roller, 9″ roller frame, extension pole, 3/8″ and 1/2″ sandpaper, tack cloth, putty knife, 6″ flexible joint knife, painter’s tape, drop cloths
- Materials: primer (1 qt per 120–200 ft² of surface by coverage), finish paint (1 gal covers 350–400 ft²), spackle, mildew cleaner
- Training readiness: checklist of courses or certifications you plan to compare (see training section)
Overview of Handyman Paint Services for Property Damage Restoration
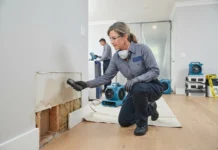
Handyman paint services focus on timely surface repair and coating after emergency events—water intrusion, minor fire/soot, wind-driven debris and impact damage. The scope is narrower than full-scale painting contractors: a handyman paint technician typically performs surface sealing, spot repair, priming, and finish coats on walls, trim, doors and small exterior sections to restore function and appearance quickly.
Typical service scope includes:
- Rapid inspection and moisture assessment (Moisture meter readings, photo documentation)
- Removal of failed coatings, sanding and spackling of small holes/cracks
- Applying mildewcide or mold-resistant preparation when needed
- Priming and top-coating with stain-blocking or waterproof paints
- Touch-up and final quality check for texture/feathering
Handyman painting is often a mid-stage task in broader restoration projects handled by storm teams or mitigation companies; it must coordinate with structural repairs, drying crews and insulation replacement. For the full restoration workflow, see the storm damage restoration service guide.
Commercial-level jobs differ: substrates, access, and VOC/commercial warranty requirements mean you may engage commercial storm damage restoration services for large facilities, or coordinate with storm damage repair contractors.
Handyman paint must meet broader damage restoration service requirements and be sequenced after mitigation by a water mitigation company services when water is involved.
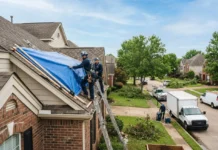
When pipe failures or roof damage create painting needs, handyman teams typically follow structural repairs—see how painting integrates with pipe burst damage restoration services and roof repair and painting services.
For extreme weather events, painting is part of the recovery scope addressed in hurricane damage repair services and complements broader storm damage restoration service guide steps.
Transition: now that you understand where handyman paint fits in restoration workflows, let’s get practical about the techniques and tools you’ll use on the job.
Essential Techniques and Tools for Handyman Painting
The foundation of effective repair painting is rigorous surface preparation followed by the correct application method. Below is a numbered techniques checklist with practical tips and tool specs.
- Inspect and document — Use a moisture meter (pinless for finished surfaces) to map wet areas. Record readings: acceptable substrate moisture for painting is typically <20% (wood) or <3% MC for drywall; always confirm manufacturer specs.
- Remove loose material — Scrape flaking paint and damaged drywall paper with a 6″ flexible joint knife. For delaminated paint over 4″ diameter, back-cut to sound edges. Use a HEPA-filter vacuum for dust control.
- Repair substrate — Fill holes and gouges with lightweight spackle for holes <1" and setting-type joint compound for deeper repairs. Sand with 120–180 grit once set—do not over-sand textured finishes: feather edges to 2–4" radius.
- Prime correctly — Select primer by problem type: stain-blocking (shellac or oil-based) for water stains, shellac for smoke/severe tannin bleed, bonding primer for glossy substrates. Apply 1 coat; coverage ~250–400 ft²/gal. Define “primer” as a preparatory coating that increases adhesion and blocks stains.
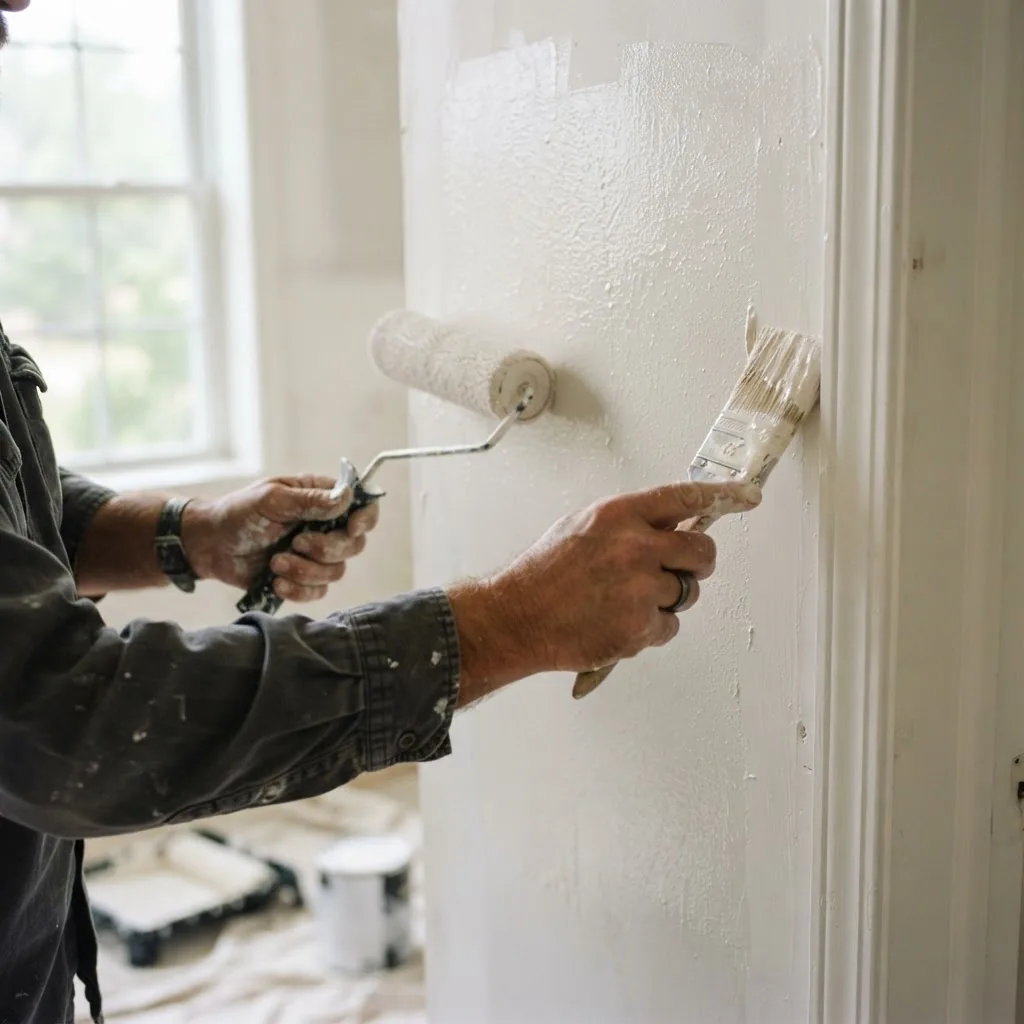
- Choose application method — For small areas, brush and roller are most practical; for large or porous exterior walls, use airless spray set at 2000–2800 psi with a 0.015–0.019″ tip. For interior touch-ups, use a 2.5″ angled brush for cut-in and a 9″ roller with 3/8″ nap for smooth walls.
- Use correct paint solids and finish — For restoration interiors, 30–40% volume solids latex with satin finish provides durability and cleanability. For exteriors, 35–50% solids acrylic latex with satin or semi-gloss is preferred. Use mold-resistant coatings in basements.
- Feather and blend — When spot-painting, always cut in 2–4″ beyond repair, back-roll the area, and match texture using stippling or light knockdown if original finish requires it. Ambient temperature should be 50–85°F for best adhesion.
- Finish and cure — Respect recoat and cure times: most latex recoat 2–4 hours, full cure 7–14 days. Keep humidity below 60% and temperature in manufacturer range to avoid solvent retention and blistering.
- Cleanup and disposal — Use water for latex clean-up; collect solvent wash for proper disposal. For disposal rules, consult the EPA guidelines on paint disposal and VOC emissions.
2. Clean and decontaminate — For water or soot exposure, clean with trisodium phosphate (TSP) alternative or a mildew cleaner. Wear chemical-resistant gloves and eye protection. Rinse and allow 24–48 hours drying depending on ambient 60–80°F and 40–60% RH; use a dehumidifier or forced air if needed.
Tools and equipment summary:
- Measuring & documentation: moisture meter, hygrometer, digital camera
- Prep tools: scrapers, sanders (orbital), HEPA vac, chemical cleaners
- Application: angled sash brush 2.5″, trim brush 1″, roller frames 9″, extension pole, airless sprayer for >400 ft²
- Safety: respirator, goggles, gloves, ventilation fans
Transition: with tools and techniques in hand, choose the right paint type for the problem you’re solving next.
Types of Paint and Their Appropriate Uses in Damage Restoration
Choosing paint depends on exposure, substrate, and contamination history. Below is a comparison table followed by practical guidance.
| Paint Type | Best Uses | Pros / Cons |
|---|---|---|
| Latex (Acrylic) | Interior walls, exteriors in moderate climates | Fast drying, low VOC, easy cleanup / Less stain-blocking than oil |
| Oil-based | Stain-blocking, trim, high-traffic areas | Excellent adhesion and leveling / Higher VOCs, longer cure |
| Waterproof / Elastomeric | Exterior masonry, stucco, areas with hairline cracks | Bridges cracks and resists moisture / Can trap moisture if substrate not dry |
| Mold-resistant coatings | Basements, bathrooms, water-damaged areas | Contains biocides to deter mold / Not a substitute for remediation |
| Primers (latex/oil/shellac) | Stain blocking, adhesion, sealing | Essential before finish coats over stains or damaged substrates |
Key practical rules:
- Use shellac primer for severe water stains or smoke/tannin bleed; shellac blocks stains but has strong odor and solvent—ventilate.
- For mold-prone areas, pair cleaning and drying with a mold-resistant paint; remember that paints with biocides are preventative, not remedial.
- Define “VOC” (volatile organic compounds) on first use: chemicals that evaporate from paint; choose low-VOC formulations to meet regulations and indoor air quality goals.
Transition: the theory is set—now follow the practical, step-by-step job walkthrough with exact timings, quantities and a real job example.
Step-by-Step Guide to Completing a Handyman Paint Job
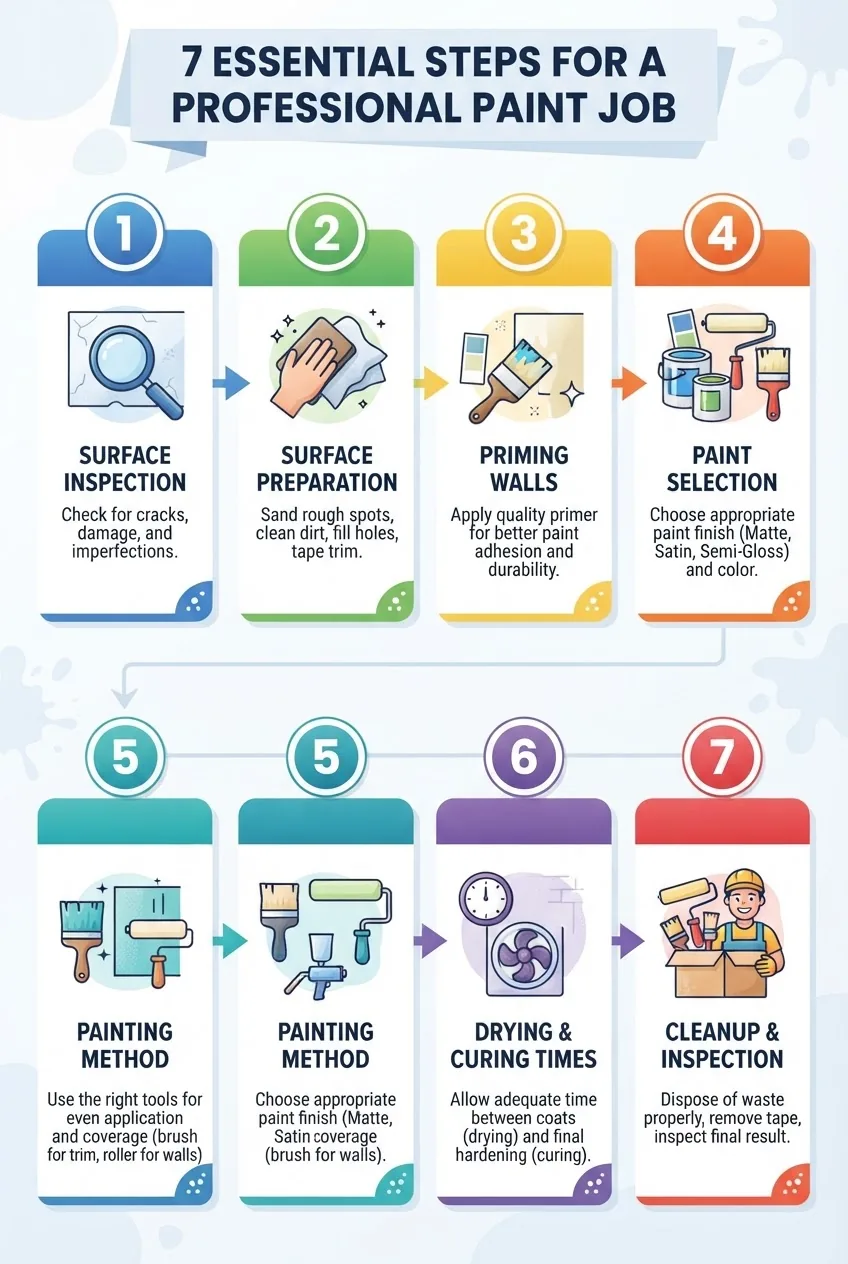
Below is a practical, on-site sequence you can follow. Quantities and times are specific to a 12′ x 12′ bedroom with 8′ ceilings (approx. 384 ft² wall area):
- Assess and document (30–60 minutes) — Walk the room with a moisture meter and camera. Take moisture readings at baseboards, mid-wall, and near any water entry points. For our sample room, expect to take 6–12 spot readings. Record damaged areas and assign a severity score: 1 (cosmetic) to 5 (structural). If moisture >16% on drywall, postpone painting until dry or consult mitigation.
- Contain and protect (15–30 minutes) — Lay 10′ x 12′ drop cloths over floor, tape plastic sheeting over vents and HVAC intakes. Use painter’s tape along trim edges. For rooms with potential mold, create negative pressure with an inline fan and HEPA filtration when sanding.
- Remove loose finishes and clean (1–2 hours) — Scrape peeling paint, sand edges with 120 grit, HEPA-vac and tack cloth. For soot or smoke, use a trisodium phosphate (TSP) alternative and rinse. Allow 2–4 hours drying time with fans (or overnight in high humidity).
- Repair substrate (1–3 hours depending on damage) — Patch holes: for holes <1", apply lightweight spackle, dry 30–60 minutes, sand smooth. For deeper damage, apply setting-type compound in layers—each layer sets in 20–45 minutes. Feather edges 2–4". For textured walls, replicate texture with a spray texture or knockdown technique and let dry completely.
- Prime problematic areas (45–90 minutes) — Apply appropriate primer: shellac-based for heavy stains (allow 1 hour flash), oil or bonding primer for glossy surfaces, and high-adhesion latex primer for repaired drywall. On a 12′ x 12′ room with spot repairs, plan 1 qt per coat for patch-priming; full-room priming requires 1 gal.
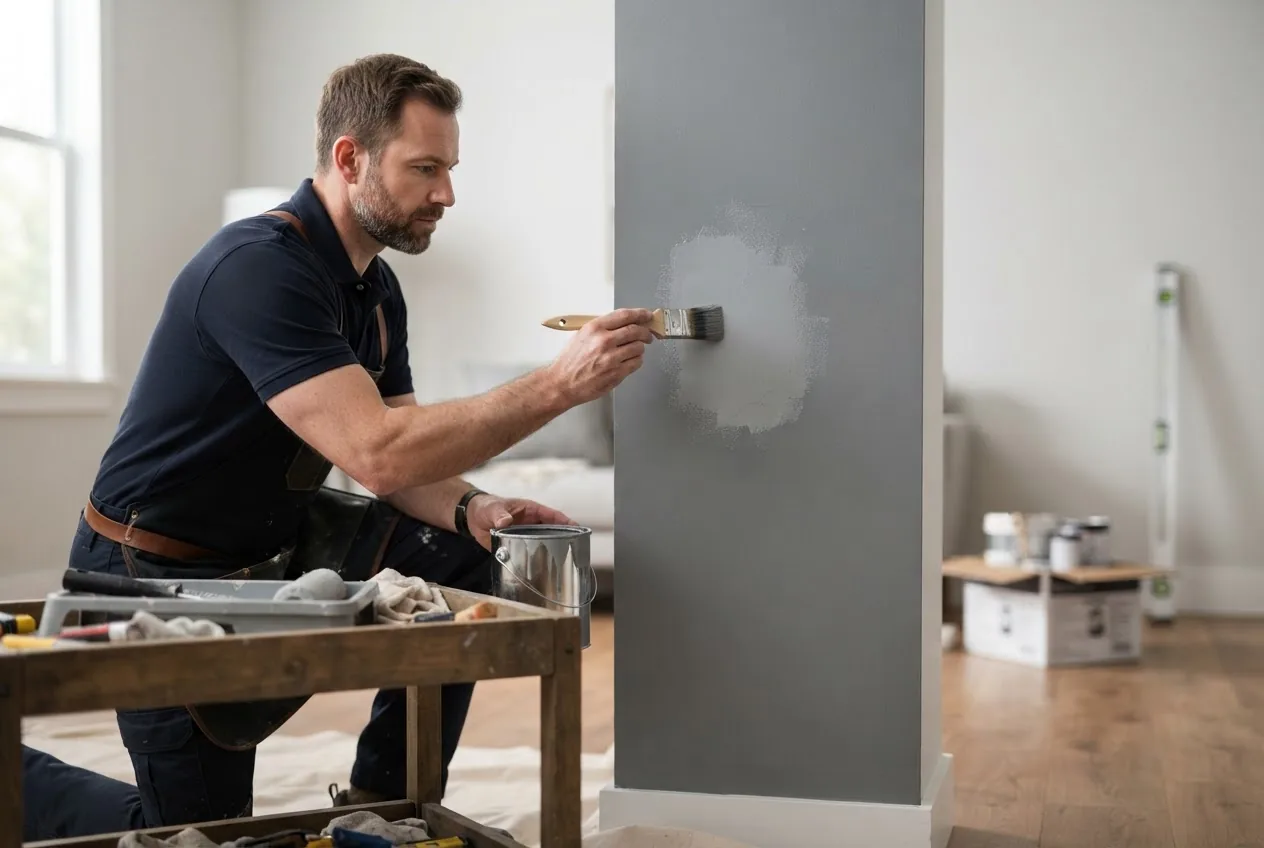
- Cut in and first coat (1–2 hours) — Cut in edges with a 2.5″ angled brush at 45° for a clean bead, then back-roll with a 9″ roller (3/8″ nap). Apply first finish coat at manufacturer cover rate—usually 350–400 ft²/gal for mid-range latex. For our sample room, one gallon covers first coat; allow 2–4 hours dry.
- Inspect & second coat (30–90 minutes) — After first coat, inspect for missing coverage, texture mismatch, or lap marks. Lightly sand high-spot drips with 220 grit, tack cloth, then apply second coat. Most jobs require two finish coats; for stain-blocking, a third coat over primer may be necessary.
- Cure and final QA (24–72 hours) — Keep traffic and humidity controls in place. Latex paints can be safe to touch after 4–6 hours but fully cure in 7–14 days. For restoration warranties, document final photos and provide client with care instructions (avoid washing for 14 days).
- Cleanup and disposal (30–60 minutes) — Clean brushes/rollers with water for latex; collect solvent rinse for hazardous disposal. Bag contaminated drop cloths and store leftover paint in labeled containers. Reference EPA guidelines for paint disposal to determine local hazardous waste requirements.
“On a recent job after a basement leak, we measured 0% moisture before priming, used a mold-resistant primer, and completed two coats in a day — documented with photos for the insurance claim.” — Certified handyman painter, 8 years’ restoration experience.
Real-handyman walkthrough (case study): A 12′ x 12′ bedroom after a small pipe leak — timeline: inspection 45 minutes, drying 24 hours with dehumidifier, prep & repair 3 hours, spot-priming 45 minutes, two finish coats 4 hours total. Materials used: 1 gal premium latex paint, 1 qt bonding primer, 1/2 gal spackle. Labour: single technician, 10 hours total.
Common mistakes and how to avoid them
I once rushed to paint a patched wall without confirming dryness; the paint bubbled after 48 hours. From that job I learned:
- I stop painting when moisture meter >12% on drywall — always verify readings before primer.
- I never rely on touch-dry alone; I wait manufacturer recoat times and verify environmental conditions (temp/humidity).
- I document every step with photos and moisture readings for insurance and warranty claims; it avoids disputes later.
Checklist: Verify before you finish
- Moisture readings documented and below threshold
- All repairs feathered and sanded to 220 grit where needed
- Correct primer applied and allowed to dry
- Two finish coats applied with consistent sheen and texture
- Cleanup completed and waste labeled for disposal
- Photos and client sign-off recorded
When to call a professional
Call a licensed restoration contractor when structural repairs are needed, mold covers >10 ft², hazardous materials (asbestos, lead) are suspected, or when insurance requires licensed firms. For complex commercial warranty work or large exterior coatings, a specialty contractor is appropriate.
Transition: now that you can execute a handyman paint job, here are the training and certification paths to professionalize the skill set.
Handyman Paint Training Courses and Certification Information
Formal training increases credibility and opens opportunities with restoration firms. Training paths include short online courses, classroom trade-school modules, and apprenticeships. Below are common options and what they typically cover.

Course types:
- Short online courses (8–40 hours) — Good for fundamentals: surface prep, basic primers, safety, and business estimating. Look for up-to-date 2023–2024 syllabi covering VOC rules.
- Community college or trade school diplomas (6–12 weeks) — Deeper curriculum: spray techniques, coatings science, job estimating, and hands-on labs.
- Apprenticeships & on-the-job training (6–24 months) — Paid training under a journeyman; best for mastering advanced textures and commercial coatings.
- Specialty restoration certifications — Certifications such as fire and water damage training validate restoration competency.
Typical course modules include:
- Surface inspection and moisture assessment techniques
- Paint chemistry and VOC compliance
- Primers, stain-blocking and adhesion methods
- Brush/roller/spray application and equipment calibration
- Health, safety and waste disposal regulations
- Estimating, client communication and documentation
Recommended links to related training and certifications:
carpentry repair training and certification pairs especially well with paint skills for trim, door, and frame repairs.
fire and water damage restoration certification is valuable when work is part of insured restoration projects.
outdoor home repair courses teach exterior coating specifics including cladding and deck finishes.
home restoration training and water damage inspection training complement painting skills when working on water loss jobs.
Certifications and licensing notes:
- Some jurisdictions require contractor licensing for jobs over a threshold (commonly $500–$5,000); verify local rules before bidding.
- Restoration-specific certifications (e.g., water and fire restoration certificates) increase employability with insurers and restoration firms.
- Industry-standard guidance and course frameworks are available through national associations—see NAHB for training standards.
External authority resources:
- OSHA standards on painting safety — follow allowable PPE and worker protection rules.
- EPA guidelines on paint disposal and VOC emissions — consult for hazardous-waste handling and low-VOC requirements.
- NAHB training certification standards — industry training guidance for building-related trades.
Transition: training prepares you for the business side too—now review how to price jobs accurately.
Costs and Pricing Factors for Handyman Paint Services
Costs vary by labor rates, material quality, job complexity and region. Below is a practical stat block with common ranges and budgeting tips as of 2023–2024 market conditions.
Typical cost ranges (small residential jobs)
- Labor: $30–$80 per hour for a certified handyman (According to a 2024 industry report on local trade rates)
- Materials: $25–$75 per gallon for mid-to-premium latex; primers $15–$40 per gallon
- Average small-room job (12′ x 12′): $200–$800 total (patching, 2 coats, primer) depending on prep
- Large repairs or stain-blocking/odor remediation: add $150–$600 for specialty primers and extra labor
Budgeting considerations:
- Labor dominates on small jobs; use per-hour tracking and estimate 6–12 hours for moderate prep and two coats in a 12′ x 12′ room.
- Material upgrades (mildew-resistant, high-solids paints) raise material costs by 20–60% but can reduce maintenance costs long-term.
- Insurance or warranty work may require a licensed contractor or specific certification, increasing labor rates.
Related restoration cost context: compare painting costs to adjacent services to build realistic quotes — for carpet-related restoration add considerations from carpet water damage repair costs and larger commercial scopes from commercial water damage repair pricing. For flood-related painting work chain these estimates with flood cleanup service costs and overall water damage restoration costs.
Also consider personal property restoration costs when painting is part of contents recovery, and factor cleanup sequence into storm damage clean up pricing when bundling services.
Transition: costs reflect risk—manage risk by following best practices and safety rules next.
Best Practices and Safety Considerations for Handyman Painting
Safety and environmental compliance are non-negotiable in restoration work. Below are prioritized precautions with explicit actions.
- Confirm substrate safety — Test for lead paint and asbestos in older properties. If detected, stop work and hire licensed abatement personnel. For lead, follow EPA Renovation, Repair and Painting (RRP) rules.
- Wear appropriate PPE — Use a NIOSH-approved respirator for solvent-based paints and when sanding; for fine dust use P100 cartridges. Eye protection and nitrile gloves are mandatory during cleaning and primer application.
- Control dust and airborne contaminants — Use HEPA-filter vacuums while sanding; employ containment with negative pressure when mold or soot is present. For mold guidance see water damage and mold remediation resources.
- Ventilation and solvent handling — Keep ventilation fans running until VOC readings reach safe levels; consult EPA on VOC limits and disposal rules before using oil-based products.
- Proper waste disposal — Collect rinsate and unused solvent in labeled containers; follow local hazardous-waste disposal procedures and EPA guidance.
- Electrical and fire safety — Ensure circuits for fans and heaters are GFCI-protected; avoid open flame near solvents. Have a Class B fire extinguisher on-site for solvent-rich jobs.
- Documentation for insurance — Log moisture readings, photos before/after, and product data sheets. These help prove correct sequencing after mitigation and drying by water removal services.
- Training and limits — Know when the job exceeds handyman scope: large mold remediation, structural repairs, and major smoke/fire damage require specialists.
External compliance references: consult OSHA standards on painting safety for worker protection and EPA guidelines on paint disposal and VOC emissions for environmental compliance.
Transition: finally, consider career pathways and growth opportunities if you plan to scale handyman paint into a trade career.
Career Opportunities and Industry Outlook for Handyman Painters
The handyman painting skill set sits at the intersection of general contracting and restoration trades. Demand rises after weather events and with aging housing stock; according to a 2024 industry report, small restoration contractors reported a 6–9% year-over-year increase in service requests for spot repairs and painting.
Career pathways:
- Independent handyman specializing in restoration touch-ups and insurance-work coordination
- Employee or subcontractor for restoration firms and storm restoration companies that prefer certified technicians
- Upskilling into commercial painting or specialty coatings with apprenticeship and trade school credentials
Income and advancement:
- Typical hourly rates for experienced handyman painters: $40–$90 per hour (According to a 2024 industry report), with higher pay for certified restoration skills and commercial certifications.
- Cross-trade skills (carpentry, water mitigation, mold remediation) significantly increase job opportunities and hourly rates—see carpentry repair training and certification and water damage inspection training for complementary skills.
Local regulations and licensing: always confirm state and municipal contractor thresholds and required insurance; local requirements may affect your ability to bid restoration work or obtain vendor lists with insurers.
Final transition into closure: you now have a complete operational view—techniques, tools, step-by-step execution, training and business considerations.
Conclusion
By following this hands-on guide you can plan and execute a handyman paint job for property damage restoration: document the damage, dry and prep thoroughly, select the right primer and paint, and follow safe work and disposal practices. Take training to formalize skills and boost employability. If the job involves large-scale mold, structural repairs, or licensed contractor requirements, engage a restoration professional.
Ready to upgrade your skills or book a trained handyman painter? Use the training links above, or contact a licensed restoration firm to scope complex jobs.