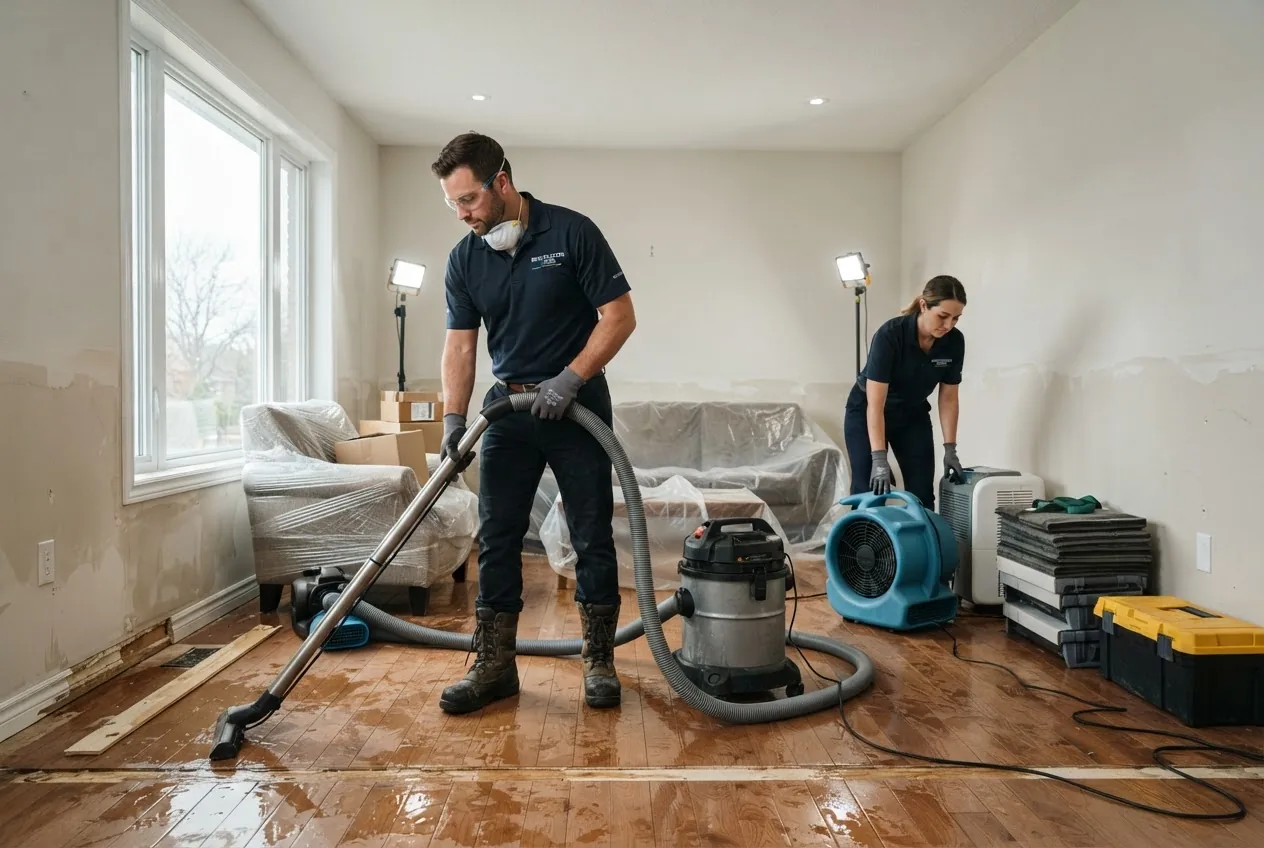
By the end of this hands-on guide you will be able to complete an immediate, safe flood cleanup triage, perform thorough drying and sanitizing for small-to-moderate events, and understand transparent professional service cost ranges so you can decide when to call a contractor. Expect initial DIY stabilization to take 2–8 hours, full drying 48–120 hours, and the guide assumes basic handyman skills.
Before you start
- Personal protective equipment: N95 or P100 respirator, nitrile gloves, rubber boots, eye protection.
- Basic tools: heavy-duty wet-dry vacuum or shop vac, sump pump (if >2 inches standing water), buckets, mops, squeegees.
- Cleaning supplies: EPA-registered disinfectant, laundry detergent, borate-based wood cleaner, bleach (only for non-porous surfaces and ventilated areas).
- Moisture control: industrial fans/air movers, commercial dehumidifier (or rental), moisture meter/hygrometer.
- Documentation tools: smartphone for photos, notebook for time/cost logs, contact info for insurer and local restoration companies.
- Time allocation: set aside full days for the initial response; drying continues automatically but requires monitoring for 3–7 days.
Understanding Flood Cleanup and Water Damage Basics
Before you lift a carpet or switch on a fan, you need to understand the fundamentals of the flood cleanup process, contamination levels, and how professionals assess damage. Knowing the difference between water removal and water mitigation—along with categories of flood water—will change what you do first and whether it’s safe to do it yourself.
Flooding causes range from storm surge and flash floods to plumbing failures and appliance leaks. Water intrusion sources determine contamination and repair urgency. For example, a burst supply line usually delivers comparatively clean water, while a sewage backup brings highly contaminated waste that requires full professional remediation. Understanding the three primary flood water types guides PPE choice, disposal, and whether structural drying alone is enough.
Flood water types and what they mean
- Category 1 — Clean water: From broken supply lines or rainwater not contacting contaminants. Can usually be handled by experienced homeowners if exposure is limited and items are removed quickly.
- Category 2 — Gray water: From appliance overflows or minor sewage contact. Contains chemical or biological contaminants; wear PPE and sanitize thoroughly; professionals often required if exposure is large or porous materials affected.
- Category 3 — Black water: Sewage, flooding from rivers/groundwater, or long-stagnant water. Always treated as hazardous: do not attempt large-scale cleanup alone.
Water damage categories and structural implications
Professionals use both contamination categories and damage classes to estimate drying complexity. Class 1 affects only part of a room; Class 4 involves low-porosity materials like stone or plaster that need specialized drying. A thorough water damage assessment checks visible dampness, hidden pockets (behind walls, under insulation), affected materials (wood, drywall, insulation), and heating/ventilation impacts.
A quick decision matrix I use: if standing water >2 inches, contamination is unknown, the HVAC was running during the flood, or occupants have respiratory conditions, treat it as high-risk and move to professional mitigation planning. Otherwise, you can begin staged homeowner cleanup and documentation for insurance.
Finally, timeline expectations: emergency stabilization (shutting off power, stopping water source) is immediate; water extraction and debris removal should be done within 24–48 hours to limit mold; mechanical drying and dehumidification commonly run 48–120 hours; repairs and reconstruction follow once moisture levels meet drying targets (typically ≤12% wood moisture content or per manufacturer specs).
If your situation is caused by a plumbing failure, see our guide on pipe burst damage restoration costs for specialized steps and cost considerations.
Safety Precautions Before Starting Flood Cleanup
Safety is the first operational priority. Follow these minimum checks and PPE standards before entering a flood zone in your home. Many regulations and best practices are mirrored in federal guidance; for mold and water contamination refer to EPA recommendations.
- Shut power and gas off where safe: Turn off electricity at the main only if the breaker box is dry and accessible above floodwater. If unsure, call the utility. Live electricity in standing water is lethal.
- Confirm structural safety: Look for sagging ceilings, wall bowing, or truss/frame shifts before entry. If structure appears compromised, evacuate and wait for structural professionals.
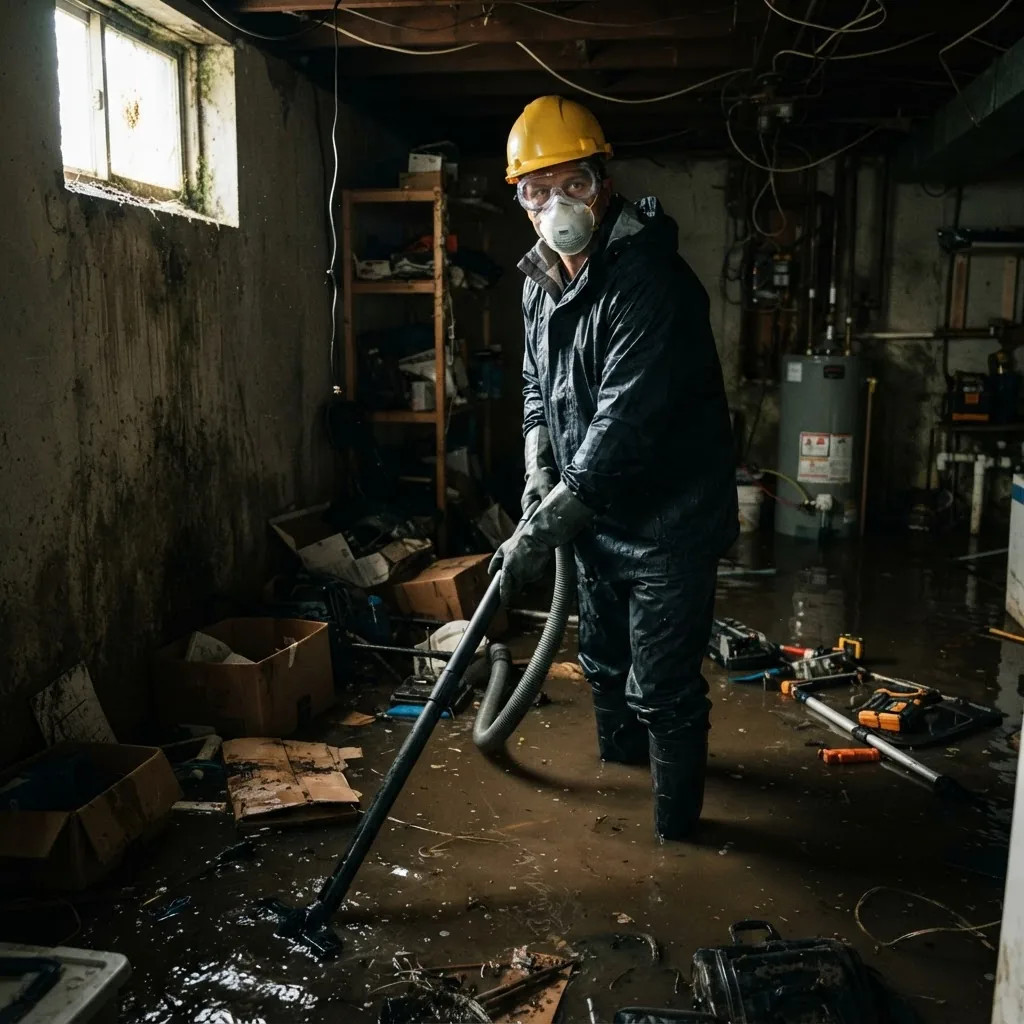
- Use appropriate PPE: Always wear a respirator (N95 minimum for dust; P100 for mold spores), nitrile gloves, eye protection, and rubber boots when entering wet spaces.
- Avoid contact with black water: Treat all groundwater, sewer-damaged, or river water as contaminated; do not pump or move items without professional advice.
- Ventilate carefully: Open windows and doors only if outside humidity is lower than indoors; otherwise, running dehumidifiers without ventilation can trap contaminants. Follow EPA ventilation guidance — see EPA mold guidelines for details.
- Watch for hazardous materials: Household chemicals can react or float; seal and label any containers found in the flood zone for safe disposal.
- Document and photograph hazards: Photograph electrical panels, appliances, and visible mold or sewage contact for insurers and mitigation companies.
- Use a buddy system: Never work alone in deep or contaminated water—keep a communication plan and emergency contact ready.
- Schedule an inspection if concerned: For formal verification and training options, consult our water damage inspection services and training.
According to a 2023 EPA report, prompt action to remove water and dry materials within 24–48 hours greatly reduces mold risk; always follow their stepwise precautions when handling contaminated materials.
Step-by-Step Flood Cleanup Process for Homeowners
This section is the hands-on sequence: immediate triage, water removal, drying, sanitation, and what to salvage vs. discard. Each numbered step opens with a bold action-first phrase. If any step suggests professional intervention, follow the guidance below or consult the linked specialty guides.
- Stop the source and ensure safety: If the flood is from a known supply line, shut off the valve. For storm flooding, focus on occupant safety and power isolation. Record the time you stopped the source and photograph the scene for insurance.
- Document damage comprehensively: Photograph every room from multiple angles, take short video walkthroughs, and make a list of damaged items with approximate values. Insurers require early documentation—timestamp photos help. For guidance on personal property restoration options, see personal property restoration companies.
- Assess contamination level: Determine if water is Category 1, 2, or 3 (see earlier definitions). If you detect sewage odor, fecal matter, or floodwater from outside, treat as Category 3 and stop: call professionals.
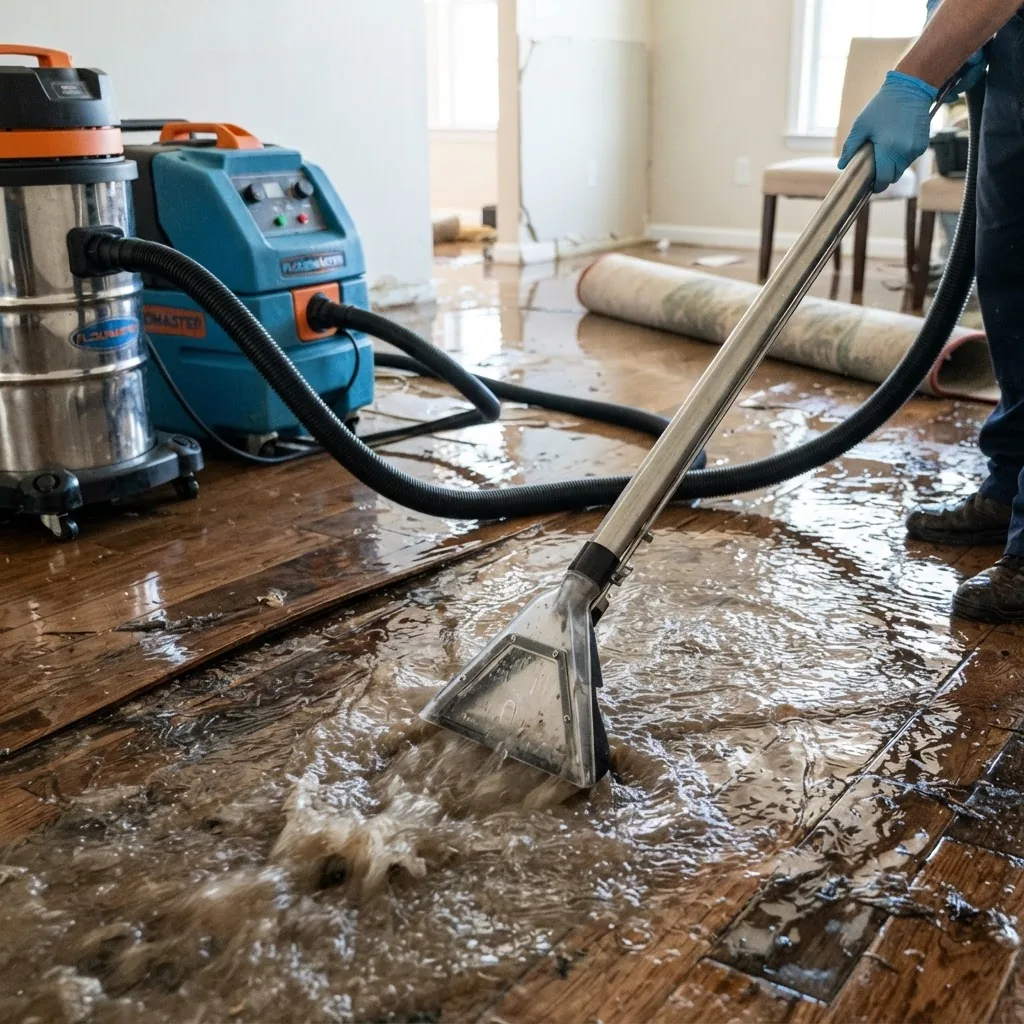
- Remove standing water—small amounts: Use a heavy-duty wet-dry vacuum for up to 2–3 inches of water and hand-squeegees for shallow pooling. For larger volumes (>2 inches or >200 sq ft), rent a trash pump or hire extraction services. For pricing and techniques specific to water removal, review water removal services and costs.
- Pump and transfer large volumes: Place an automatic submersible pump at the lowest point; use fire hose or garden hose to direct water at least 20 feet away from the foundation. Run pumps until water level is below the threshold where air movers and dehumidifiers can work (typically sub‑inch residual acceptable for further drying).
- Remove wet contents quickly: Remove loose furniture, area rugs, books, and clothing within 24 hours. For soaked upholstery and mattresses, plan to discard porous padding unless professional restoration is used. Vacuum and bag textiles for cleaning—do not mix contaminated and non-contaminated items.
- Strip wet finishes and base materials: Cut drywall 12–18 inches above the visible waterline if drywall is soaked; remove wet insulation and baseboard. When in doubt, remove to at least 6–12 inches above the saturation mark. This reduces hidden pockets where mold begins.
- Set up drying equipment strategically: Place at least one air mover per 50–75 square feet and one commercial dehumidifier per 250–500 square feet of affected area as a rule of thumb. Aim airflow across wet surfaces, not directly at standing water. Use moisture meters to measure wood moisture target ≤12% or per manufacturer’s specs. For renting or buying equipment and a walkthrough of professional-grade gear, see the Tools section below and our resource on water removal services and costs.
- Monitor humidity and moisture daily: Track relative humidity (RH) and surface moisture two times per day. Target indoor RH <50% and surface moisture decline of at least 20% over 24 hours. If moisture stalls or climbs, add dehumidification capacity or consult pros.
- Clean and disinfect all hard surfaces: Use an EPA-registered disinfectant on non-porous surfaces after visible dirt is removed. For wood, use borate solutions at manufacturer concentrations (typically 1–2% borate by volume) to inhibit mold. Avoid mixing bleach with ammonia-based cleaners.
- Handle textiles and soft goods: Launder washable items on the hottest safe setting with detergent and a disinfectant additive. For valuable upholstery or rugs, professional cleaning can be cost-effective versus replacement—see our carpet water damage repair guide for salvage thresholds and course-based techniques.
- Address HVAC and duct contamination: Turn off HVAC burners and compressors until ducts are inspected. If the system circulated flood water, have an HVAC contractor or certified mitigation company evaluate and clean ducts; failing to do so spreads contaminants and spores.
- Inspect for and remove mold growth: Visible mold on porous materials requires replacement of affected materials. Small isolated patches on non-porous surfaces can be scrubbed with detergent and disinfectant. If mold covers >10 sq ft or reappears after drying, hire certified remediation professionals.
- Drying completion and verification: Use moisture meters to confirm wood and wall cavities are at pre-flood moisture or within manufacturer thresholds (typically <12% for wood). Document readings and the dates. Only begin repairs once moisture readings are stable for 48–72 hours.
- Begin repairs and reconstruction: Reinstall insulation, replace drywall, and refinish surfaces only after confirmed low moisture readings. For structural repair training and approved practitioners, consider resources on repairing water damage and home restoration training.
- Closeout and final cleanup: Replace filters, run HVAC with fresh absorptive filters, perform a final deodorization if needed, and provide your insurer with complete documentation: before/after photos, equipment logs, and invoices.
If your flood involved a basement-specific scenario, consult our specialized guide on basement flood cleanup services. For hands-on carpet restoration certification and cost education, see our course on carpet water damage repair.
Practical timeframe and monitoring targets
- Initial water removal: same day where possible; within 24 hours recommended.
- Set up air movers/dehumidifiers: within 24 hours of extraction.
- Drying target: visible dryness and moisture meter confirmation in 48–120 hours depending on class.
- Repair start: after consistent moisture readings for 48–72 hours and RH <50%.
Case study: DIY stabilization then professional remediation
Homeowner example: After a heavy rainstorm, the Johnsons found 3 inches of backyard floodwater inside their main floor. They shut off power, pumped water with a rented submersible pump, removed carpets and furniture, and ran two rented air movers plus a 70-pint dehumidifier. After 72 hours moisture readings stalled, and mold appeared in a closet. They documented everything and hired a mitigation company to perform invasive drying and mold remediation. The pros completed structural drying and safe disposal; total cost for pro services was $6,800 after insurance. Lesson: early DIY limited damage, but professional intervention stopped mold and met insurer requirements.
Essential Tools and Equipment Used in Flood Cleanup
Professionals bring a consistent toolkit tailored to damage class. Below I walk through common equipment, how it’s used, and practical rental vs. hire tradeoffs.
Water pumps — Submersible and trash pumps remove large volumes quickly. Use a submersible pump for standing water in basements; a trash pump handles debris-laden water. Pump capacity is rated in gallons per minute (GPM); a 1.5–3 GPM sump pump is fine for light work, while 50–100 GPM trash pumps handle heavy floods. Professionals choose pump capacity to reduce extraction time and prevent secondary damage from prolonged saturation.
Wet-dry vacuums and truck-mounted extractors — For finished floors and carpets, a high-capacity wet-dry vac (12–20+ gallon) or truck-mounted extractor is used. Truck-mounted units provide stronger suction and heat, speeding carpet drying. For homeowners, wet-dry vacs accelerate final cleanup after primary pumping.
Air movers and axial fans — Directional airflow dries surfaces; place them angled across wet surfaces to draw moisture out, not directly onto dry areas. Multiple air movers are used to create a drying circuit. Professionals often use 3–6 air movers per 500 sq ft depending on wetness and material porosity.
Commercial dehumidifiers — Low-grain refrigerant (LGR) dehumidifiers remove hundreds of pints per day under ideal conditions; professionals size dehumidifiers to the volume of the space and humidity load. For a 1,000 sq ft moderately wet area, expect one LGR dehumidifier (40–70 pints/day equivalent at AHAM conditions) or multiple smaller units to meet drying load. Dehumidifiers reduce relative humidity to targeted levels (<45–50%) to stop mold growth.
Moisture meters and thermal imaging — Pin and non‑contact moisture meters measure moisture content in wood and drywall; thermal cameras locate hidden pockets of moisture by identifying temperature differentials. Professionals use these tools to map a drying plan and verify completion.
HEPA vacuums and air scrubbers — For mold and particle control, HEPA vacs and negative air machines with HEPA filtration reduce airborne spores during demolition. Air scrubbers are critical when cutting drywall or removing insulation to prevent cross-contamination.
Sanitizers and specialty cleaners — EPA-registered hospital-grade disinfectants for hard, non-porous surfaces; borate cleaners for wood; enzyme cleaners for organic stains. Never mix cleaning products; follow label contact times exactly for efficacy.
Personal protective equipment (PPE) — Respirators (NIOSH-certified N95 or P100), gloves, eye protection, and waterproof boots. Contractors follow OSHA standards for respiratory protection and PPE; homeowners should match PPE to the contamination category.
Professional walkthrough: when I consult on jobs I bring a moisture meter and thermal camera to identify hidden moisture, set up air movers to create linear airflow across wet walls, and place the dehumidifier in a central location with ducting for optimal intake/exhaust. That combination typically halves drying time versus fans alone.
Common Challenges and Water Damage Cleanup Tips
Flood cleanup is full of pitfalls that extend cost and time if not anticipated. Below are common problems and practical fixes I’ve used on dozens of jobs.
Hidden water pockets: Water migrates into cavities behind baseboards, under cabinets, and inside stair stringers. Use a moisture meter and thermal imaging early. If readings remain elevated after 48 hours of drying, perform targeted invasive drying: drill 1/2″ weep holes at the base of cabinets or behind baseboard to allow airflow, and document for insurers.
Mold growth triggers: Mold typically appears when materials remain damp for 24–72 hours in temperatures above 68°F and RH >60%. My practical rule: start mechanical drying within 24 hours and maintain RH <50%. If mold appears, photograph, isolate the area with plastic sheeting, and use HEPA vacs and proper PPE. For large infestations, hire remediation pros and consult our pricing guide on water damage and mold remediation costs.
Structural drying difficulties: Thick plaster, hardwood floors with subfloor moisture, and concrete slabs can take weeks to dry. For hardwood over a moisture barrier, remove boards and dry the subfloor if MC readings stay above 15%. Concrete wicking often requires a combination of dehumidifiers and surface sealants prior to finishing.
Persistent odors: Odors often come from organic matter trapped in HVAC, under cabinets, or in subfloor debris. Use odor-neutralizing treatments—oxidizing agents or ozone only after remediation and professional advice. Improper use of ozone can damage materials and electronics.
Documentation and insurer disputes: I always keep a daily log with photos, equipment run-times, and moisture readings. If an insurer questions scope, provide this chronological evidence and reference industry-standard drying targets. For more on restoration claims and timelines, FEMA guidance is useful—see FEMA resources.
Disposal logistics: Wet insulation, carpet padding, and saturated drywall must be bagged and disposed of per local regulations—document disposal weight and photos for claims.
For deeper study on remediation costs and processes, check our comprehensive resource on water damage and mold remediation costs.
When to Hire Professional Flood Cleanup Services
Sometimes DIY can stabilize but not finish. Below are clear, evidence-based scenarios when you should call professionals and what credentials to check.
Hire professionals if any of the following apply:
- Standing water exceeds 2 inches or flood area >200 sq ft.
- Water is Category 2 (gray) or Category 3 (black) — health risk present.
- Structural damage, active leaks, or HVAC system contamination suspected.
- Mold visible over areas larger than 10 sq ft or recurring after attempted cleanup.
- Occupants are elderly, immunocompromised, or have respiratory conditions.
- Insurance requires mitigation by certified vendors to qualify for coverage.
When engaging a contractor, look for certifications such as IICRC (Institute of Inspection, Cleaning and Restoration Certification) and state contractor licensing. For certifications related to broader disaster recovery see our guide on fire and water damage restoration certification. Also consider specialized providers for commercial or complex claims: commercial storm damage restoration, commercial water damage repair services, and storm damage repair contractors.
For an overview of full storm-restoration options and a cost framework that includes wind and structural damage, consult our pillar resource Storm Damage Restoration Service Guide and Cost Overview.
If you need contents-only restoration (valuables, documents), review options and vendors in our personal property resource: personal property restoration companies.
OSHA standards cover worker safety during remediation; ensure contractors follow OSHA respiratory protection and confined-space practices—see OSHA for details.
Overview of Professional Flood Cleanup Service Costs
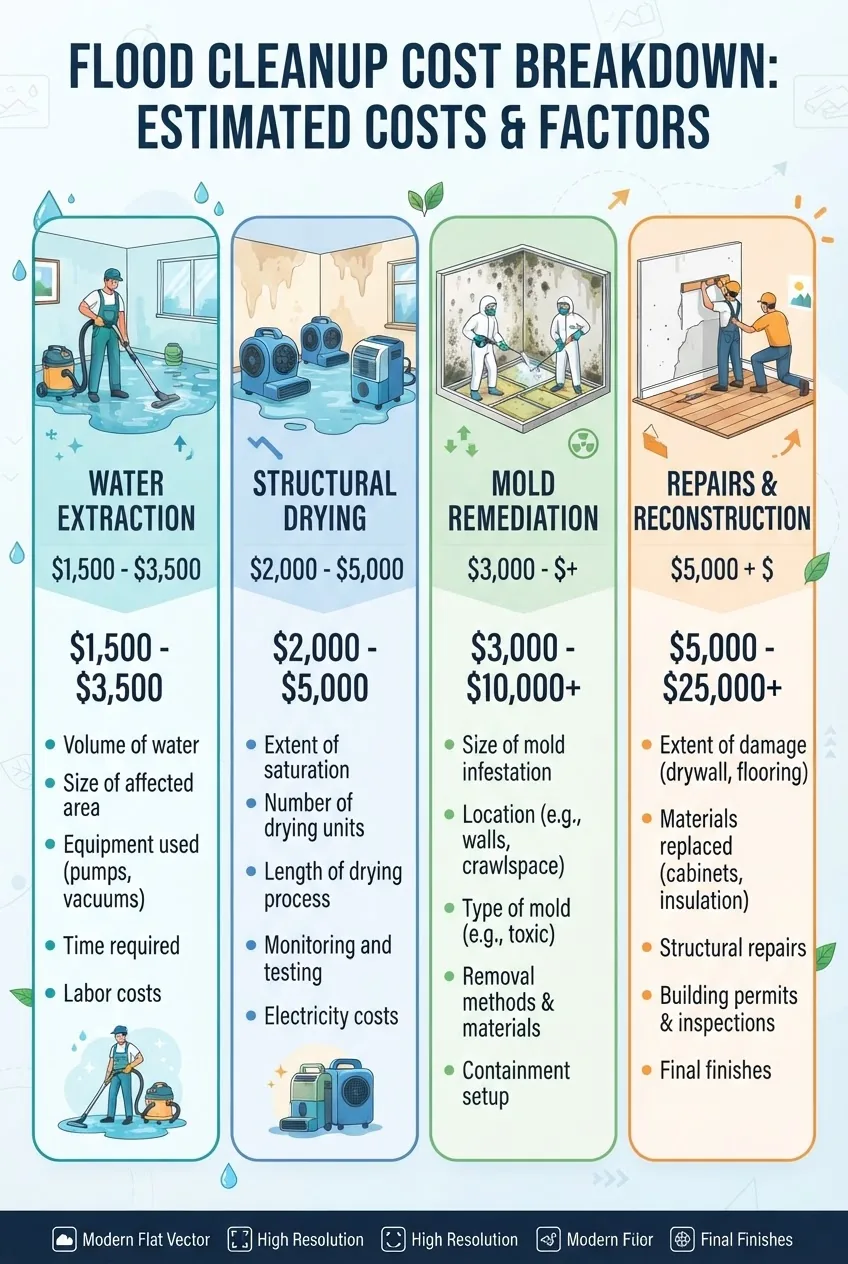
Costs vary widely by severity, square footage, contamination, and local labor rates. Below is a practical comparison table with typical price ranges, then a breakdown of cost drivers and what is usually included or excluded.
| Service Category | Typical Scope | Average Cost Range |
|---|---|---|
| Emergency water extraction | Pump out standing water, wet-vac, remove contents | $500 – $3,000 |
| Structural drying and dehumidification | Air movers, LGR dehumidifiers, monitoring for 48–120 hours | $700 – $5,000 |
| Mold remediation | Containment, HEPA filtration, removal of contaminated materials | $500 – $15,000+ |
| Contents cleaning | Pack-out, cleaning, storage, and return | $300 – $6,000 |
| Reconstruction and repairs | Drywall, flooring, carpentry, painting | $1,000 – $50,000+ |
| Total modest home event (single floor) | Extract, dry, and limited repairs | $1,500 – $8,000 |
Price drivers explained:
- Severity and contamination: Category 3 events multiply cost due to hazardous waste handling and air filtration needs.
- Square footage and material type: Hardwood, plaster, and finished basements are costlier to dry and repair than concrete or tiled spaces.
- Equipment time and monitoring: Longer drying durations increase equipment rental and technician time.
- Access and logistics: Multi-level homes or tight access zones increase labor hours.
- Local labor rates and availability: After major storms, surge pricing is common; get time-stamped quotes.
- Insurance coverage and deductibles: Policies differ on covered services—document everything and get a written scope of work.
Common inclusions and exclusions:
- Included: initial assessment, extraction, drying equipment, moisture monitoring, and basic disinfecting of hard surfaces.
- Often excluded: reconstruction, cosmetic repairs, personal property replacement (instead of cleaning), and environmental testing unless specified.
For storm-related damage, see our deeper analysis of hurricane damage repair costs. For broader storm cleanup pricing, consult storm damage cleanup service pricing and our restoration pricing overview on water damage restoration service costs.
Average cost example (moderate, single-floor): extraction $800, drying $1,200 (3 days), mold prevention/sanitizing $600, minor repairs $1,500 = $4,100 before taxes and contents work. According to a 2024 industry report, average residential mitigation jobs typically range $2,000–$7,000 depending on region and severity.
Additional Considerations: Insurance, Timelines, and Post-Cleanup Repairs
Insurance, scheduling, and thoughtful coordination of trades determine the total time-to-repair. Below are practical steps and lists to help you manage claims and follow-up repairs.
Immediate claim filing tips:
- Contact your insurer within 24–48 hours and provide your photo/video documentation and initial mitigation receipts.
- Keep receipts for rentals, equipment, and temporary housing. Insurers frequently request daily logs of mitigation activity.
- Get at least two itemized quotes for reconstruction to avoid lowball offers from vendors.
- For federal guidance on claims after major disasters, consult FEMA resources at FEMA, which outline documentation best practices and timelines.
Timeline coordination:
- Day 0–2: Emergency stabilization and extraction.
- Day 2–7: Mechanical drying and monitoring.
- Day 7–30: Repairs, mold remediation, and contents restoration if moisture targets met.
- 30+ days: Reconstruction in complex cases or where materials require ordering or permits.
Contractor coordination and regulatory notes:
- Ensure contractors carry general liability and pollution or waste-handling insurance where contaminated materials are removed.
- For carpentry and structural work, verify credentials—see our carpentry repair training and certification resource for qualification standards.
- For repainting and cosmetic services after remediation, check our handyman paint service guide for best practices.
- For exterior repairs such as siding or roof replacement, explore our roof repair and costs and outdoor home repair course and maintenance.
- For regulatory and licensing overviews for restoration contractors see damage restoration service guide and requirements.
Post-cleanup repairs and training: If you or a contractor will handle structural repairs, consider formal training paths in restoration carpentry—see carpentry repair training and certification and our guide on repairing water damage and home restoration training.
For a broad overview of restoration contractors and service levels when storm damage also includes water, see storm damage restoration service costs and our contractor selection advice on storm restoration company services.
Common mistakes and how to avoid them
I’ve seen the same errors on many projects. These are written in first person from experience and how I corrected them.
- “I waited 72 hours to call a pro.” Waiting allowed mold to take hold; I should have started mechanical drying and engaged a mitigation company when moisture readings didn’t drop within 48 hours.
- “I used household fans only.” That made humidity uniform and slowed drying; adding a dehumidifier and directional air movers cut drying time in half.
- “I assumed carpet was salvageable.” After testing, padding was contaminated—saving the carpet alone increased cost and risk; replacing padding and professionally cleaning the carpet would have been smarter.
- “I didn’t track equipment run-times.” I lost reimbursement for rental days until I began logging start/stop times and photos daily.
Checklist: Post-cleanup verification
- Moisture meter readings for wood and wall cavities at pre-flood levels or per manufacturer spec (e.g., <12% MC for hardwood).
- Indoor RH consistently below 50% for 48–72 hours.
- No visible mold or musty odors; HVAC system cleared or professionally cleaned.
- All porous contaminated materials properly removed and documented.
- Photographic record and equipment logs delivered to insurer and saved locally.
When to call in a professional instead
Call professionals if contamination is unknown or suspected Category 2/3, standing water is deep, dry-time stalls, or mold reappears. Also call pros when your insurer requires certified mitigation for coverage, or when structural repairs exceed your training—see our hiring guides for contractor selection and certifications like IICRC and state licensing.