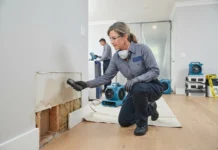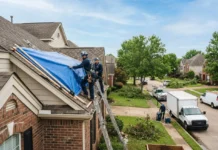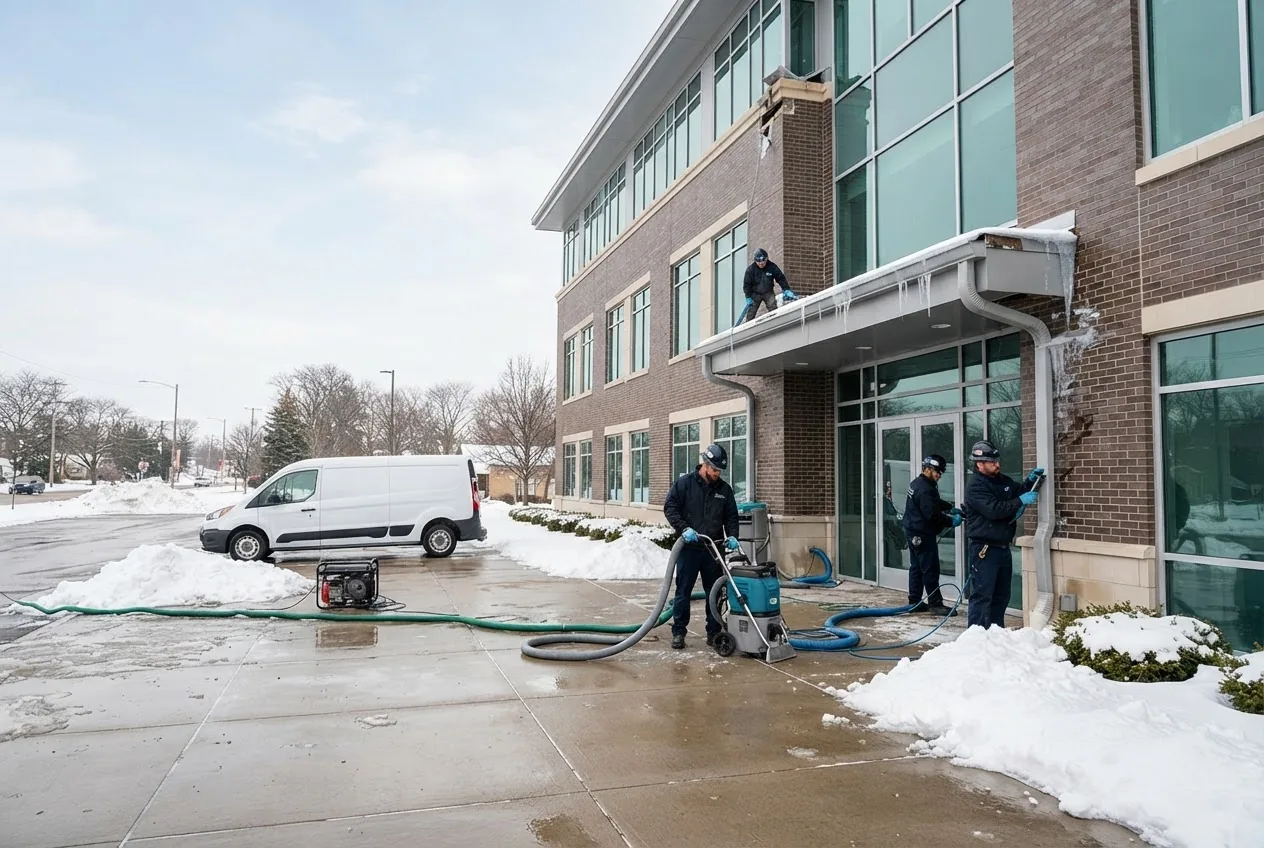
Commercial storm damage: by the end of this hands-on guide you will have an actionable restoration plan for a commercial property—including prioritized steps, realistic timelines, and cost ranges to budget. Plan 1–3 hours to create the plan, then expect project management spanning 1–24 weeks depending on damage; this assumes a facilities manager or property owner with basic maintenance experience.
This guide teaches practical, step-by-step techniques for commercial storm damage response, seasonal-specific repairs, insurance documentation, and contractor selection so you can lead recovery confidently.
Before you start
- Prerequisites: property access privileges, current insurance policy copy, basic safety training for confined spaces
- Essential tools and materials: commercial-grade dehumidifiers (80–150 pints/day), truck-mounted water extractors or 5–10 HP submersible pumps, industrial wet/dry vacuums, moisture meters (pin & pinless), infrared thermal camera (optional)
- Personal protective equipment: N95/half-mask respirators, ANSI-rated hard hats, hi-vis vests, chemical-resistant gloves, boot covers
- Documentation supplies: digital camera, tripod, GPS-tagging app or timestamped photos, damage log spreadsheet
- Key contacts: insurance adjuster, licensed structural engineer, IICRC-trained restoration firm
Understanding Commercial Storm Damage
Commercial property damage from storms varies by building type, construction age, and systems (roof, HVAC, electrical). A single event can cascade: roof failure leads to interior water intrusion, which accelerates mold growth and mechanical failures, then business interruption. According to a 2024 industry report, average business interruption losses after major storms increased by 12% year-over-year, largely due to global supply chain impacts and longer repair timelines (source: industry report, 2024).
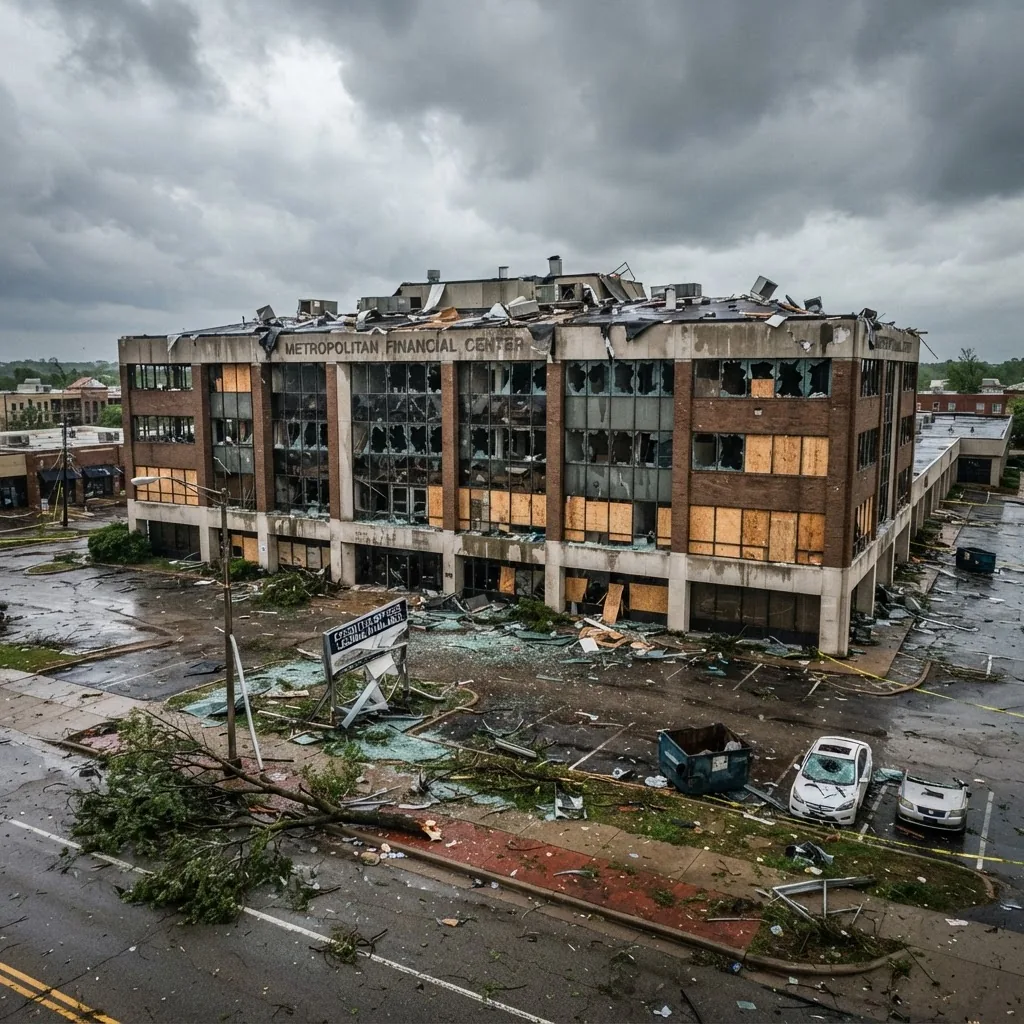
Storm impact types commonly seen at commercial sites include wind-driven rain, complete roof blow-off, flooding of mechanical rooms, ice-related collapse of awnings, and structural damage to façades. According to a 2023 federal weather agency report, coastal commercial structures experienced a 30% higher rate of envelope damage during hurricane seasons in the prior five years (source: federal weather agency report, 2023).
Commercial buildings have distinct vulnerabilities: larger roof spans, rooftop mechanical units, multiple occupancy zones, and higher-value contents like IT equipment. That complexity increases restoration scope and coordination: multiple trades, staged occupancy decisions, and regulatory inspections (electrical, fire suppression) are often required.
Real-world example: a mid-sized regional distribution center sustained wind-driven rain through a failed curb-mounted rooftop unit. Rapid water migration into racking caused pallet-level losses and contaminated insulation; the recovery required phased drying, rack disassembly, contents triage, and a separate structural repair contract. That sequence—triage, drying, contents work, structural repair—is typical for complex commercial cases.
Understanding common outcomes helps prioritize: protect life-safety systems first (fire pump, emergency lighting), then stop ongoing water ingress, then stabilize structure and contents. For authoritative safety and storm statistics, consult NOAA and FEMA for regional advisories and historical impact data (external sources, gov agencies).
Transition: With vulnerabilities and consequences clarified, the next section breaks down specific damage types and how they vary seasonally.
Types of Commercial Storm Damage and Seasonal Variations
- Wind damage — blown-off roofing membranes, damaged rooftop equipment, broken glazing and doors. Example: a 50,000 sq ft retail center lost metal coping in a 90-mph gust, exposing parapet capping and causing interior water intrusion on the leeward side.
- Flood damage (pluvial and coastal) — contaminated floodwater lifts floor coverings, soaks insulation and subfloors, and damages electrical panels below baseboards. Example: a ground-floor office in a coastal city required full contents salvage and replacement of carpet tile after 18 inches of storm surge.
- Wind-driven rain and envelope failure — gaps at joints, failed sealants and cladding detachments allow pressurized water entry. These events often bypass interior waterproofing and cause hidden moisture pockets inside walls.
- Hail and impact — rooftop membrane punctures, skylight shattering, and mechanical damage to exposed condensers. Hail can cause long-term leaks that show up seasonally.
- Lightning and electrical surge damage — transient voltage can damage HVAC controls, fire alarm panels, and servers. Surge suppression and immediate electrical inspection are standard mitigations.
- Ice and snow loads (winter storms) — heavy snow and ice dams increase roof live loads, cause membrane tension failures, and produce ice dams that force meltwater under shingles or metal panels. An ice dam can back water into eaves and interior ceilings.
- Pipe burst following freeze-thaw cycles — frozen piping in rooftop penthouses or poorly insulated areas can rupture when thawing, creating internal floods distinct from external storm flooding.
- Environmental contamination — sewage backflow, fuel/oil from adjacent sites, or industrial chemical releases mixed with floodwater require hazardous-material handling and certified disposal.
- Business interruption and secondary losses — loss of tenants, supply chain delays, or spoilage in food-service locations increase total loss beyond physical repairs. According to a 2024 industry report, downtime remains the largest indirect cost in commercial storm events (source: industry report, 2024).
Seasonal notes: winter storms emphasize load, freeze-related plumbing failures, and ice dam creation; hurricanes hinge on wind uplift, storm surge and prolonged exposure to saltwater corrosion. The technical approaches differ—winter work often focuses on rapid snow and ice removal and temporary heat, while hurricane recovery requires immediate board-ups, salt remediation and corrosion control.
Transition: Now that you can recognize types of damage and seasonal nuances, the next section walks you through a hands-on restoration process you can lead.
Step-by-Step Commercial Storm Damage Restoration Process
This section is the operational playbook. It follows a practitioner-first order: triage, mitigation, drying, restoration, and closeout. Use this as your chief sequence when mobilizing a team. For a high-level contractor and cost primer see the storm damage restoration service guide and cost overview.
-
Step 1 — Perform immediate safety triage and secure the site.
Shut down hazardous systems (electrical main, gas valves, elevators). Tag life-safety systems and log actions. Time: first 1–4 hours post-arrival. If live electrical hazards exist, get a licensed electrician for lockout.
-
Step 2 — Document damage thoroughly.
Photograph every elevation, interior zone, and affected equipment with timestamp and GPS. Produce a damage log with zone IDs and estimated square footage of affected areas. This documentation supports insurance claims and triage prioritization.
-
Step 3 — Stop active water ingress and temporary weatherproofing.
Apply emergency board-ups, roof tarps, or welded metal caps to stop wind-driven rain. For winter storms, install temporary heat and remove standing snow to reduce load. Time: 1–48 hours depending on access and crew size.
-
Step 4 — Set up staged containment and protect unaffected spaces.
Use plastic containment, negative pressure machines, and HEPA-filtered air scrubs when demolition or mold remediation is required to prevent cross-contamination in occupied zones.
-
Step 5 — Remove standing water and begin water extraction.
Deploy centrifugal pumps, truck-mounted extractors, and industrial dehumidifiers. Prioritize mechanical rooms and electrical closets. For commercial-scale extraction, plan 24/7 pumping shifts until visible water is removed. For typical flooded office suites, expect 8–48 hours of active extraction depending on depth and access. For specialist water removal see water removal services and for basement-specific incidents see basement flood cleanup services.
-
Step 6 — Perform moisture mapping and structural assessment.
Use pin and pinless moisture meters and thermal imaging to map wet pockets. Engage a licensed structural engineer where structural members are compromised (sags, deflections, exposed reinforcing). For formal inspection support consider water damage inspection services.
-
Step 7 — Remove damaged materials and perform controlled demolition.
Strip wet gypsum board to 12–24 inches above the moisture line, remove carpet and padding if porous contamination exists. For carpet-specific restorations consult carpet water damage repair.
-
Step 8 — Deploy drying equipment and monitor daily.
Place dehumidifiers sized to cubic footage with a target dew point below 40°F (4°C) and maintain for 48–120 hours after extraction depending on materials. Log moisture readings twice daily. If pockets of trapped moisture remain, install ducting to force airflow into cavities.
-
Step 9 — Conduct mold assessment and remediation where necessary.
If visible mold or musty odor occurs, isolate the area, remove contaminated materials, HEPA-vacuum surfaces, and apply EPA-registered fungicidal treatments. For combined water and mold remediation see water damage and mold remediation.
-
Step 10 — Restore building envelope and roofs.
Replace or repair roofing membranes, flashing, and parapet repairs. For detailed roofing scopes and pricing consult roof repair services and costs.
-
Step 11 — Rehabilitate mechanical, electrical and plumbing systems.
Replace water-damaged wiring and panels per local code, perform insulation replacement, test HVAC and life-safety systems. Electrical systems typically require 1–3 days for inspection and 1–4 weeks for replacement depending on scope.
-
Step 12 — Contents restoration and inventory.
Create a contents triage list, salvage what can be cleaned (contents restoration) and document disposals. For contract guidance on restoring personal property see personal property restoration services.
-
Step 13 — Rebuild and finish trades.
Coordinate carpentry, drywall, painting, flooring and ceiling vendors. Verify carpentry repair certifications for structural rebuilds; see contractor training references at carpentry repair certifications.
-
Step 14 — Final inspections, testing and occupancy clearance.
Arrange code inspections, fire-life-safety testing, and confirm HVAC IAQ. Produce a closeout packet with photos, moisture logs, warranties and final invoices.
-
Step 15 — Project review and business-interruption reconciliation.
Review schedule vs. actual, update business-interruption records for insurer negotiations, and document preventive measures implemented.
Throughout Steps 5–9, water-focused subcontractors are commonly mobilized: flood cleanup services, water removal services, and water mitigation companies. For those specialties see flood cleanup services, water removal services, and water mitigation company services.
Specialized training or certifications—such as IICRC water restoration credentials—are frequently required for the teams handling Steps 5–9. For educational resources on training and workforce preparation see water damage repair and training and water damage inspection services.
Transition: After following the procedural steps, you must understand what drives the costs of each phase to budget accurately.
Key Cost Factors in Commercial Storm Damage Restoration
Costs vary widely; expect major drivers to be square footage, contamination level (clean water vs. sewage), height and complexity of the building, access logistics, and local labor rates. According to a 2024 industry report, labor accounted for roughly 45–60% of total restoration spend on commercial projects (source: industry report, 2024).
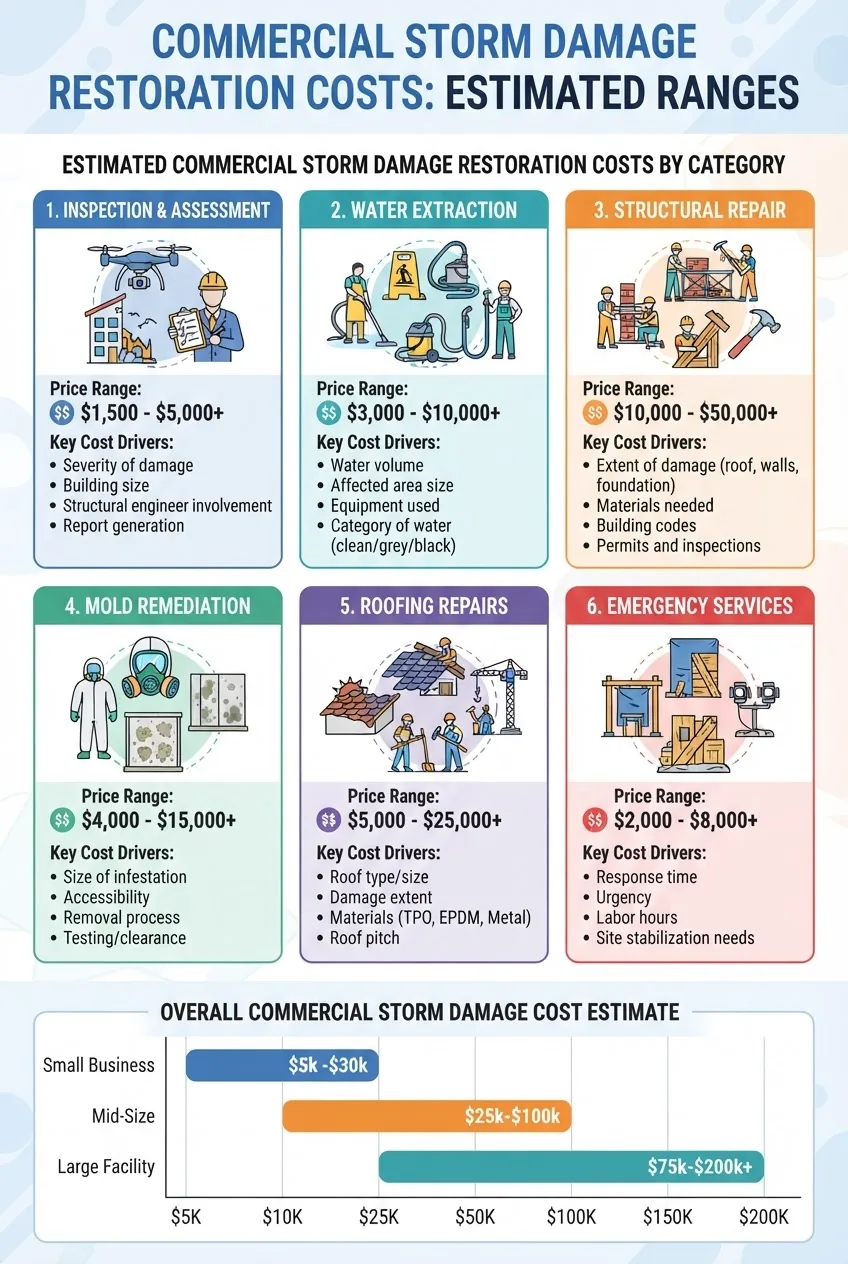
| Category | Typical range (commercial) | Key cost drivers |
|---|---|---|
| Initial inspection and reporting | $500–$5,000 | Size, number of zones, engineering reports |
| Emergency board-ups & tarping | $300–$8,000 | Height, access, weather window |
| Water extraction & drying | $2,000–$50,000+ | Depth of water, equipment days, hours staffed |
| Mold remediation | $1,000–$75,000 | Extent of contamination, containment needs |
| Structural repairs (roof, framing) | $5,000–$500,000+ | Roof area, material choices, engineering |
| HVAC, electrical, plumbing repairs | $3,000–$200,000 | System complexity, code upgrades required |
| Contents restoration & storage | $500–$100,000+ | Inventory value, on-site space, off-site storage days |
| Emergency services (24/7 mobilization) | Premiums 1.5×–3× standard rates | Response time, holiday/weekend, mobilization miles |
Cost-control levers: quick containment reduces drying days; using local vetted subcontractors reduces mobilization premiums; staged occupancy plans can reduce full demolition extents. For deeper pricing on water work see commercial water damage repair services and for professional estimates consult water damage restoration costs.
Insurance and deductibles: most commercial policies have per-cause limits, sub-limits for contents, and separate business-interruption coverage. Work closely with your adjuster and retain a public adjuster for large losses when policy limits are material to the claim outcome. For national-level guidance on typical coverage norms consult Insurance Information Institute (external authority, insurer education resource).
Disclaimer: costs vary by location, severity, building height, and local code requirements. The ranges above are illustrative; develop project-specific estimates before committing funds.
Transition: With cost drivers understood, the following section compares the specialized approaches you’ll use for winter storms versus hurricane events.
Specialized Services: Commercial Winter Storm and Hurricane Damage Restoration
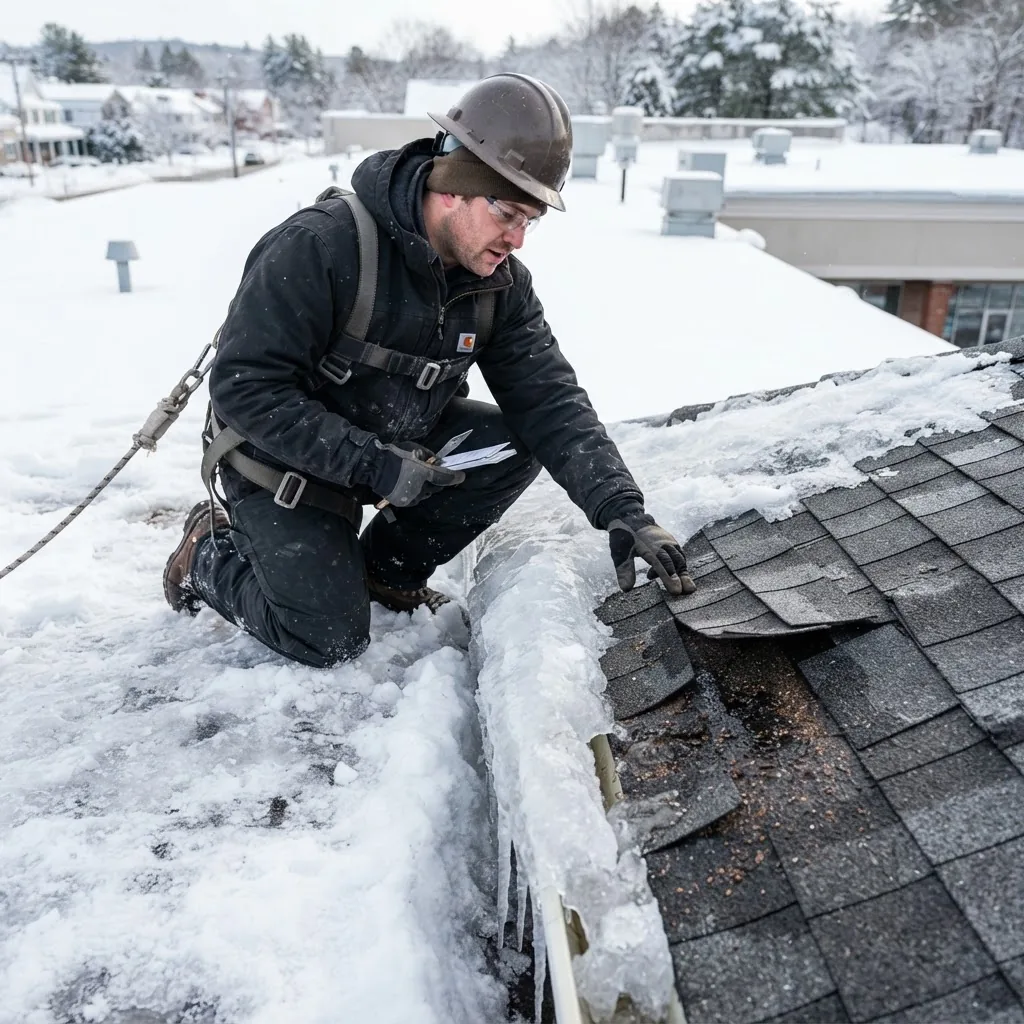
Commercial winter storm repair and restoration and hurricane commercial damage restoration overlap in basic phases but diverge in tactics, equipment and materials. Below is a comparative breakdown of typical service lines and decision points.
Winter storm — priority services
- Snow/ice removal and load reduction: deploy roof rakes, heated temporary platforms, and hoists to remove loads; monitor roof deflection—stop work if deflection exceeds 1/240 of span.
- Ice dam removal: mechanical removal and applying ice-melt systems (electric heating cables) to restore drainage; structural inspection for sheathing saturation.
- Pipe thawing and leak repair: use heated blankets or controlled propane thawing with monitoring; replace compromised sections and insulate to R-19 or better in exposed runs.
- Temporary heating: install indirect-fired heaters and provide ventilation to prevent condensation and secondary mold growth.
- Materials and trade-offs: metal roofing repairs vs. membrane patches—metal offers faster reinstatement of load capacity but costs more upfront. Choose based on expected freeze-thaw cycles and maintenance budgets.
Hurricane — priority services
- Board-ups and windproofing: emergency boarding for glazing and full tarp systems for large roof areas; prioritize wind uplift anchors.
- Saltwater remediation: rinse and decontaminate metal surfaces to remove chlorides and prevent corrosion; HVAC systems often require coil replacement when heavily exposed.
- Corrosion control: apply inhibitors and replace fasteners and connectors showing pitting; structural steel coatings may be required.
- Hurricane-proof materials: consider reinforced membrane systems and impact-rated glazing for rebuilds where future risk warrants capital upgrades.
- Emergency board-up logistics: coordinate laminated boards for storefronts and high-traffic retail to maintain security during long recoveries; see more on specialized hurricane services at hurricane damage repair services.
Case comparison: a winter-impacted office tower required 48-hour shoring to remove accumulated snow and staged roof repairs over three weeks. A hurricane-damaged marina office required salt remediation, replacement of rooftop condensers, and full façade replacement—work that extended for six months due to supply chain delays.
Roof repair decisions: short-term patching vs. full replacement depends on age, warranty status, and risk tolerance. For granular roofing cost guidance see roof repair services and costs.
Transition: Choosing the right contractor to execute specialized and general restoration work is critical; the next section provides vetting criteria and a contractor checklist.
Choosing a Commercial Storm Damage Restoration Contractor
Selecting contractors for commercial storm work requires vetting trade coordination, certifications, insurance compliance, and experience with commercial building systems. Look for companies that document past commercial projects with scope summaries and references.
Licensing and certifications: require proof of general contractor license where applicable, and restoration-specific credentials such as IICRC Applied Structural Drying (ASD) and Water Damage Restoration (WRT). For industry standards reference the IICRC at IICRC (external, certifying body).
Vetting checklist (use during interviews):
- Ask for three commercial references with similar building types and sizes
- Verify insurance: general liability, professional liability, and workers’ compensation with coverage limits
- Confirm in-house project management and scheduling practices (use of Gantt, daily logs)
- Request training lists for crews (IICRC credentials, NFPA training for fire-related work)
- Obtain sample closeout documentation and warranty terms for materials
Practical contractor vetting tips: request photos of previous commercial projects showing before/after and ask about change-order frequency; require a single point of contact for scheduling and insurance liaison. For broader contractor qualifications see damage restoration service requirements and for companies and offerings see storm restoration companies.
Certification cross-trade importance: ensure carpentry teams hold relevant training; for guidance on credentials see carpentry repair certifications, and confirm vendors have completed fire and water damage restoration certifications where applicable.
Use the following contractor checklist when signing a mobilization order:
- Signed scope of work with milestones and hold-points for inspections
- Insurance certificates naming the property owner as additional insured during work
- Change-order process documented and capped at negotiated percent
- Payment schedule tied to verified milestones and inspections
- Safety plan and site-specific health and safety documentation
When selecting between multiple bids, weigh crew availability and demonstrated commercial experience more than small dollar differences—delays and poor coordination typically cost more than a modest premium up front. For contractor guides and cost benchmarking see storm damage repair contractors and storm restoration companies.
Transition: With contractors chosen, invest in preventive measures to reduce future storm impact—these are typically cost-effective over the building lifecycle.
Preventive Measures and Preparing Your Commercial Property for Storms
An annual storm-preparedness program reduces restoration scope and downtime. Treat it like a building health check: inspect, reinforce, and document.
- Roof maintenance: clear drains, check seams, replace fasteners every 5–10 years, and inspect after major wind events. For staff training and roof maintenance course references see outdoor repair and exterior maintenance.
- Drainage upgrades: install backflow valves, upgrade gutter capacity by 20% where high runoff exists, and slope landscape away from foundations by 2% over the first 10 feet.
- Reinforcement strategies: upgrade to impact-rated glazing, reinforce roll-up doors with hurricane straps, and retrofit HVAC curbs with secure anchors.
- Backup power solutions: automatic transfer switches (ATS) sized to handle critical loads for at least 48 hours; test monthly and run full-load tests annually.
- Exterior finishes: schedule protective coatings and paint refresh cycles—contract out to trained teams (see handyman paint services).
Create a written storm plan with delegated roles: who calls contractors, who interfaces with the insurer, and who handles tenant communications. Use drills to validate the plan annually and update after every significant storm.
Transition: Even with prevention, storms happen—next we cover how to document and manage insurance claims to recover costs and minimize disputes.
Dealing with Insurance Claims and Documentation for Commercial Storm Damage
A clear claims process accelerates reimbursement. Document everything and follow a methodical submission routine.
- Notify your insurer immediately and secure a claim number. Early notice preserves coverage rights and mobilizes adjusters.
- Preserve evidence — photograph pre- and post-loss conditions, keep debris for inspection, and maintain chain-of-custody logs for salvaged items.
- Prepare a proof-of-loss package with itemized damage lists, invoices, and repair estimates. Include moisture logs and drying equipment run hours as part of mitigation justification.
- Work with adjusters transparently and provide daily progress reports; retain a public adjuster for complex or large commercial claims if settlement stalls.
- Track business-interruption losses with revenue history, payroll records, and lease agreements; insurers expect detailed back-up to substantiate lost earnings claims.
- Resolve disputes through documented appeals, supplemental estimates, and, if needed, mediation—keep your project timeline logs and photographic evidence centralized.
For specific insurer guidance and typical policy frameworks consult industry resources such as the Insurance Information Institute (external, insurer educational resource). Note that policy language, deductibles and limits vary widely by carrier and region.
Transition: Below is a hands-on section summarizing common mistakes and a practical checklist to validate your restoration work.
Common mistakes and how to avoid them
I’ve seen teams skip thorough moisture mapping because visible surfaces look dry; this led to hidden mold pockets that required costly re-demolition weeks later. I now insist on thermal imaging and moisture logs for every affected zone before repairs. Another mistake: accepting the lowest bid for emergency work—low-cost crews delayed schedule and increased total costs due to rework. I always require proof of commercial experience and insurance before mobilization.
Post-steps checklist
- All open water sources stopped and secured
- Moisture readings within manufacturer tolerances for installed materials (e.g., wood <12% equilibrium moisture content)
- Signed closeout packet with warranties and test certificates
- Business-interruption ledger exported and submitted to insurer
- Tenant communication and re-occupancy plan completed
When to call a professional
- Structural deflection, visible framing failures or sagging floors
- Electrical panels submerged or smoke/arc evidence present
- Hazardous contamination (sewage, chemical runoff, fuel)
- Large-scale inventory damage requiring industrial contents restoration—see personal property restoration services
Transition: The final section compiles common FAQs to give concise, actionable answers for quick reference.