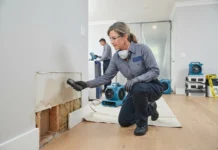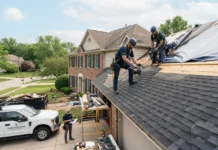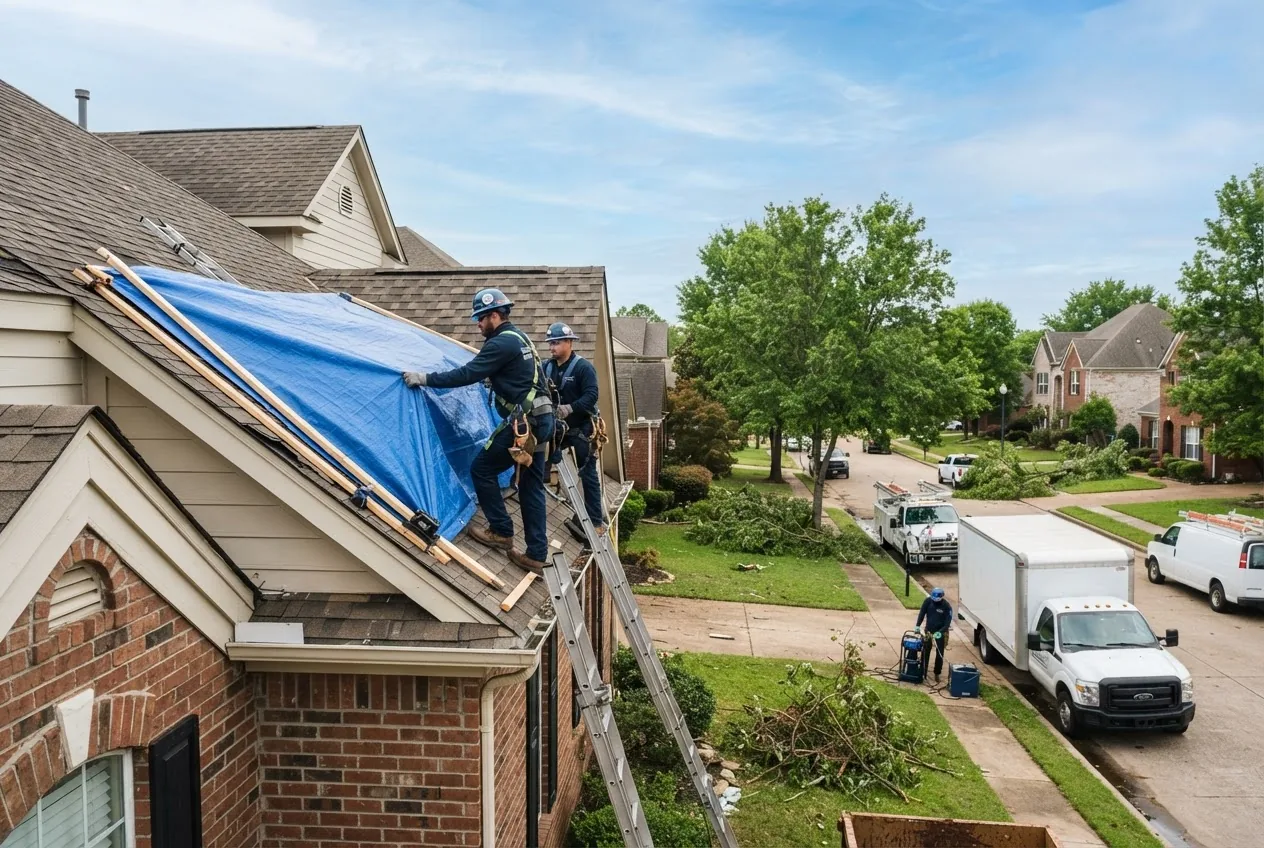
By the end of this hands-on guide you will have a step-by-step plan to assess, mitigate and manage full storm damage restoration projects for homes and small-to-medium commercial properties; plan timeframes (24–90 days depending on severity), and know when to escalate to licensed contractors. Estimated reader skill level: competent homeowner or facilities manager with basic repair experience.
Before you start
- Permits & insurance info: photocopies of policy pages and local permit contacts.
- Safety gear: NIOSH-rated N95 respirator, heavy-duty gloves (pair per person), safety goggles, steel-toe boots.
- Tools & measurement: moisture meter (pin and non‑contact), thermal camera or IR thermometer, tape measure, pry bar, hammer.
- Drying & cleaning equipment (rental): 2–8 air movers, 1–2 dehumidifiers (40–70 pints/day), HEPA-filter vacuum.
- Temporary materials: 4–6 tarpaulins (10×12), roofing nails, exterior-grade plywood sheets (4’x8′), plastic sheeting, duct tape, sandbags.
- Documentation kit: camera/phone for photos, notebook, digital timestamping app, checklist printouts.
Introduction to Storm Damage Restoration
This section defines the field and shows you the practical scope of work for both residential and commercial jobs. Storm damage restoration (also called storm remediation) is the sequence of emergency stabilization, water removal, drying, structural repair and final remediation to return a property to pre-storm condition or better. The practical priorities are safety, limiting secondary damage (mold, structural failure), and documenting losses for insurance.
For a single-family house with minor roof and limited water intrusion, expect 24–72 hours of emergency mitigation followed by 2–6 weeks of repairs. For commercial buildings with structural or large-area flooding, initial response is 24–48 hours, with total restoration of 6–12+ weeks depending on scope.
If you want a one-stop reference for cost comparisons, certifications, and contractor selection checklists, see Storm Damage Restoration Service Guide and Cost Overview.
Why this matters: delaying mitigation increases secondary losses exponentially—water intrusion left more than 24–48 hours raises mold risk and repair cost by multiples. According to a 2024 industry report, every 24-hour delay in drying raises repair estimates by an average of 15% (source type: industry report). Use this guide to shorten decision time and prioritize actions that preserve insurance coverage and resale value.
Transition: next we identify the specific damage types you’ll encounter and how they change the restoration approach.
Common Types of Storm Damage and Their Effects
-
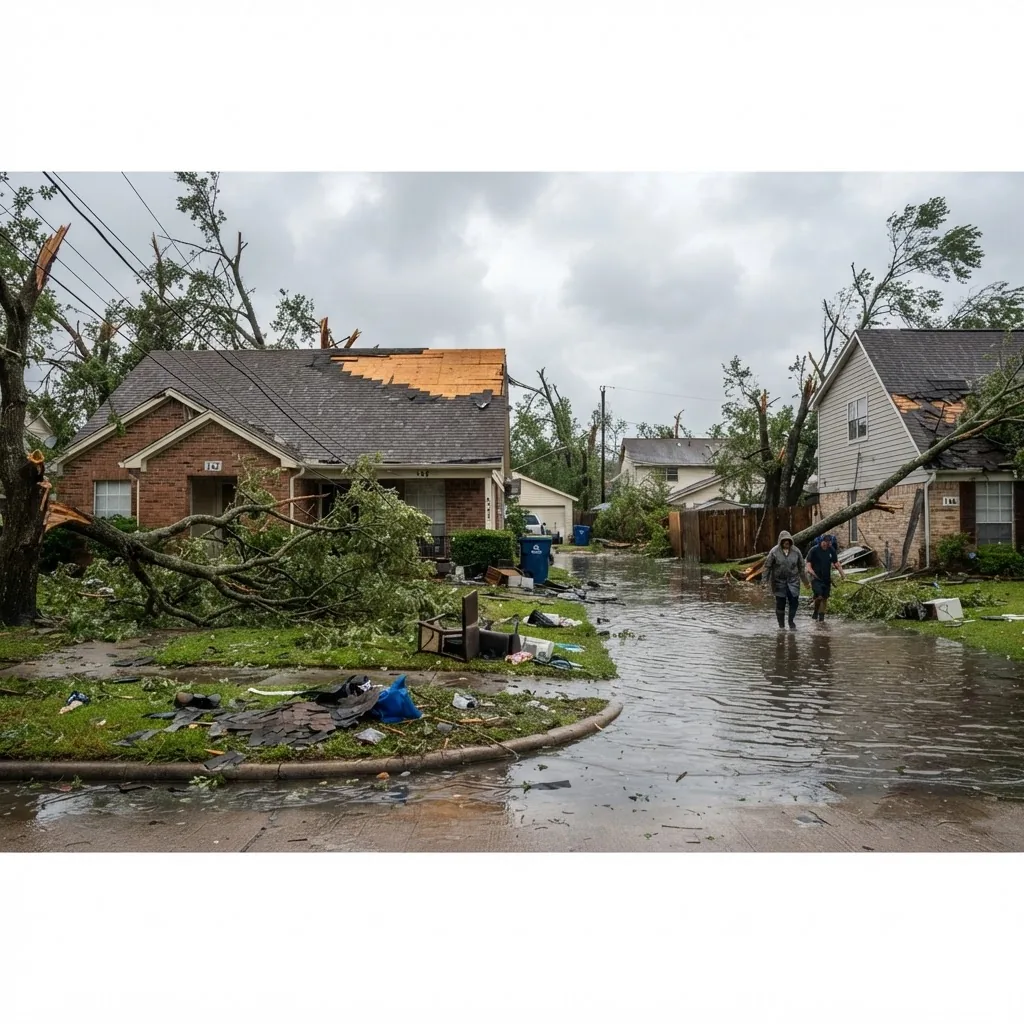
Wind damage (shingles, soffit, and siding) — High winds remove shingles, rip off soffits, and distort vinyl siding. Effects: exposed roof deck, water entry at ridge and eaves, compromised attic insulation. Quick fix: tarping within 24 hours; permanent repair: shingle replacement, flashing reseal. Expect localized repairs: $500–$6,000 depending on roof pitch and area.
-
Hail damage (shingles, siding, glass) — Hail bruises asphalt shingles, dents metal, cracks skylights. Visual pattern: granular loss on shingles and circular dents. Insurance often treats hail as covered perils; document with photos. For large hail events expect roof replacement advisories.
- Hurricane damage (wind + surge + rain) — Multi-mode damage: uplifted roofs, saltwater intrusion, flooded lower levels. Saltwater accelerates corrosion and mold. Structural inspections are mandatory; expect phased remediation: emergency tarping, controlled demolition of unsalvageable materials, content recovery.
- Tornado damage (structural failure and debris impact) — Localized catastrophic losses: walls, roof sheathing, and foundations may be compromised. Safety first: do not re-enter until licensed structural engineer or local authority clears the structure.
- Flooding and surge (interior water damage) — Floodwaters carry contaminants (silt, sewage), making contents hazardous. Immediate actions: document, remove undamaged contents, begin professional extraction. For professional flood guidance see flood cleanup professional services.
- Tree and debris impact — Fallen trees can puncture roofs, damage mechanical systems, and block egress. Debris removal is often coordinated with utility crews; secure chainsaw-trained operators for large limbs.
- Secondary damage: mold and corrosion — Mold can appear within 48–72 hours in humid conditions. Corrosion of fasteners and HVAC components follows prolonged moisture. Prioritize drying and HVAC isolation.
Transition: now that you can recognize damage modes, the next section walks you through a full restoration process so you can manage or perform the work directly.
The Storm Damage Restoration Process Explained
This section is the core procedural guide. I present it as numbered, action‑first steps you can follow from initial response through final repairs. Expect the full cycle for a typical home: emergency stabilization (first 24–72 hours), mitigation and drying (days 1–14), repairs and reconstruction (weeks 2–12). Follow exact timing targets below.
- Secure and document the site — ensure safety, take time-stamped photographs and video of every affected area and item before moving anything. Use a phone with geotagging, and create a dedicated folder. Document HVAC settings, meter readings and waterlines. Insurance adjusters require pre-move documentation for claims.
- Prioritize safety and utilities — shut off gas if you smell it, power off wet areas at the panel (tag breakers), and isolate live wires. For structural collapse risk, cordon off the area and wait for an engineer or building official. PPE: respirator, gloves, and boots mandatory.
- Perform rapid emergency stabilization — tarp roofs, board broken windows, and clear drain paths. For roof tarping, use 6–8 roofing nails per tarp edge and lay plywood under nails where shingles are missing. Document all temporary repairs with receipts. According to IICRC technical guidelines, temporary stabilization significantly reduces secondary damage risk; see IICRC for standards.
- Assess water category and contamination — determine if water is clean (Category 1), gray (Category 2), or black (Category 3—sewage/saltwater). For Category 3 contamination, assume contents and porous materials are unsalvageable. Follow hazardous waste handling for disposal.
- Begin controlled content removal — prioritize salvageable items: electronics, furniture, paperwork. Move to a dry, elevated staging area and photograph serial numbers. For large content moves consider hiring personal property restoration services. personal property restoration services
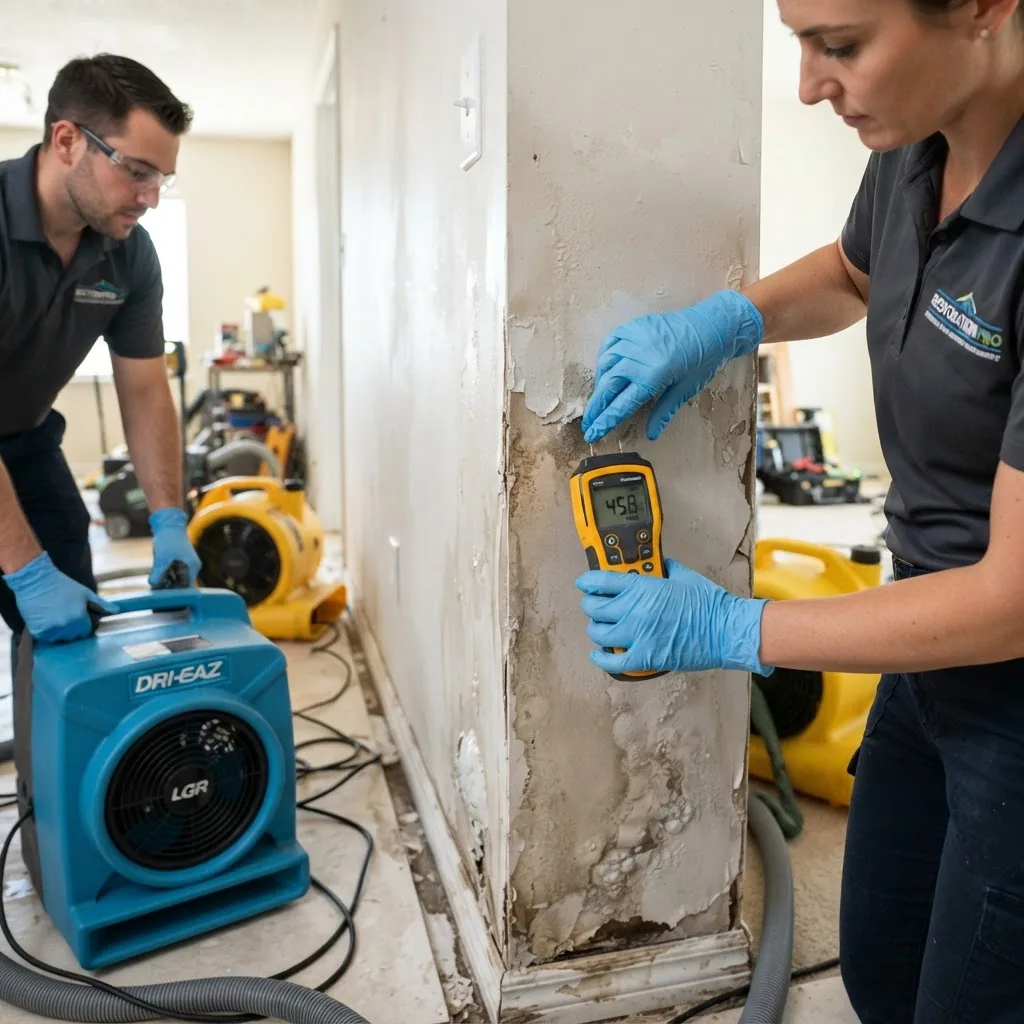
- Conduct moisture mapping and inspections — perform a room-by-room moisture survey with a pin meter and non-contact meter; record baseline readings. Use thermal imaging for hidden pockets; mark affected studs every 4 feet. water damage inspection services
- Set up drying equipment with performance targets — place air movers at 45° to walls, aim two to four air movers per room for typical living spaces, and choose a dehumidifier sized to 40–70 pints/day for 800–1,500 sq ft affected. Run equipment 24/7 with logged readings. Target moisture content: structural lumber below 16% and interior RH <60% within 72 hours.
- Water extraction and cleaning — use submersible pumps for >2 inches of standing water, then extract with wet-vacs. For porous materials, use HEPA vacuums after they’re dry. For basement-specific methods see basement flood cleanup services.
- Perform targeted demolition and salvage decisions — remove wet drywall up to 24 inches above visible water line or to 24–48 inches based on saturation and contamination. Replace insulation and track R-values; use closed-cell spray foam where applicable for faster drying of assemblies.
- Mold prevention and remediation — start fungicidal cleaning on non-porous surfaces after drying begins. For suspected growth, use HEPA containment and testing per local regulations. Consider professional mold remediation when growth exceeds 10 sq ft or when HVAC is contaminated. See water damage and mold remediation.
- Mechanical systems inspection and restoration — HVAC, electrical panels, and plumbing must be inspected by licensed technicians. Replace HVAC filters with MERV‑13 minimum after remediation. If ducts were submerged, plan for full duct cleaning or replacement.
- Structural repairs and carpentry — rebuild roofs, sheathing, framing, and interior finishes. For contractors or teams needing skill upgrades, see carpentry repair training and certification.
- Finalize content restoration and cleaning — finish cleaning, odor control, and content restoration. For carpet-specific steps consult certified courses on carpet water damage repair.
- Quality assurance and documentation — verify moisture levels, take final photos, compile invoices and condition reports for insurance. Create a final punch list and sign-off with property owner.
- Post-repair monitoring and warranty — provide 30–90 day monitoring for moisture rebound and HVAC performance. Offer or request contractor warranties (one-year minimum for workmanship).
Case study (concise practitioner snapshot)
A recent residential repair I led: 2-story home with roof loss and first-floor flooding. Timeline: Day 0–1 documented, tarped roof and removed 1,200 gallons of water; Days 1–5 ran four air movers and a 60‑pint dehumidifier, moisture readings dropped from 42% to 18% wood moisture; Weeks 1–5 completed structural repairs and content restoration. Cost control: prioritized temporary tarping and focused drying to avoid unnecessary demo, saving ~20% compared to full gut strategy.
Common mistakes and how to avoid them
I once accepted a homeowner’s instruction to delay tarping until insurance approval; water penetration doubled and mold remediation became necessary. Always stabilize first and document for claim submission. Another frequent error: undersizing dehumidifiers — I now calculate by affected cubic feet and humidity target, not room count, and keep spare air movers on call.
Quick reference tools and methods used by contractors
- Moisture meter: dual-mode pin and non-contact reading (e.g., Protimeter Surveymaster) — log 3× daily.
- Air movers: 1 unit per 200–300 sq ft of affected open area; place 45° to surface.
- Dehumidifiers: metric — choose pints/day rating based on air changes; for 1,000 sq ft affected, use 40–70 pints/day.
- Thermal camera: identify cold/damp spots behind walls and ceilings.
- HEPA vacuums and negative air machines for mold containment during demolition.
Transition: the next section contrasts residential and commercial storm restoration so you can pick the right scope and contractor model.
Residential vs. Commercial Storm Damage Restoration — Key Differences
| Aspect | Residential | Commercial |
|---|---|---|
| Assessment complexity | Single-structure, simplified systems (one HVAC, single electrical service). | Multiple zones, redundancy needs, code compliance for occupancy and accessibility. |
| Regulatory & permits | Local building permits; homeowner typically manages select contractors. | Stricter permitting, potential business interruption claims, phased occupancy requirements. |
| Insurance & continuity | Personal property focus; shorter timeline tolerances. | Business interruption, inventory restoration, staged re-entry and continuity planning. |
| Typical timeline | Days to a few weeks for typical losses. | Weeks to months; may require temporary relocation plans. |
| Contractor model | Single general contractor or restoration firm manages trades. | General contractor + multiple specialty subs; project management and phased milestones are essential. |
Prose: Commercial projects require more documentation, coordinated safety plans, and certified inspectors. For a focused commercial playbook and cost comparisons see commercial storm damage restoration guide, and for water-specific commercial repairs see commercial water damage repair services.
Transition: next, practical guidance on hiring and working with restoration contractors and what service levels to expect.
Storm Damage Restoration Services and Contractors — What to Expect
Restoration companies vary by service package: emergency mitigation only, mitigation+restoration (end-to-end), or content-only restoration. Expect initial emergency crews available 24/7 for extraction and tarping, and follow-up teams for reconstruction. Typical contractor roles: project manager, mitigation technicians, mold specialist, licensed electrician, HVAC technician, and carpenter.
Common service offerings:
- Emergency board-up, roof tarping, and temporary structural stabilization.
- Water extraction, drying, and humidity control.
- Mold inspection and remediation.
- Content pack-out, storage and restoration.
- Carpentry, roofing, and full interior reconstruction.
- Final cleaning and validation testing (moisture and air quality).
Practical contractor selection tips (bullet points):
- Verify licensing and insurance: demand proof of contractor license, general liability, and workers’ comp; get certificate of insurance with your property listed as additional insured.
- Check certifications: IICRC S500/S520 certifications indicate remediation knowledge; see IICRC for standards.
- Request references and photos: ask for recent project photos, and contactable references in similar storm scenarios.
- Get itemized estimates: require line items for mitigation, materials, labor hours, disposal, and equipment rental days.
- Understand pricing models: time-and-materials vs fixed-price; use fixed-price for defined reconstruction scopes, T&M for uncertain contamination or hidden damage.
- Confirm warranties: one-year minimum on workmanship; materials warranty per manufacturer.
- Content handling: if you need content recovery, confirm if the restoration contractor offers personal property restoration services.
- Specialty trades: confirm subcontractor qualifications for HVAC, plumbing, and structural repairs; consider courses on restoration certification and costs.
- Code and permit management: choose a firm that files permits and coordinates inspections or you may be held liable for unpermitted work.
For broader standards and service requirements see the damage restoration service guide. If you need help locating local trades for carpentry after remediation, review the carpentry repair training and certification.
Transition: next is a detailed cost overview and pricing tables to help budget and negotiate claims.
Cost Overview for Storm Damage Restoration Services
Below are practical cost ranges and the factors that create variability. Costs are estimates and will differ by region, accessibility, contamination category, and insurance coverage. According to a 2023 FEMA report, average homeowner payouts after severe storms vary widely; use the ranges below as planning figures (source type: governmental report).
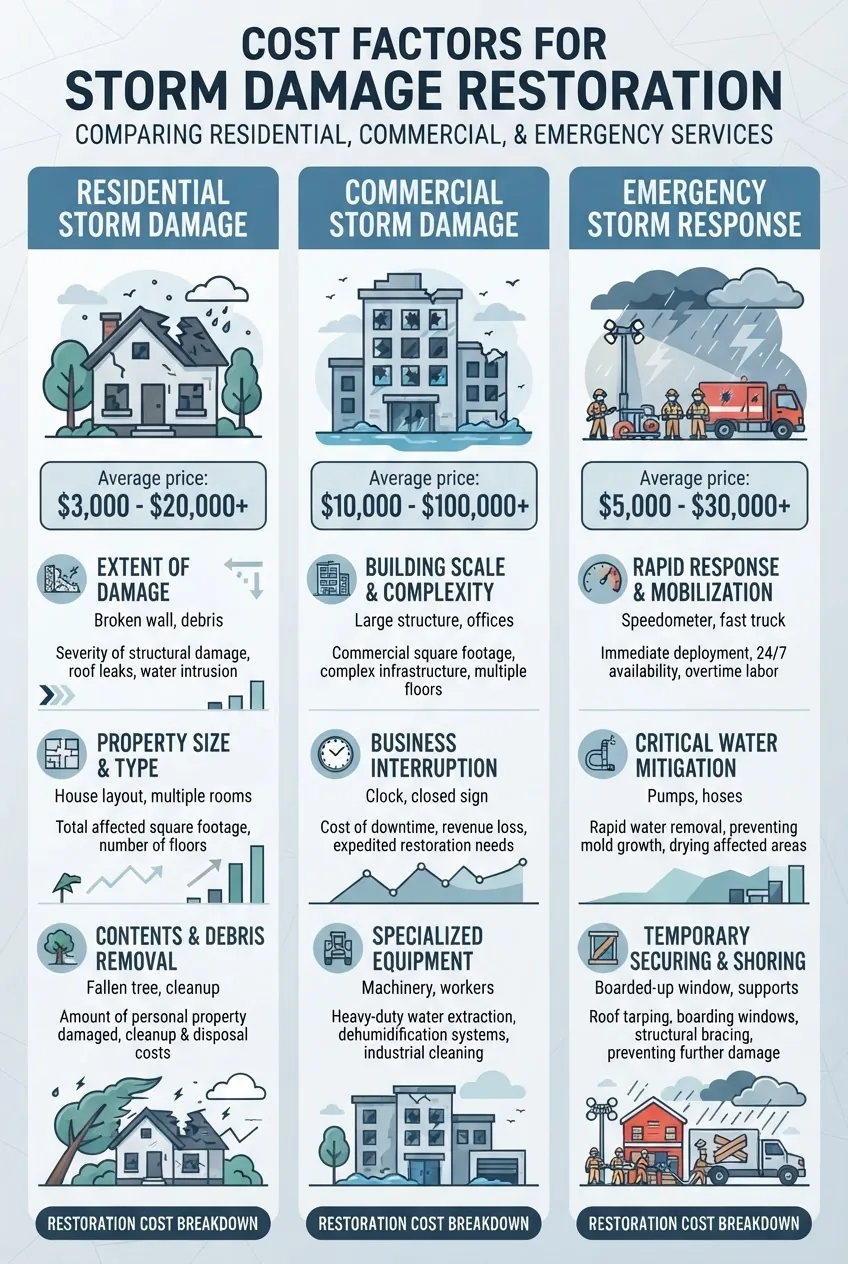
Residential cost table (typical ranges)
| Service | Typical cost range | Key drivers |
|---|---|---|
| Emergency tarping/board-up | $250–$2,000 | Roof area, access, material |
| Water extraction & drying (single room) | $500–$2,500 | Sq ft affected, equipment days |
| Mold remediation (per room) | $500–$6,000 | Area, HVAC involvement, containment |
| Roof repair / partial replacement | $1,000–$12,000+ | Pitch, materials, decking damage |
| Full gut and rebuild (flooded lower level) | $10,000–$75,000+ | Square footage, plumbing, finishes |
Commercial cost table (typical ranges)
| Service | Typical cost range | Key drivers |
|---|---|---|
| Emergency stabilization | $1,000–$10,000+ | Building footprint, occupancy |
| Large-area water mitigation (per 1,000 sq ft) | $2,500–$15,000 | Equipment hours, RH targets |
| Structural repairs/roof replacement | $20,000–$200,000+ | Code upgrades, materials, scope |
Cost factors to inspect closely:
- Access and logistics: multi-story and tight urban lots add 15–40% to labor and equipment staging costs.
- Contamination category: Category 3 (sewage/saltwater) can double disposal and PPE costs.
- Hidden damage risk: older homes may have dry rot and failings under finishes, adding demo and replacement costs.
- Emergency mobilization fees: overnight or holiday deployments often add a 20–50% premium.
Insurance caveat: according to a 2023 FEMA report, covered amounts and out-of-pocket vary by policy language and deductibles (source type: governmental report). Always compare contractor estimates with your adjuster’s scope and include clear documentation of mitigation receipts.
Transition: for immediate actions during a severe storm or right after, follow the checklist and timing guidance in the next section.
Emergency Storm Damage Restoration — When and How to Act Fast
Emergency response is time-sensitive. The priority window is the first 24–72 hours to prevent secondary damage. Use the checklist and decision steps below to reduce long-term repair needs.
- Immediate safety check (0–1 hour): ensure occupants are safe, check for gas leaks, structural instability, downed power lines. Evacuate if necessary.
- Record and call (0–2 hours): take quick photos, call insurance to report loss, and document claim number. Emergency responses typically require notice within 48–72 hours for full coverage consideration.
- Shut utilities if unsafe (0–2 hours): turn off power at the panel for affected areas and shut off the main water if flooding continues.
- Temporary stabilization (0–24 hours): board-up, tarping, sandbagging and clearing gutters to move water away. Hire 24/7 crews if available.
- Extraction & drying (first 24–48 hours): begin extraction and drying immediately for standing water; target RH <60% and wood moisture <16% within 72 hours.
- Engage mitigation pros (0–48 hours): for large losses, call licensed mitigation firms or local water mitigation companies; see water mitigation companies for roles and services.
- Secure temporary occupancy (24–72 hours): if part of the building is safe, isolate wet zones and use negative air to protect occupied spaces; otherwise arrange temporary relocation.
Emergency checklist (printable):
- Photograph all damage with timestamps and geotags.
- Turn off utilities where hazards exist.
- Call insurer and get a claim number.
- Arrange tarping/board-up within 24 hours.
- Start extraction and drying within 24–48 hours.
- Save all receipts and contractor estimates.
Transition: managing insurance effectively can accelerate repairs—read the next section for practical claim handling tips.
Insurance and Storm Damage Restoration — What You Need to Know
Insurance processes often determine budget and repair path. Key objectives: document clearly, avoid unauthorized major demo before adjuster approval when practical, and submit mitigation receipts promptly. According to a 2024 industry report, documented mitigation increases claim approval speed by an average of 20% (source type: industry report).
- Document everything: time-stamped photos, descriptions, and receipts for temporary repairs and equipment rentals.
- Notify insurer immediately: follow their claim intake process and get a claim number to avoid coverage disputes.
- Keep mitigation receipts: emergency tarping and drying are typically reimbursable—submit invoices with photos and hourly logs.
- Work with adjusters: accompany the adjuster through the property walk and supply your documentation; request line-item explanations in the estimate.
- Understand exclusions: flood insurance is separate from homeowner policies in many regions; check with your insurer or local insurance regulators — see NAIC for consumer guidance.
Practical tip: obtain at least two independent estimates before agreeing to total gut-and-replace scopes. Small contractors may be faster but verify insurance and references; large restoration companies offer coordinated claims experience but often charge premium mobilization fees.
Transition: after repairs, invest in preventative measures to reduce future risk. The next section lists maintenance steps and reinforcement ideas.
Preventive Measures and Maintaining Your Property Post-Restoration
After restoration, a structured maintenance plan reduces vulnerability to the next event. Focus on roofing, drainage, exterior reinforcements, and interior moisture control.
- Inspect and maintain roof — replace missing shingles yearly, check flashing, and inspect attic for light penetration. Re-seal roof penetrations every 3–5 years.
- Clear gutters and downspouts — remove debris twice a year and after major storms; ensure downspouts discharge 3–6 feet from foundation.
- Grading and drainage — maintain a 5% slope away from foundation for the first 10 feet (6-inch drop per 10 ft).
- Tree trimming and site clearance — prune trees to a 10–15 foot clearance from the roof; remove weak or dead trees within 30 ft of structures.
- Seal openings and reinforce doors/windows — install impact-rated doors/windows or storm shutters in high-risk zones.
- HVAC maintenance — schedule biannual inspections; replace filters every 90 days and clean condensate lines.
- Inventory and content backups — maintain a digital inventory of serial numbers and receipts; store critical documents off-site or in the cloud.
- Paint and exterior finish upkeep — repaint trim and exterior wood every 5–7 years; use exterior-grade caulk on joints. For finishing touches after repairs, consider vetted handyman paint services.
- Exterior repairs training — owners and maintenance teams should complete basic courses on exterior repair; see outdoor home repair and maintenance.
When to call in a professional
If you observe any of the following, stop DIY attempts and call licensed professionals: structural movement, exposed wiring, sewage contamination (Category 3 water), widespread mold (>10 sq ft), or when insurance requires licensed contractor invoices for reimbursement. Also call a professional for complex commercial continuity planning.
Common mistakes and how to avoid them (post-restoration)
I’ve seen owners assume that a visual “dry look” means moisture is gone — but pin meter readings tell the truth. I now insist on documented moisture values before closing any jobs. Another common issue: reusing wet insulation; always replace when contaminated or saturated beyond 25% of thickness.
Final checklist (verify before project close)
- All moisture levels documented below target thresholds (wood <16%, drywall <1.5% moisture content).
- Photos and receipts uploaded to claim portal and owner files.
- Permits closed and final inspections passed if required.
- Warranties on workmanship and materials documented.
- Occupant re-entry decision verified by engineer or inspector for structural repairs.
Conclusion
If you follow this guide you will be able to triage storm damage, start emergency mitigation within the critical first 24–48 hours, document claims effectively, and decide when to engage licensed restoration teams. Use the checklists and performance targets (moisture values, equipment counts, and timelines) as objective gates to control cost and risk. When in doubt on contamination or structural integrity, escalate to certified professionals immediately. Ready to discuss your project with experienced restoration teams? Start by collecting photos, policy details, and scope notes, then contact a certified restoration contractor to request a written estimate.