By the end of this hands-on guide you will be able to assess basement damage, perform the essential immediate actions, understand the full professional cleanup and restoration workflow, and estimate realistic costs for hiring experts. Expect the complete process—from emergency water removal to final moisture verification—to take 2–14 days depending on flood severity; this guide assumes a homeowner with basic DIY skills and readiness to coordinate professional contractors.
Before you start
- Safety gear: NIOSH N95 or P100 respirator, waterproof boots, rubber gloves, eye protection.
- Tools & consumables: sump/utility pump (3–5 HP for deep water), submersible trash pump (if solids present), 2–4 industrial wet/dry vacuums, 2–6 axial air movers, 1–3 LGR dehumidifiers, hygrometers and moisture meters, antimicrobial disinfectant (EPA-registered), heavy-duty trash bags, plastic sheeting (6 mil), absorbent pads.
- Contacts: local licensed restoration contractors, insurance company claim number, a certified mold remediator (IICRC-certified if possible).
- Permissions: clear access points, turn off main electrical breakers if water reached outlets — leave to an electrician if unsure.
Transitioning into the service overview below, you’ll see how basement-specific cleanup differs from general flood cleanup and why contractors use different tools, protocols, and insurance workflows for below-grade spaces.
Understanding Basement Flood Cleanup Services
Basement flooding requires a tailored response because below-grade spaces retain water longer, concentrate contaminants, and create persistent moisture pockets in walls, slabs and framing. Professional basement flood cleanup services specialize in rapid water removal, contamination control, structural drying, and targeted repairs for basements—distinct from broad surface flood cleanup.
Core service types offered by basement-focused contractors:
- Emergency basement flooding service: 24/7 rapid response teams that perform initial water removal and safety stabilization.
- Flood damage assessment and inspection: moisture mapping, infrared scans, cavity probes, and content inventory.
- Water removal techniques: pump-based bulk extraction, high-capacity extraction wands, and staged dewatering to protect slab and footings.
- Drying and dehumidification: engineered airflow and low-grain refrigerant (LGR) dehumidifiers sized to cubic feet and moisture load.
- Mold prevention and remediation in basements: surface sanitation, controlled demolition for wet insulation or drywall, and post-drying verification testing.
- Basement water damage repair and reconstruction: carpentry, flooring replacement, foundation seam repairs, and sump system upgrades.
Basement cleanup firms usually provide an integrated service package: emergency water removal, drying, mold prevention, repairs and insurance documentation. Small jobs may be addressed by specialized basement water removal service providers; complex jobs require full-scale restoration contractors who follow industry standards such as IICRC S500 for water damage restoration. See IICRC standards for remediation protocols and the EPA guidance on mold and moisture control.
For context on how basement cleanup fits into larger programs, review the storm damage restoration service guide and cost overview.
Next we’ll look at what commonly causes basements to flood so you can prioritize fixes that prevent repeat events.
Common Causes and Risks of Basement Flooding
- Sump pump failure — Power loss, float switch jams, or undersized pumps cause backup. A properly sized sump pump (1/3–1 HP for light infiltration; 1–2 HP for heavy discharge) and battery backup reduce this risk.
- Stormwater runoff and landscaping issues — Poor grading and clogged gutters send water to the foundation instead of away from it; extend downspouts 4–6 feet from the foundation.
- Foundation cracks and hydrostatic pressure — Ground saturation creates lateral pressure that forces water through micro-cracks. Left unchecked, this causes chronic seepage and structural deterioration.
- Plumbing failures and pipe bursts — Broken supply lines or fixture failures release clean water that can still cause rapid basement flooding; see pipe burst damage restoration for typical mitigation steps.
- Sanitary sewer backup — This produces contaminated (Category 3) water requiring full protective equipment, containment and disposal.
- Roof and exterior leaks — Faulty flashing, aging shingles, or compromised roofs direct water toward walls and foundations. Correlate basement ingress patterns with roof performance; see roofing fix services.
- Blocked or failed drainage systems — Clogged French drains and failing exterior drains cause pooling near the foundation.
- Condensation and high humidity — Elevated basement RH (>60%) over days fosters mold growth, even without visible flooding.
- Mold risks and health hazards — According to a 2023 EPA report, basement moisture is a leading cause of indoor mold complaints in residential properties; mold can begin growing within 24–48 hours on porous materials (source: government report).
- Failure to inspect — Skipping routine checks for water damage, sump pump operation, and gutter function allows small issues to become emergencies; consider periodic water damage inspection services for early detection. water damage inspection services
Transition: after identifying causes, the next section gives an exact, step-by-step professional cleanup workflow you can use to brief contractors or perform staged tasks while they arrive.
Step-by-Step Process of Professional Basement Flood Cleanup
This procedure describes the workflow restoration contractors follow. Use it to decide what you can safely do and what to leave to professionals. Each numbered step begins with the primary action.
-
Ensure safety and shut utilities
Turn off electricity at the main breaker if water has reached outlets or your meter room. If you cannot safely access the breaker panel, call a licensed electrician. Record the scene with photos for insurance before moving items.
-
Establish hazard perimeter and PPE
Set up barriers with 6-mil plastic sheeting and tape to contain contaminated water and prevent cross-contamination to living spaces. Equip all personnel with respirators (N95 or P100), non-slip waterproof boots, and chemical-resistant gloves for Category 2/3 water.
-
Perform a rapid damage assessment and classify the water
Restoration teams document water category (1–3), measure standing depth, locate contaminants, and map moisture using a thermal camera and moisture meter. This assessment determines extraction method and disposal plan. For reference, contractors often follow IICRC S500 methodologies. See IICRC protocols for criteria.
-
Remove content and salvageable property
Move furniture, electronics and personal property to a dry staging area. Inventory items with photos and tag salvageable versus non-salvageable. For soft goods and carpets, restoration firms coordinate with personal property restoration companies to dry, clean and pack-out. personal property restoration companies
-
Perform bulk water extraction
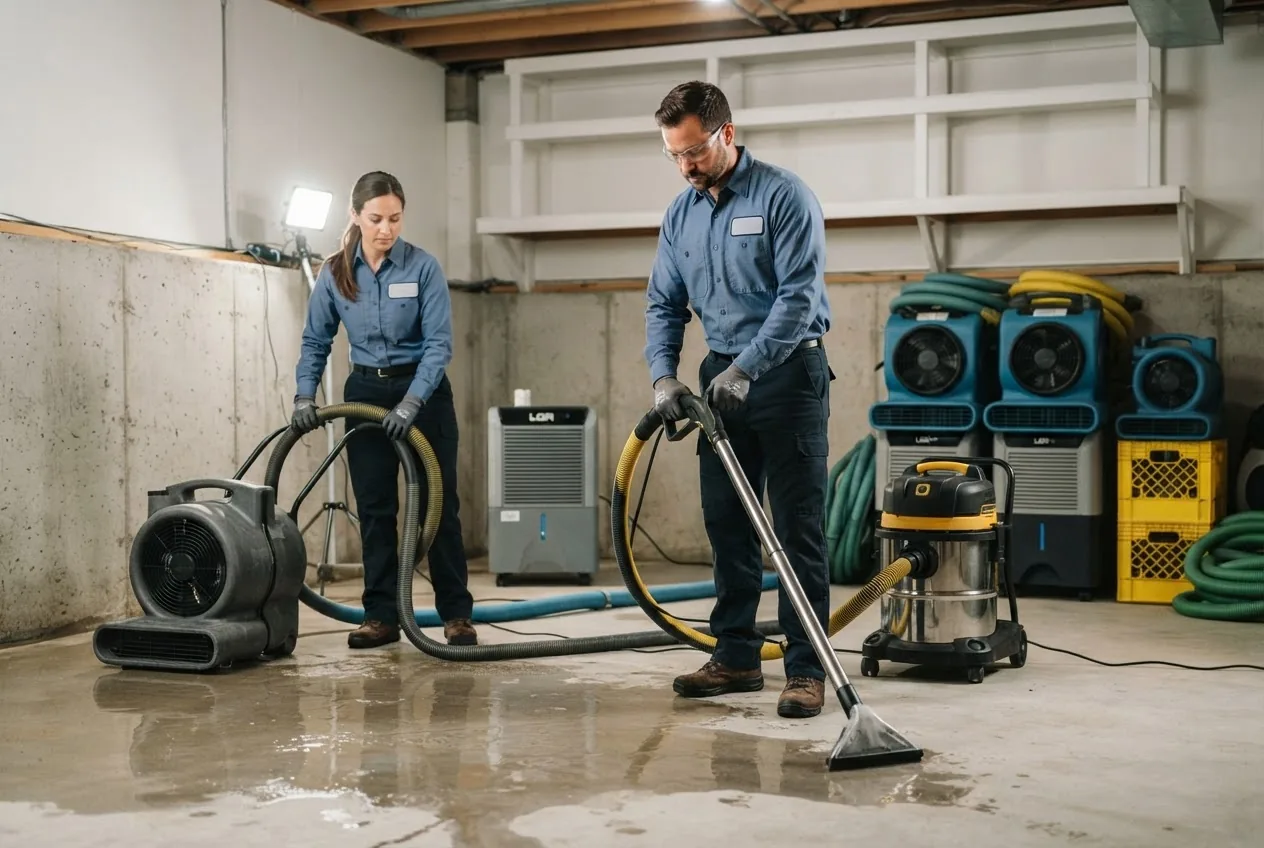
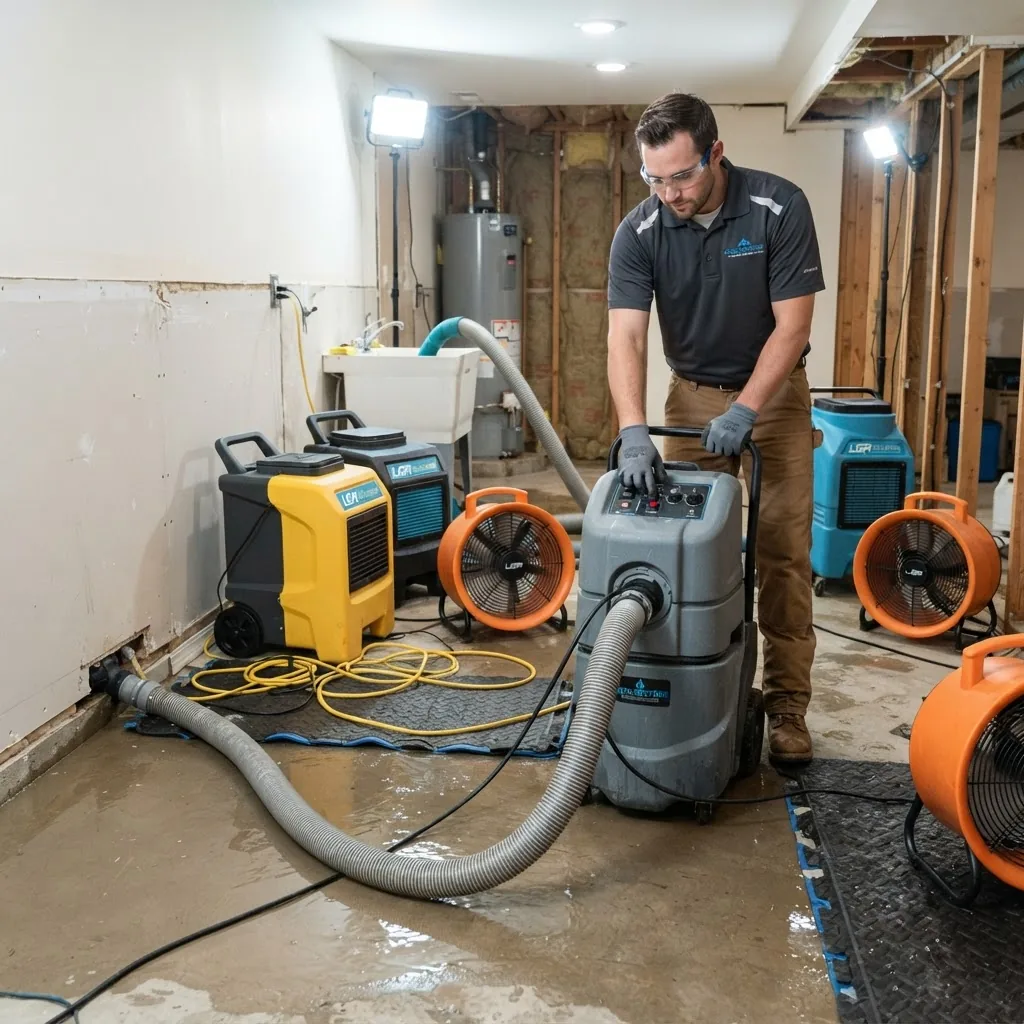
Begin staged extraction: submersible or trash pumps for >2 inches of standing water; high-capacity wet/dry vacuums and extraction wands to remove residual water from floors and carpeting. Typical pump specs: 3–5 HP submersible for heavy inflow, 2–3 inch discharge hose. Extraction continues until less than 1/8″ visible moisture remains.
Contractors measure extraction rates in gallons per hour (GPH); a 3 HP pump can move ~1,500–4,000 GPH depending on head height. Record volumes removed for disposal and insurance logs.
For detailed pricing and service models, refer to water removal services and costs.
-
Controlled demolition of wet materials
Remove wet drywall (cut 12–18″ above the visible water line), saturated insulation, and compromised baseboards to open wall cavities for drying. Never seal a wet cavity without verifying dryness. Demolition minimizes longer-term mold risk.
If carpet was submerged, restoration contractors coordinate with carpet water damage repair services to evaluate pad replacement, cleaning vs. disposal, and drying protocols.
-
Sanitize surfaces and control contamination
Apply EPA-registered antimicrobial disinfectants per label directions to treat surfaces contaminated by Category 2/3 water. Follow contact times (commonly 10 minutes) and ventilate as directed. For sewage or chemical contamination, specialist remediation with HEPA filtration is required.
External authority guidance: review EPA mold and moisture guidelines for best practices.
-
Establish engineered drying
Set up axial air movers and LGR dehumidifiers per a drying plan based on room cubic footage and moisture load. Rule of thumb: one axial air mover per 150–250 sq ft and one LGR dehumidifier (capable of 60–90 pints/day at AHAM conditions) per 800–1,200 sq ft in moderate loads. Monitor temperature and relative humidity (RH): aim for RH <50% and material moisture content values (wood <12–14%, gypsum per manufacturer specs).
Technicians reposition air movers every 24–48 hours and record moisture values twice daily until stabilized for two consecutive readings.
-
Moisture verification and thermal scanning
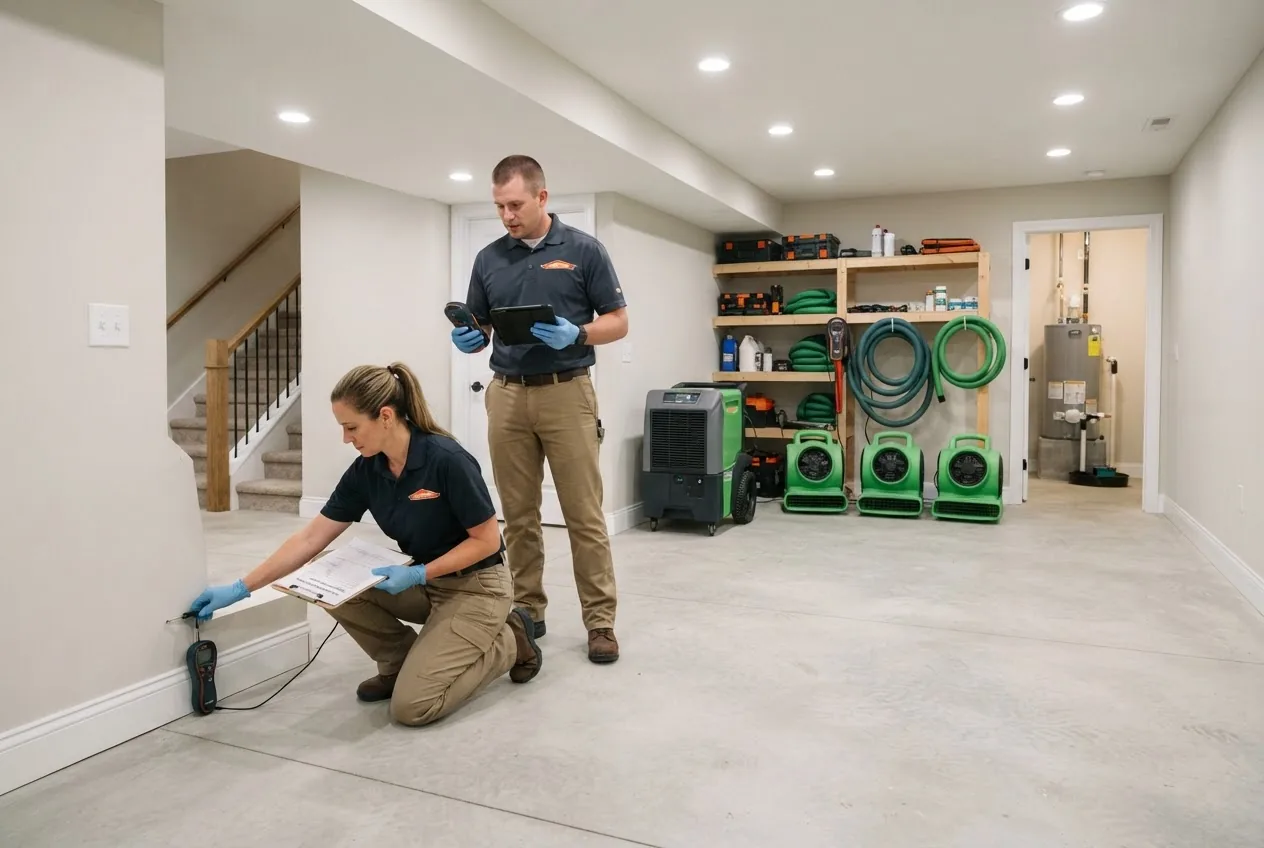
Using moisture meters and infrared cameras, validate that studs, slabs and masonry have returned to acceptable moisture thresholds. This step prevents hidden moisture pockets. Contractors produce a final moisture map for the insurance claim.
For mold remediation steps following drying, consult the water damage and mold remediation guide.
-
Minor repairs and reconstruction
Replace drywall, insulation, baseboards and flooring as required. Contractors often subcontract carpentry and finish work; verify subcontractor credentials and warranties. If structural elements require repair, a licensed structural contractor will provide engineered fixes.
-
Final cleaning, deodorization, and clearance testing
Perform a final sanitation sweep, deodorize affected areas if needed, and complete clearance testing for mold when remediation occurred. Provide the homeowner with a detailed report including pre- and post-drying moisture logs, equipment used, and disposal receipts.
Throughout the process, contractors follow IICRC S500 recommendations and document everything for insurance. According to a 2024 industry report, documented drying logs improve insurance claim approvals by up to 30% (source: industry report).
Contractors routinely coordinate with personal property restoration companies for off-site drying of contents and with carpet specialists for affected carpeting.
Common mistakes and how to avoid them
I once saw a homeowner seal wet drywall to “keep insulation in place.” That trapped moisture and caused mold requiring demolition. Don’t reseal cavities; always verify dryness with a moisture meter. I also observed underpowered drying—two small dehumidifiers for a 600 sq ft basement—which extended restoration from 3 to 12 days. Use the sizing rules above or hire an engineer to design the drying system.
Checklist: Verify your work
- All standing water removed; water meter logs recorded.
- Moisture readings documented: wood <14%, drywall surface dryness, slab moisture within baseline.
- RH stabilized <50% for 48 hours with consistent readings.
- Contaminated materials removed and disposed with receipts.
- Sanitant applied per label with required contact time documented.
- Final clearance tests (mold air samples or ATP tests) passed, if applicable.
If you complete this checklist and still see musty odors, persistent dampness, or recurrent leaks, proceed to the “Choosing the Right Company” section to hire specialists.
Choosing the Right Basement Flood Cleanup Company
Choosing an experienced contractor is critical. Look for teams that combine emergency response speed with documented drying science, proven containment procedures, and post-restoration guarantees.
Key selection criteria (checklist style):
- 24/7 emergency response capability and documented average arrival times (ask for typical response within 60–90 minutes in your area).
- Certifications: IICRC-certified technicians, and evidence of company-level certifications such as IICRC Water Restoration Technician (WRT). Verify IICRC certificates and look for trained mold remediation staff.
- Licensing and insurance: General liability, workers’ comp, and any required state contractor licenses. Contractors should provide a clear scope of work and service guarantee.
- Engineered drying plans: Ask for a written drying plan showing equipment counts, target RH and moisture endpoints and monitoring frequency.
- Documentation and claims support: They should supply pre/post photos, moisture logs, and disposal receipts to simplify insurance claims.
- Local references and case studies: Request homeowner references for similar basement jobs and documented outcomes.
- Warranties and service guarantees: A minimum 30-day moisture stabilization guarantee is common; some offer 6–12 month limited warranties on remediation work.
Relevant internal resources when vetting contractors:
- carpentry repair training and certification requirements
- damage restoration service requirements
- fire and water damage restoration certifications
- water mitigation company services
- storm damage repair contractors
Interview checklist to ask a contractor on the phone:
- Are you available for immediate response and what is your ETA?
- Which certifications do your technicians hold (WRT, AMRT, ASD)?
- Will you provide a written drying plan with target RH and endpoints?
- What warranties do you offer on remediation and reconstruction?
- Can you provide sample moisture logs and client references for basement jobs?
Transition: hiring decisions are strongly influenced by cost—read the next section for a transparent, regionally relevant cost breakdown and a full comparison table.
Cost Breakdown of Basement Flood Cleanup Services
Costs vary by water category (1–3), square footage affected, flood depth, hourly labor rates, equipment rental duration, and whether reconstruction is required. Below is a comparative table of common line items and typical national ranges. Prices are presented as examples—get written estimates for your specific situation.
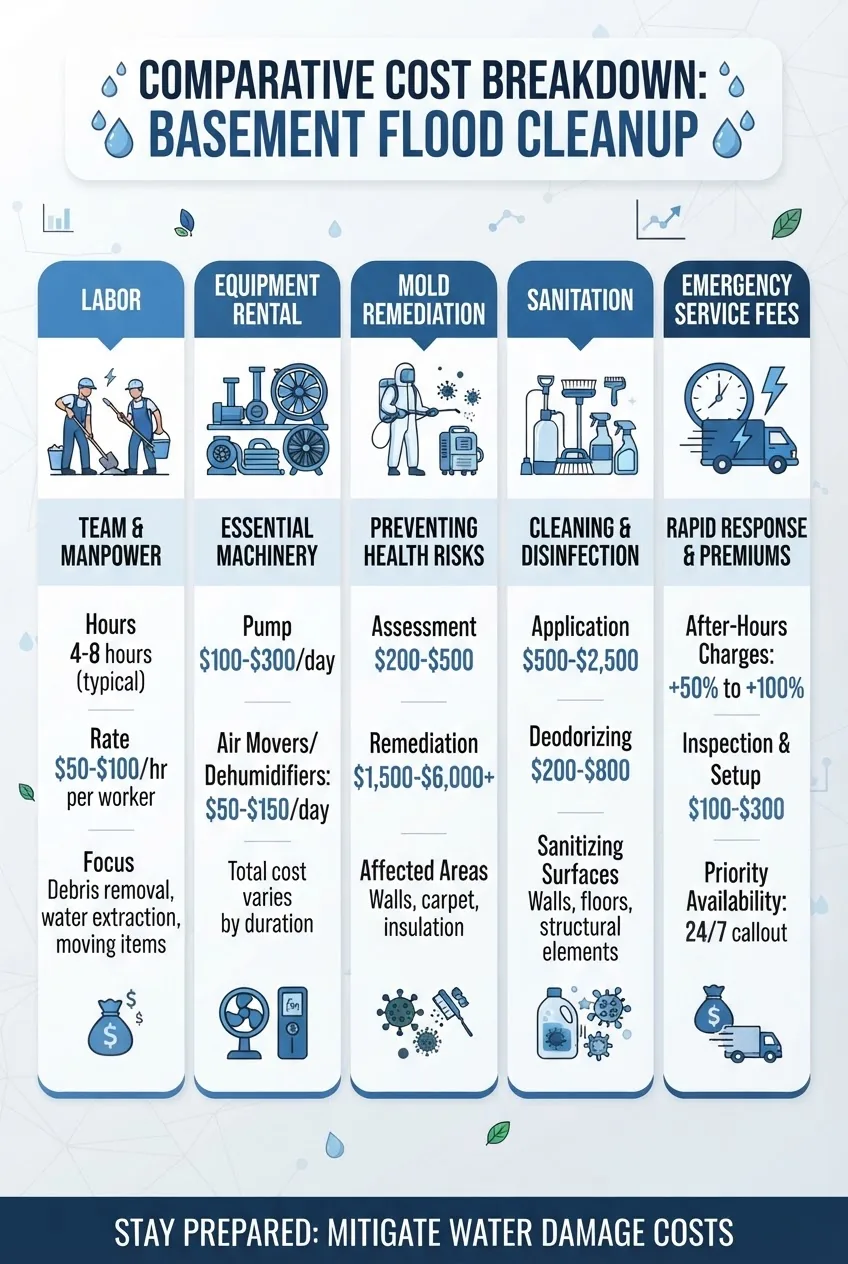
| Service item | Typical cost range (USD) | Notes |
|---|---|---|
| Emergency response / triage visit | $150–$400 (trip charge) | After-hours may be 1.5x–2x. |
| Bulk water extraction | $0.50–$2.50 per sq ft (depends on depth) | Includes pumps and crew time. |
| Drying & dehumidification (equipment rental + monitoring) | $25–$75 per day per LGR dehumidifier; $15–$40 per day per air mover | Typical job 3–10 days. |
| Controlled demolition & disposal | $500–$4,000 | Depends on material quantities and contaminated waste. |
| Mold remediation (if needed) | $500–$6,000+ | Scope varies: spot treatments vs. full-room remediation. |
| Sanitation and odor control | $150–$1,000 | EPA-registered products and thermal fogging options. |
| Reconstruction (drywall, flooring) | $1,000–$20,000+ | Highly variable; depends on finishes and structural repairs. |
| Emergency after-hours / holiday premium | +25%–+100% | Check contractor pricing policy. |
Factors that influence the cost
- Water category (clean vs. gray vs. black water): contaminated water increases PPE, disposal and labor costs.
- Depth and square footage of flooding.
- Time-to-response: delayed response increases demolition, mold risk and total cost.
- Accessibility and site conditions: narrow access or multi-level basement logistics raise labor time.
- Required testing (mold clearance, asbestos testing if older materials) and permits for reconstruction.
- Regional labor rates: urban areas and union jurisdictions commonly have higher hourly rates.
To compare with broader programs or commercial services, review these internal resources:
- commercial storm damage restoration service costs
- commercial water damage repair services pricing
- flood cleanup service cost overview
- water damage restoration service costs
Insurance considerations
Coverage depends on policy type. Standard homeowners insurance often covers sudden plumbing failures (clean water) and some storm-related water intrusion, but not flood from rising surface water (flood insurance through the NFIP or private flood policies is required). According to a 2024 insurance industry analysis, 60% of denied basement flood claims were due to lack of flood-specific coverage or pre-existing conditions (source: industry report). Always report damage immediately, document the scene, and request an insurer’s preferred vendor list if available.
Transition: now that you understand costs and insurance considerations, learn immediate emergency actions you can take while you wait for help.
Emergency Basement Flood Cleanup and Response Tips
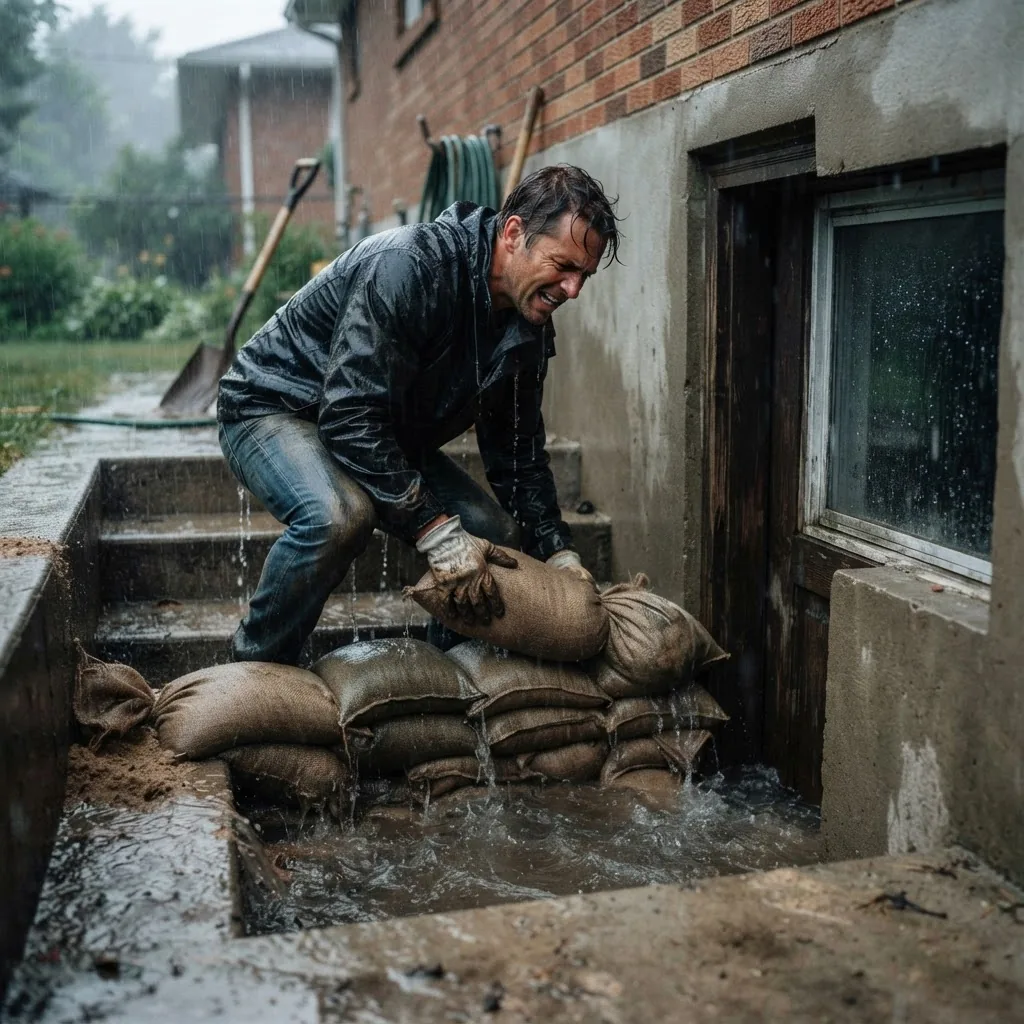
- Prioritize personal safety — Evacuate if water is rising rapidly or contains sewage. Avoid walking through standing water; it may be electrically charged.
- Turn off utilities if safe — Shut off electricity at the main breaker if accessible and dry. If not, contact the utility or an electrician.
- Stop further inflow — Use sandbags, temporary flood barriers, or redirect downspouts to reduce additional water entry; place a tarp over exposed soil near foundation to slow seepage.
- Call emergency cleanup services — Request an emergency basement flooding service with extraction capability and ask for ETA and initial actions.
- Remove valuables — Move irreplaceable items and electronics to a higher, dry location if safe to do so.
- Mitigate immediate contamination — If sewage is present, avoid contact and call professionals; seal off the basement to limit spread of contaminants.
- Document damage — Photograph from multiple angles and note times for insurance claims. Keep receipts for emergency purchases (pumps, tarps, hotel) for potential reimbursement.
- Temporary repairs — Apply temporary sandbags or barriers and tape plastic sheeting to slow entry, but avoid long-term repairs until professionals assess structural integrity.
When storm-driven emergencies escalate beyond your control, emergency contractors with 24/7 teams handle rapid extraction, temporary structural shoring, and immediate sanitation. For insights on how large storm events are handled and parallels to hurricane response, consult hurricane damage repair services and storm damage clean up services.
Preventive Measures After Cleanup and Long-Term Maintenance
After remediation, focus on durable repairs and preventative upgrades that reduce future risk and protect your investment.
- Sump pump upgrades and maintenance — Install a primary pump sized to expected inflow (1–2 HP) with a battery backup system rated for at least 24 hours of operation at typical pump draw.
- Interior and exterior waterproofing — Interior options: sealants, epoxy coatings, and drain channels. Exterior: excavation and waterproof membrane installation by licensed contractors when needed.
- Improve grading and drainage — Regrade soil to slope 6 inches over first 10 feet away from foundation; extend downspouts 4–6 feet.
- Install or service French drains — Keep them clear of roots and silt; annual inspection recommended.
- Regular inspections — Check sump pump monthly, test battery backups quarterly, inspect perimeter drains and gutters seasonally.
- Moisture monitoring — Install a basement hygrometer and aim for <50% RH; consider a smart monitor for alerts.
- handyman paint service guide for post-restoration finishing touches.
- outdoor home repair and maintenance to help prevent exterior water infiltration.
Transition: finally, decide whether to tackle cleanup yourself or call professionals based on several concrete decision points below.
When to Call Professionals vs DIY Cleanup
Make the decision using clear thresholds. Choose professionals if any of the following apply:
- Standing water deeper than 1 inch over large areas or water that has entered electrical panels.
- Water classified as Category 2 (gray) or Category 3 (black/sewage) — requires full PPE and disposal protocols.
- Visible mold growth or musty odors present after 48 hours of moisture exposure.
- Structural compromise (bowed walls, large foundation cracks, or settled slabs).
- Large-area carpets, upholstered furniture or high-value contents affected — professionals use off-site restoration and specialized drying for contents.
If you choose DIY for minor, clean-water incidents (e.g., slow appliance leak under 1 inch, small area <100 sq ft), follow the remediation sequence above: extract, dry with at least two air movers and one LGR dehumidifier for small basements, sanitize surfaces, and document results.
Decision flow (written):
- If water is clean, shallow (<1"), and contained to a small area — DIY possible with proper equipment.
- If water is deep, contaminated, affects HVAC or electrical systems, or you detect mold — call professional basement flood restoration services immediately.
- If in doubt, call a licensed restoration company to perform a no-obligation assessment; many provide immediate triage tips.
For advanced repair techniques and when you’ll need specialist help on carpentry and structural finishes, consult the repairing water damage techniques.
When to call professionals — quick checklist
- Category 2 or 3 water exposure.
- Stand-alone structural or electrical risk indicators.
- Visible or suspected mold after 48 hours.
- Large-scale content salvage or insurance claim coordination.
Transition to close: the final section summarizes the most actionable takeaways so you can either begin the cleanup or confidently hire pros.
Conclusion
Basement flooding demands a rapid, documented, and basement-specific response. You should now understand the professional workflow—from emergency extraction to engineered drying and final reconstruction—how to size equipment, the safety thresholds for calling pros, and the major cost drivers to expect. Start with immediate safety, document everything for insurance, and use this guide to vet contractors and compare written scopes. If you need expert assistance, contact a certified restoration company with IICRC credentials and request a written drying plan and moisture verification before signing off.
Ready to begin? Take photos, record water depth, secure your valuables, and call an emergency basement flooding service for rapid triage.