Water damage inspection: By the end of this hands-on guide you’ll be able to plan and perform a practical, standards-aligned water damage inspection, prepare professional documentation, and evaluate training paths to certify your skills. Expect to spend 2–6 hours on a typical single-family home inspection; skill level assumed: intermediate DIY with technical curiosity or entry-level professional.
Before you start, gather required safety gear and baseline tools listed below, and read the “When to call a professional” checklist at the end. This guide uses step-by-step procedures, real-world examples, and training comparisons so you can act confidently and document every finding.
Before you start
- PPE: N95 or P100 respirator, nitrile gloves, eye protection, and rubber boots.
- Tools: flashlight, digital camera or smartphone, tape measure, screwdriver set, moisture meter, reference hygrometer, basic leak detection kit, and a thermal imaging device if available.
- Documentation: pre-printed inspection checklist, sample report template, and a logbook or tablet for notes.
- Permissions: homeowner or facility manager sign-off and access to utility shutoffs if needed.
- Time and conditions: avoid inspections during active storms; schedule access to all affected areas for 2–6 hours depending on property size.
Introduction to Water Damage Inspection
This section explains what a water damage inspection achieves, how it ties into broader restoration services, and the regulatory context inspectors should consider. A proper inspection identifies the moisture source, maps affected areas, evaluates structural integrity, and documents evidence for insurance, mitigation and training planning.
Inspections are the first step in a chain that may include mitigation, water removal, mold assessment, and repair. For a broad operational context and cost overview for related restoration services, review the pillar resource below.
Storm Damage Restoration Service Guide and Cost Overview
Regulatory and safety references: consult local building codes and FEMA seasonal guidance when inspecting post-disaster properties. For example, FEMA publishes flood and building-safety guidance useful for post-storm inspections — a practical reference when deciding whether a property requires additional engineering assessment.
Water damage inspections focus on: moisture intrusion detection, structural integrity assessment, water source identification, and early signs of water damage. Early, methodical inspections reduce long-term costs, limit mold growth risk, and improve insurance outcomes.
Transition: now that you understand the purpose and context, the next section walks you through the step-by-step inspection process you will perform on-site.
Understanding the Water Damage Inspection Process
This hands-on how-to breaks the inspection into practical steps you can follow on a residential or small commercial site. Each step includes what to measure, how to measure it, and thresholds to flag for escalation. Use this as your working checklist during an inspection.
- Prepare the site and paperwork.
Confirm access, safety (shut off electricity if necessary), and obtain signed consent for inspection photos and testing. Set up documentation templates with client info, time on site, weather conditions, and initial observed conditions. Expected time: 10–20 minutes.
- Conduct an exterior walk-around.
Inspect rooflines, gutters, flashing, downspouts, grading, and foundation. Look for missing shingles, blocked gutters, ponding near foundations, and failed seals around windows. Measure exterior elevation differences and note soil settlement. Record photos and note any visible water staining or efflorescence.
- Identify likely water entry points.
Trace suspected routes: roof→attic→ceiling; window/door seams; plumbing chases; and foundation cracks. For suspected exterior ingress, perform a targeted water-source test (controlled hose test) only with homeowner permission and minimal volumes—do not flood the property. Typical test: 5–10 minutes per suspect area while another inspector watches from inside for leaks.
- Perform a room-by-room visual inspection.
Check ceilings, walls, floors, baseboards, trim, and cabinetry for discoloration, blistering, peeling paint, or efflorescence. Use a strong flashlight to inspect corners and interfaces. Note delamination, sagging drywall (measured in millimeters of deflection) and floorboard cupping (measure widths and elevation changes >3 mm).
- Use direct-contact moisture measurement.
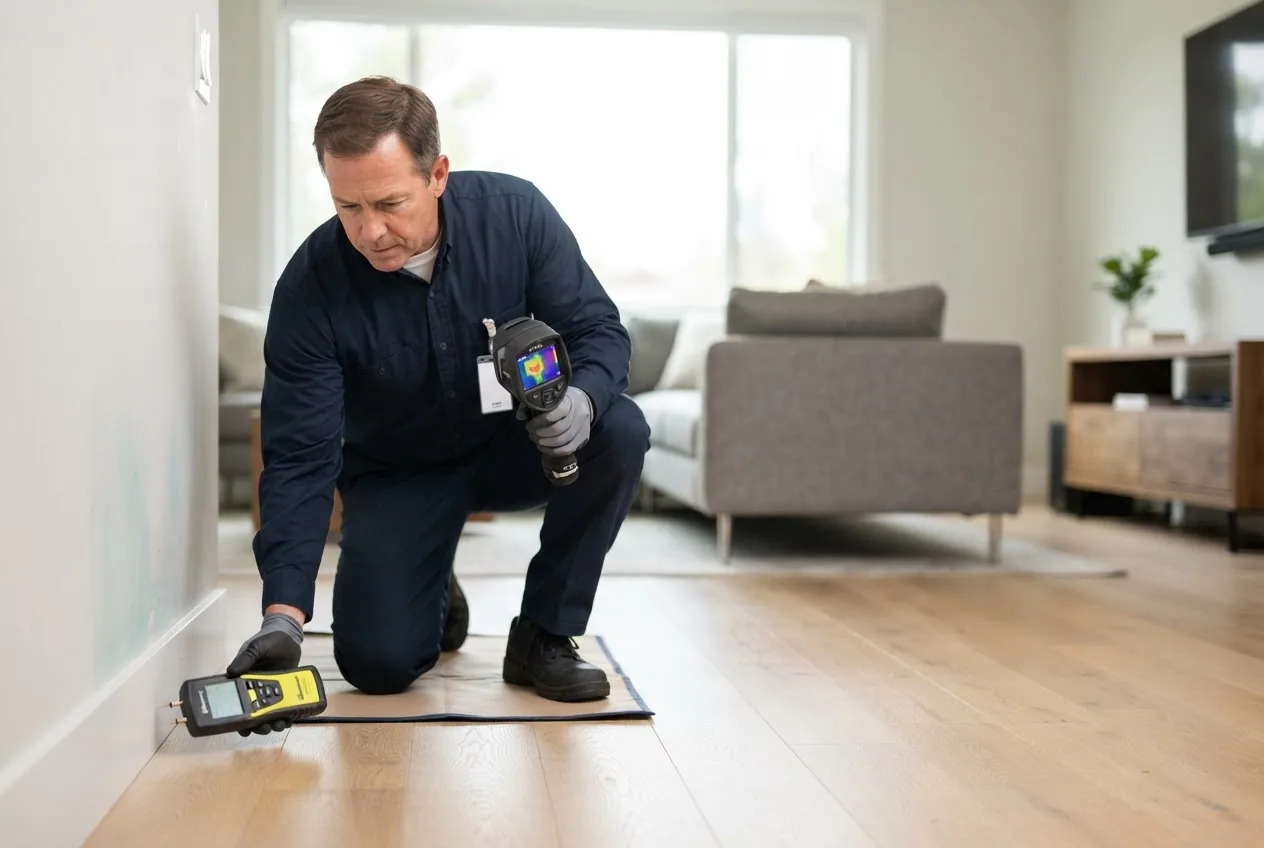
Apply a moisture meter to suspect materials. For wood, thresholds: below 12% = dry, 12–20% = elevated/hygroscopic range, >20% = wet and at risk for decay. For drywall or plaster, relative comparisons and pinless readings guide decisions. Calibrate meters per manufacturer instructions before each inspection (zero-check on a dry control surface).
- Measure ambient conditions with a hygrometer.
Record temperature and relative humidity (RH) in each zone. Use a hygrometer to document RH: indoor RH >60% sustained suggests condensation risk and possible hidden moisture. Capture dew point calculations when moisture readings and RH indicate condensation potential on cold surfaces.
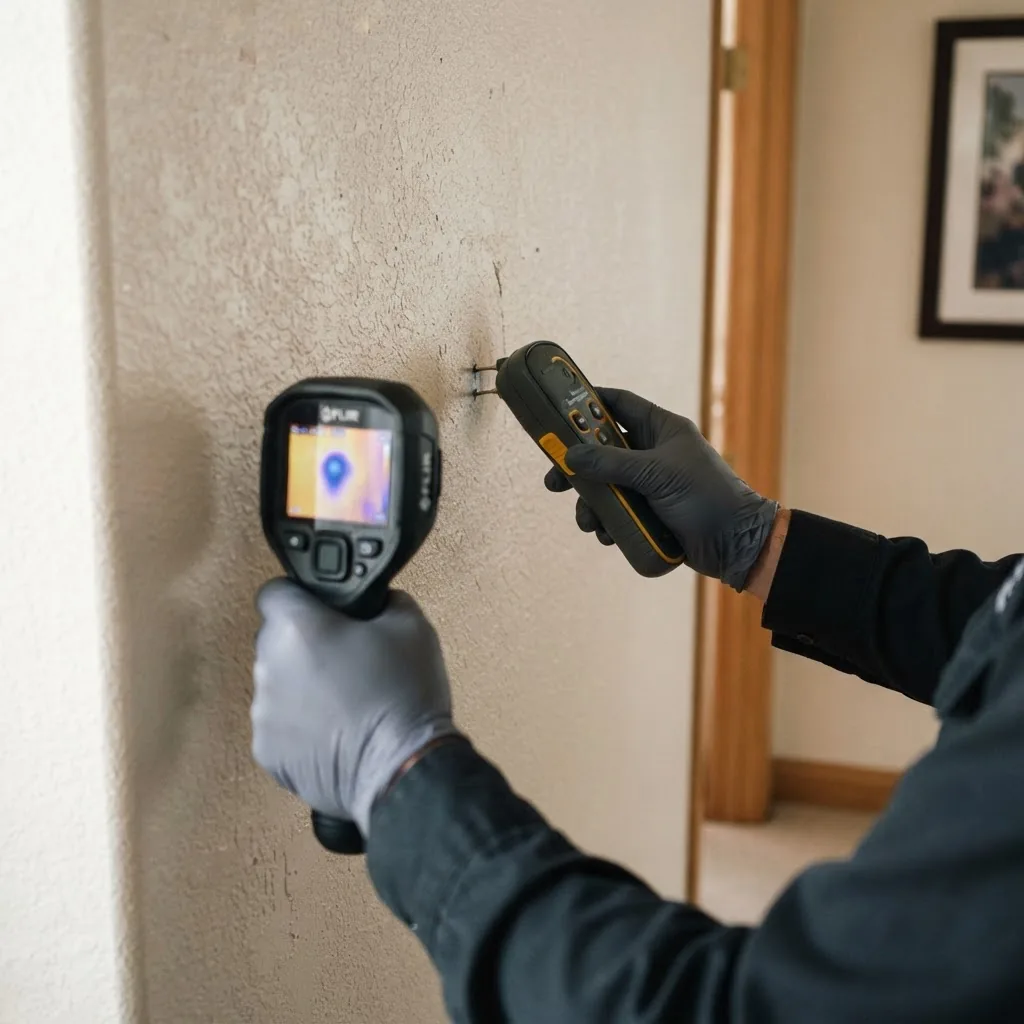
- Scan with infrared thermal imaging.
Use an infrared camera to find temperature anomalies suggesting moisture behind surfaces. Scan slowly (≈1–3 ft/sec) and validate thermal anomalies with a moisture meter or borescope. Remember that thermal imaging indicates temperature differentials, not moisture directly—confirmatory testing is required.
- Probe concealed spaces carefully.
Open access panels, remove baseboards when necessary, and use a borescope to inspect cavities. Look for insulation saturation, hidden mold, and rot on framing. When probing under flooring, limit holes to small test points (10–12 mm) and document locations for repair consideration.
- Assess structural components.
Evaluate load-bearing elements for deflection, rot, or compromised fasteners. Measure sag (mm) in joists and check for timber decay (soft spots, spongy feel). If structural failure is suspected, stop non-essential movement and recommend a structural engineer for detailed assessment.
- Evaluate biological growth risk (mold).
Document visible mold growth, musty odors, and RH readings. For suspected contamination beyond surface-level (<3 ft²), recommend professional mold testing or remediation. Cite health guidance when advising occupants: visible growth or persistent musty odors indicate escalation.
- Map and classify the damage.
Create a damage map: annotate affected rooms, materials impacted, moisture concentrations (percent or relative), and likely source. Use standard categories: Category 1 (clean water), Category 2 (grey water), Category 3 (black water). Document time since exposure when known.
- Prepare the inspection report and deliverables.
Assemble photos, moisture logs, thermal images, a written narrative, and recommended next steps prioritized by safety and urgency. Provide a clear summary for insurance claims. A good report takes 30–90 minutes to compile after inspection, depending on detail level.
- Advise on immediate mitigation and safety.
Recommend immediate actions: shut off water sources, isolate electricity when water is present near panels, and start water removal with qualified teams. Provide clear “stop-gap” instructions to prevent worsening conditions until mitigation begins.
- Follow-up and quality control.
Schedule a re-inspection within 24–72 hours after mitigation to verify drying and reduced moisture readings. For construction repairs, coordinate with contractors and document completion with before/after photos and final moisture readings to confirm restored baselines.
Common mistakes and how to avoid them
I once relied solely on a thermal image to declare a wall dry — the thermal hotspot was insulation variance, and moisture meters later detected saturation. Always confirm thermal results with direct-contact moisture readings and cavity checks. I also encountered inspectors failing to record baseline RH; without that, drying targets were unclear. Record temperature and RH in each zone and calibrate meters before use.
Compact inspection checklist
- Site prep, consent, photos taken
- Exterior ingress points documented
- Room-by-room visual notes and photos
- Moisture meter readings (pin/pinless) collected
- RH and temperature logged
- Thermal anomalies validated with moisture readings
- Damage map and prioritized recommendations
- Report compiled and delivered within 24–72 hours
When to call a professional
Call a professional immediately if you find structural sagging, HVAC or electrical system water exposure, widespread visible mold (>3 ft²), Category 3 sewage contamination, or if the source of moisture cannot be safely isolated. For insurance claims or commercial properties, use certified inspectors to ensure compliance and documentation integrity.
Transition: with a clear, repeatable process in hand, the next section explains the specialized tools and technologies you’ll use and why each matters.
Key Tools and Technologies Used in Water Damage Inspection
Modern inspections rely on a combination of tactile testing and instruments that detect hidden moisture and quantify risk. Below are core tools, their use cases, calibration and practical thresholds.
- Moisture meters (pin and pinless): pin meters measure electrical resistance in wood and other materials, giving a percentage moisture content; pinless (capacitance) meters scan larger surface areas without piercing the material. Calibrate on manufacturer-provided standards and record serial numbers for reports. Use pin readings for targeted confirmation and pinless for scanning surfaces quickly.
- Hygrometers / thermo-hygrometers: measure relative humidity (RH) and temperature. Use them to set drying goals: industry practice aims for internal relative humidity <50–55% for most indoor materials during drying. Position one in each major zone and record every hour if active drying is in progress.
- Infrared (thermal) cameras: identify temperature anomalies that may indicate moisture or air leaks. Best practice: perform scans at slow passes and verify anomalies with contact measurements. When scanning exterior walls, perform thermal imaging in the morning or evening to maximize temperature differentials.
- Borescopes / inspection cameras: visual inspection of cavities through small access holes; reduce destructive openings by using a 5–10 mm borescope. Always document entry points for repair coordination.
- Ultrasonic leak detectors: locate pressurized leaks behind walls or in piping by detecting turbulent flow sounds. Useful in complex mechanical rooms and when visible signs are absent.
- Tracer gas and acoustic leak detection: used for concealed plumbing or underground leak detection in high-value commercial properties.
- Data loggers: continuous RH and temperature recording devices used during drying or monitoring. Set logging intervals (e.g., every 15–60 minutes) and retrieve data for verification. Keep logs for insurance and certification documentation.
- Portable air samplers: used when mold contamination is suspected and objective airborne testing is required. Sampling protocols should follow accredited laboratory guidelines.
- Thermometer/infrared thermometer: quick non-contact spot checks for cold surfaces where condensation may occur (dew point analysis).
Practical examples: calibrate a moisture meter on a dry wood control sample (record control reading 6–10% depending on species). Use a thermal camera to locate a suspected cavity leak, then validate with a probe reading >20% moisture before recommending structural drying or removal.
Transition: after technology selection, understand how home inspections differ for homeowners and when professionals are required.
Home Water Damage Inspection: What Homeowners Should Know
Homeowners can perform effective initial inspections to limit damage and prepare for professional assessment. A homeowner-level inspection emphasizes safety, early-warning signs, and documenting findings clearly for contractors or insurers.
- Do a quick visual sweep. Walk every room and look for stains, peeling paint, warped floors, or musty odors. Check under sinks and around appliances.
- Check common problem areas.
- Bathrooms and kitchens (plumbing fixtures, grout lines)
- Basements and crawlspaces (foundation walls, sump pumps)
- Roofs and attics (shingle damage, flashing)
- Near HVAC units and water heaters
- Measure simple indicators. Use a household hygrometer: indoor RH >60% or sudden increases may indicate leaks. For wooden floors, look for cupping >3 mm across multiple boards.
- Document everything. Take time-stamped photos and short video walkthroughs of problem areas and any active leaks.
- Immediate safety steps. If water contacts electrical components, do not touch and call a licensed electrician or turn off main power if trained. For active sewage backups, vacate affected areas and call professionals.
- Follow-up actions. For standing water, contact licensed water removal expert services.
Homeowner-specific tips:
- Keep a log of any recurring leaks and any repairs attempted, including dates and contractor names.
- Check attic insulation for darkened fiberglass or saturated cellulose — signs of long-term roof leaks.
- Inspect perimeter grading yearly; soil settling that allows pooling within 1–2 feet of foundation edge is a red flag.
For basement incidents specifically, property owners should consult professional cleanup providers to understand remediation scope and cost.
basement flood cleanup services
If flooding is extensive or contaminants are suspected, move to professional flood services promptly:
flood cleanup professional services
Roof leaks frequently cause interior water stains; include a roof check in your routine inspections and consult roofing services when needed.
Transition: if you plan to move from homeowner checks to professional levels, understanding certification paths helps ensure credibility and compliance.
Professional Water Damage Inspection Certifications and Training Options
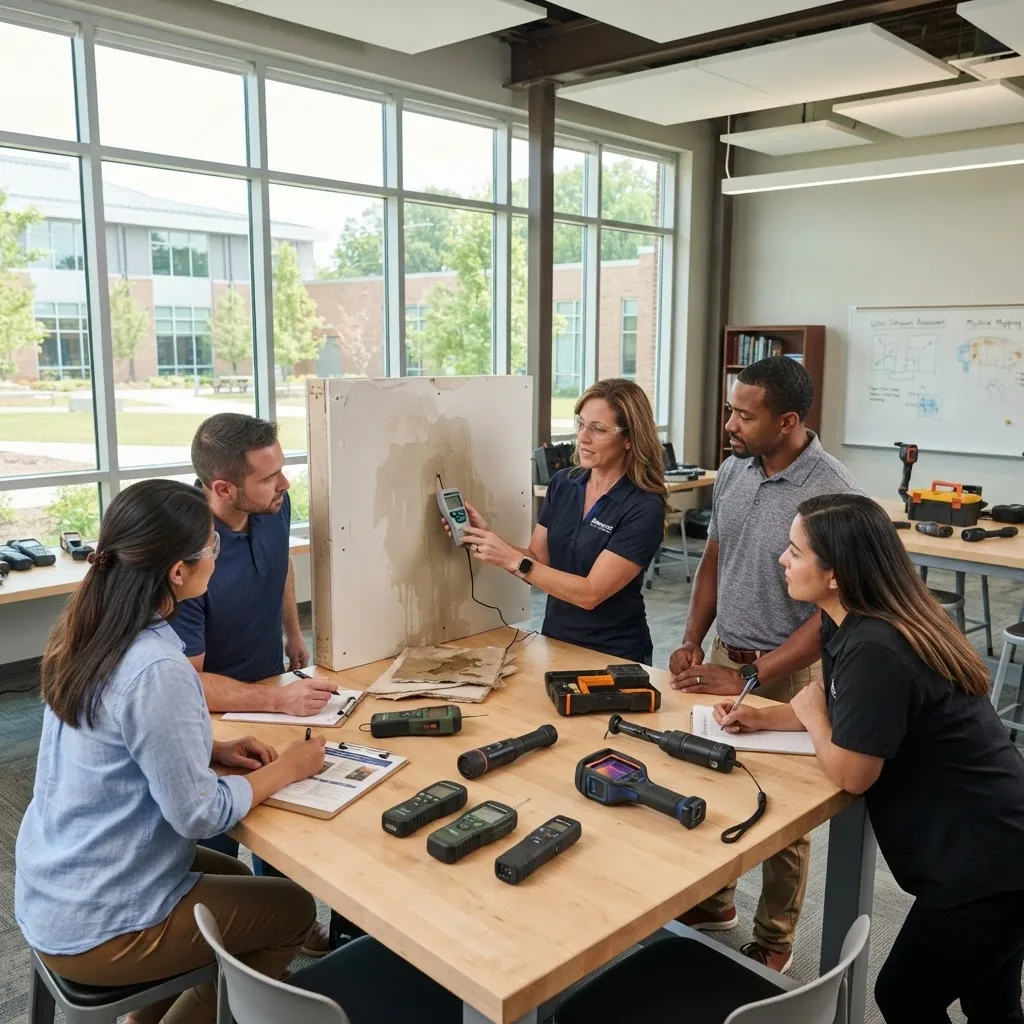
Training and certification differentiate casual inspection from professional practice. Below is a comparison table of common programs, followed by a deeper overview including accreditation, course type, duration and outcomes.
| Program | Delivery | Duration | Outcome / Credential |
|---|---|---|---|
| IICRC Water Damage Restoration (WRT) | Classroom + hands-on | 2–3 days | Certificate; recognized baseline for industry |
| IICRC Applied Structural Drying (ASD) | Classroom + lab | 2 days | Advanced drying techniques; often required for contractor teams |
| Online introductory inspection courses | Self-paced online | 4–12 hours | Certificate of completion; good for homeowners and assistants |
| Manufacturer tool training (thermal camera, moisture meter) | Vendor-led hands-on | Half-day to 1 day | Competency certificate; tool calibration awareness |
| Certified Mold Assessor / Indoor Air Quality | Classroom + field sampling labs | 2–5 days | Specialist credential for mold testing and reporting |
Key program notes: many restorers choose the IICRC certifications as industry-standard baselines. For IICRC course details and standards references, consult the IICRC site for up-to-date prerequisites and recertification rules.
External standard reference: IICRC standards and certification.
Other useful courses and certifications: specialized classes in HVAC moisture issues, plumbing leak detection, structural drying (ASD), and environmental sampling. For broader restoration credentials that include fire and water, see combined certification options.
fire and water damage restoration certifications
Complementary skill paths: if you anticipate performing structural repairs after inspection, combine your inspection training with carpentry repair training.
For textile-specific restoration, including carpets affected by water, consider targeted courses:
carpet water damage repair courses
Inspectors often coordinate with mitigation and mitigation companies; familiarize yourself with mitigation services and scopes.
water mitigation company services
Practical training structure and continuing education:
- Entry-level: online introduction + tool-specific vendor training (4–12 hours).
- Professional baseline: IICRC WRT (2–3 days) plus tool calibration labs.
- Advanced: ASD, Mold Assessor, and continuing education units every 2–4 years depending on the certifying body.
Post-inspection trade training that complements inspection certification: repairing water damage training and specialized trades like painting for surface restoration.
handyman paint training courses
Finally, if you want to expand into property-level restoration services, consider fire-and-water combined certifications and business-level compliance training to meet insurance and code-driven requirements.
Transition: now that you know options and credentials, we’ll review why formal training provides measurable benefits and real-world case outcomes.
Benefits of Professional Training for Water Damage Inspectors
Professional training raises accuracy, reduces liability, ensures insurance compliance, and supports career advancement. Below are concrete benefits supported by practitioner experience and industry practices.
Case study 1 — accuracy and detection: A trained inspector using calibrated moisture meters and thermal imaging located a slow plumbing leak within a stud cavity that had been missed on visual checks. Early detection limited mold growth and saved the homeowner thousands in repairs. Proper documentation enabled a successful insurance claim.
Case study 2 — liability reduction: After attending an IICRC course, a small restoration business standardized its reporting templates and moisture logging practices. That standardization reduced scope disputes with clients and shortened claim processing time by clearly demonstrating drying progress.
Training contributes to:
- Increased accuracy: calibrated tools and validated methods reduce false negatives and false positives.
- Liability reduction: standardized reporting and documented methodology protect inspectors from disputes.
- Insurance compliance: many insurers expect IICRC-level procedures and documented drying goals to validate claims.
- Career advancement: advanced certifications open roles in commercial inspections and management.
Training also improves collaboration with contractors. For example, an inspector with ASD training sets drying goals in measurable terms (target moisture percentages and RH levels) — contractors can then validate completion objectively.
damage restoration service requirements
Training cross-benefits: inspections often inform personal property restoration needs; trained inspectors who document items correctly enable smoother restoration and claims processing.
personal property restoration services
Transition: choose training intentionally. The next section gives a checklist to evaluate programs and pick the right fit.
How to Choose the Right Water Damage Inspection Training Program
Use the checklist and explanation below to evaluate training providers, costs, and formats.

- Verify accreditation and recognition.
Prefer programs recognized by industry bodies such as the IICRC or local licensing boards. Accreditation impacts insurer acceptance and client confidence.
- Assess course content quality.
Ensure modules cover moisture theory, instrumentation, documentation, safety, and sample report templates. Check that hands-on labs include moisture meter calibration, thermal imaging validation, and cavity inspections.
- Confirm instructor expertise.
Look for instructors with field experience (5+ years) and industry credentials. Ask for sample lesson plans and student-to-instructor ratios for lab sessions.
- Compare pricing and deliverables.
Lower-cost online courses are useful for introductions; expect higher fees for hands-on intensives (IICRC WRT/ASD typically cost more due to lab time). Factor in travel, tools, and recertification costs.
- Choose flexible learning formats.
If you’re working, pick blended learning: online theory plus a 1–3 day hands-on lab. Confirm continuing education options and digital access to course materials post-completion.
- Check post-course support.
Good programs offer sample report templates, mentorship or job placement support, and a community for troubleshooting complex cases.
- Read student reviews and request references.
Ask for employer or alumni references to validate outcomes and job relevance. Verify pass rates if the program includes a proctored exam.
- Consider cross-training needs.
If you plan to manage repairs, pair inspection training with related trades: carpentry repair training or carpet water damage repair courses.
- Evaluate company relationships.
Training that demonstrates collaboration with local storm restoration companies and contractors increases practical job opportunities.
- Confirm recertification and CE requirements.
Understand intervals and costs for continuing education to keep credentials active.
Transition: below are common FAQs inspectors and trainees ask about time, cost and scope.
Frequently Asked Questions about Water Damage Inspection Services and Training
Below are concise practitioner answers to common questions. Use them for quick reference before and after inspections.
Conclusion and Next Steps for Water Damage Inspection and Training
Key takeaways: follow a repeatable inspection process that combines visual checks, calibrated moisture measurements, and thermal scans; document everything for insurance and mitigation; and pursue industry-recognized training like IICRC WRT and ASD to increase accuracy and compliance. Next steps: schedule a supervised inspection, enroll in a blended IICRC or vendor-supported course, and build your inspection kit (moisture meter, hygrometer, thermal camera, borescope).
Call to action: If you want a practical pathway, start with a half-day tool-focused course and an IICRC WRT class within 90 days; document your first three inspections with full reports to build a portfolio that insurers and contractors will accept.