By the end of this hands-on guide you will understand the full water damage restoration process, be able to perform immediate mitigation steps safely, and know realistic professional cost ranges. Estimated reading and planning time: 60–90 minutes; expected skill level: homeowner with basic tools and emergency preparedness experience.
Before you start
- Safety gear: N95 or P100 respirator, waterproof gloves (nitrile), rubber boots, eye protection.
- Basic tools: wet/dry shop vacuum or access to a water extractor, submersible pump for deep standing water, extension cords, buckets, mops.
- Monitoring tools: moisture meter (pin or non‑contact), IR thermometer, hygrometer/dew-point calculator.
- Temporary supplies: plastic sheeting, pumps, duct tape, towels, garbage bags, fans, dehumidifier (if available).
- Documentation tools: smartphone for photos/video, note pad to record time stamps and damages for insurance claims.
Understanding Water Damage Restoration
This section explains what water restoration means and how it fits into the broader life-safety and property-repair process. Water abatement is a term sometimes used interchangeably with mitigation—it’s the immediate work that reduces water spread and contamination. Water damage cleanup covers removal of standing water, drying, and sanitation. Water damage remediation is often used when contaminants (like sewage) or biohazards require specialized treatments.
At a practical level, restoration has three overlapping phases: emergency mitigation (stop the source, remove water), structural drying and dehumidification, and repair/repair coordination (carpentry, finishes, system restoration). For homeowners this means acting fast to limit the area affected and documenting damage thoroughly for insurance claims.
IICRC standards are the industry baseline for assessment and drying protocols; I recommend looking for contractors that reference IICRC S500 procedures for structural drying. See IICRC certification and standards for company qualification details: IICRC.
An anonymized case study illustrates typical timelines and costs. A two-bedroom suburban home experienced a second-floor supply-line burst. Timeline: immediate shutoff and mitigation (0–6 hours), water extraction and initial drying (6–36 hours), dehumidification and monitoring (3–7 days), repairs (2–4 weeks). Total billed restoration services: $9,400 (water extraction $1,200; drying/dehumidification $2,100; sanitation $600; structural repairs and carpentry coordination $5,500). Documentation: photos at arrival, drying logs day 1–7, moisture readings every 12 hours. (Case: anonymized homeowner file; timeline and costs based on contractor invoices and typical labor rates.)
Safety and regulatory guidance matter: follow government safety guidelines for flood and water cleanup—see official recommendations from federal environmental and emergency agencies: EPA.
Transition: With the concepts defined, next we walk through the full water restoration process step-by-step, including the equipment professionals use and what you can expect.
The Water Damage Restoration Process: Step-by-Step
- Step 1 — Stop the source and ensure safety.
Shut off the main water supply for plumbing failures or isolate valves for appliance leaks. For storms or floodwaters, avoid entering standing water until utilities are shut off. Turn off electricity at the main breaker if water has reached electrical outlets or appliances. If unsure, call your utility provider or a licensed electrician before re‑energizing circuits.
- Step 2 — Document damage for insurance.
Photograph every affected room, label images with timestamps, and create a preliminary inventory of damaged items. Note visible categories of water: clean (Category 1), grey (Category 2 — e.g., appliance discharge), or black water (Category 3 — sewage/flood). Insurers use these categories in claims evaluations; record them carefully.
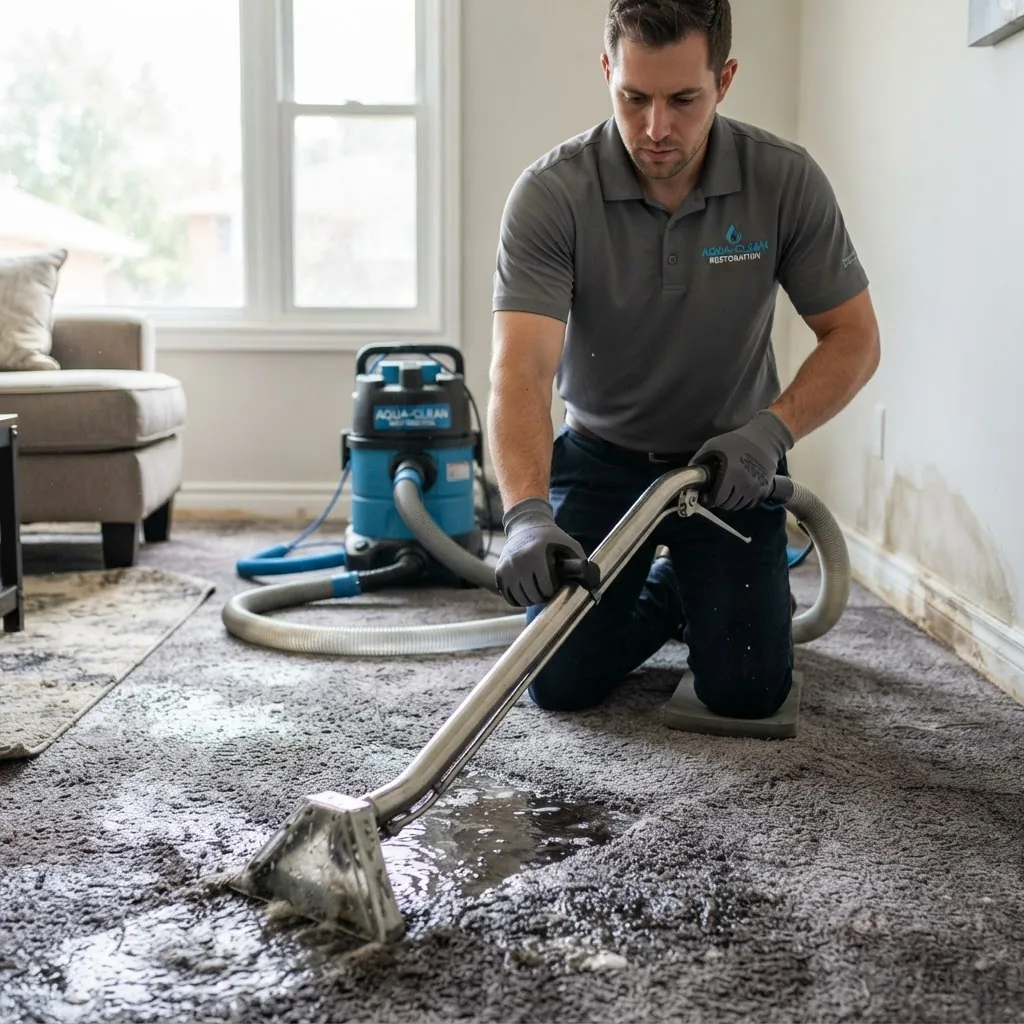
- Step 3 — Tackle standing water removal safely.
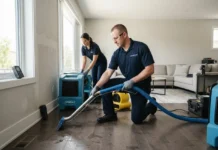
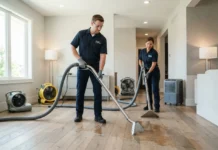
For less than 1” of standing water on finished floors, a wet/dry shop vacuum may suffice (use a high-capacity 6–12 gallon unit). For deeper standing water (>2–3 inches), use a submersible pump (rated flow 1,000–3,000 GPH). Professionals typically deploy portable water extractors (10–20 G/min recovery) as the core rapid‑removal tool. If contamination is suspected, don full PPE and use contractors with sewage-handling protocols.
professional water removal services often have truck-mounted extractors and HEPA-filtered vacuums that remove water faster and with less residual moisture.
- Step 4 — Begin structured drying and dehumidification within 24–48 hours.
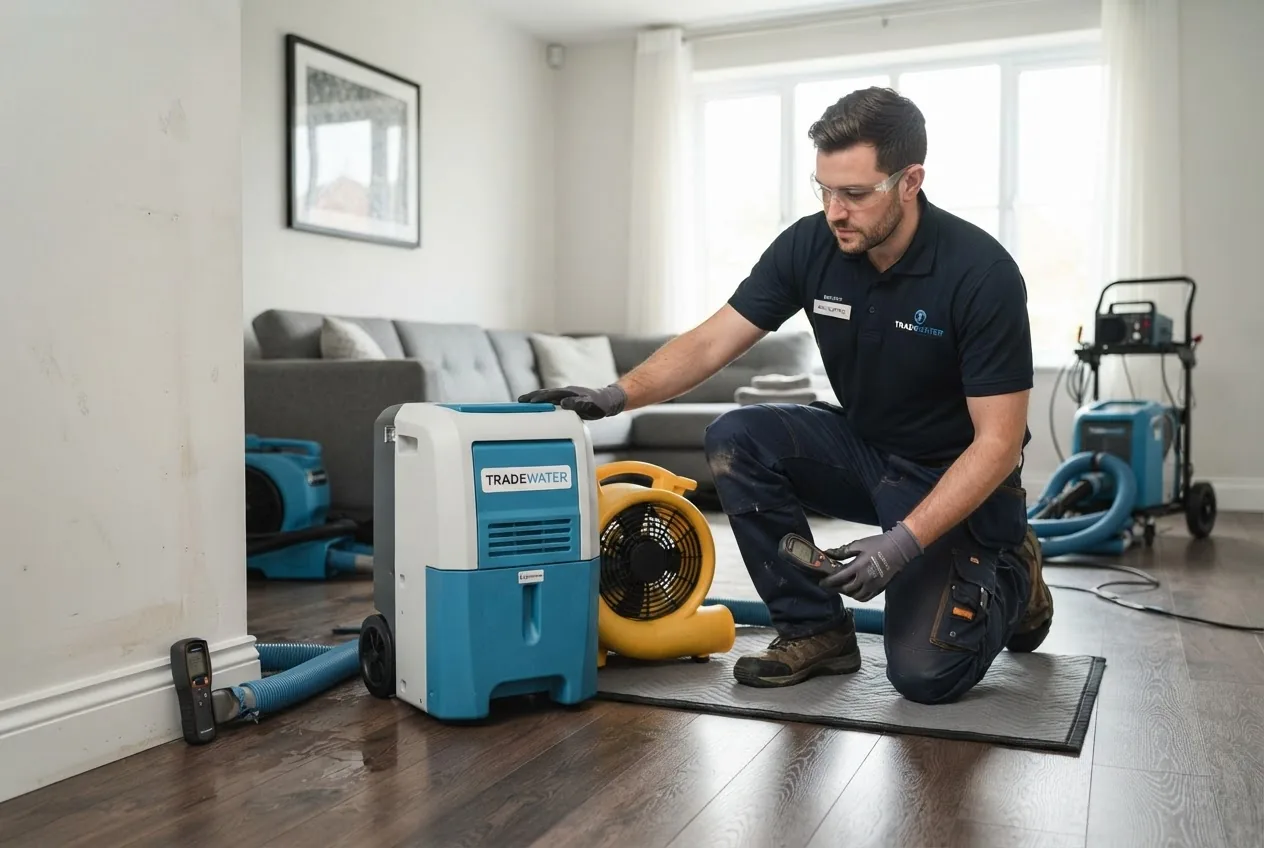
Place centrifugal air movers (2,000–3,500 CFM) at low angles to force air across wet surfaces. Use axial fans for open areas. Commercial dehumidifiers (desiccant or refrigerant; 40–120 pints/day capacity) remove moisture from the air; aim to reduce relative humidity (RH) in the affected zone to 30–45% and reach material moisture content targets per IICRC S500. Expect 48–120 hours of active drying for most structural assemblies; monitor with pin meters and hygrometers every 12 hours.
- Step 5 — Remove and evaluate porous materials.
Cut and remove wet insulation and drywall ≤ 24–48 inches above visible waterline if water is contaminated; in clean-water events, remove only where necessary to dry framing (consult drying goals). Carpets and pad: if Category 3 or contaminated >48 hours, replace. For Category 1 and early intervention, carpets may be cleaned and dried in place after water extraction using hot water extraction and disinfectant treatments.
- Step 6 — Sanitize and manage contaminants.
Sanitize surfaces with EPA-registered disinfectants when grey or black water is present. Professionals will test for biologicals and apply antimicrobials per product label. Ventilate while treating; use respirators for concentrated disinfectant application. Keep records of products used and safety data sheets for insurance and occupant safety.
- Step 7 — Monitor drying progress and adjust equipment.
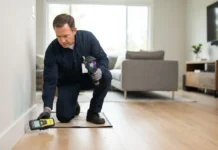
Log moisture readings (wood: equilibrium moisture content targets; gypsum: dryness thresholds) every 12–24 hours. If drying stalls, increase air changes, reposition air movers, add additional dehumidification, or open controlled ventilation. Typical drying rates vary by material and climate; professionals use drying curves to demonstrate progress to insurers.
- Step 8 — Repair coordination and structural restoration.
After moisture targets are met, coordinate repairs: replace insulation, drywall, flooring, and finish carpentry. Document all repair quotations and timelines. For structural concerns (rot, delamination) get a licensed contractor or structural engineer involved. Keep a final scope document showing pre- and post-restoration photos, final moisture readings, and equipment removal logs.
- Step 9 — Final cleaning and personal property restoration.
Professionals offer content restoration (furniture, textiles) through personal property restoration specialists using specialized drying chambers and freeze-drying for documents. Document items cleaned, restored, or declared total losses, and obtain certificates for sanitization where required.
- Step 10 — Preventive follow-up and maintenance.
Schedule a follow-up inspection 7–14 days post-remediation to confirm no hidden moisture rebound. Implement repairs to prevent recurrence: upgrade flashing, caulking, or drainage; consider a monitored sump pump on battery backup for basements. Record warranty info from contractors and schedule seasonal inspections.
Transition: Now that you understand the detailed process and equipment, we’ll compare how types and severity of water damage change the approach and cost.
Types of Water Damage and Their Impact
Water damage categories determine contamination risk, drying strategy, and likely cost. The three commonly used categories:
- Category 1 (Clean water) — water from a clean source (supply lines, rainwater runoff when uncontaminated). Typically lower sanitation needs and faster in-place drying.
- Category 2 (Grey water) — contains contaminants that may cause discomfort (dishwasher overflow, washing machine). Requires more aggressive cleaning and possible replacement of porous materials.
- Category 3 (Black water) — sewage, floodwater from rivers, or standing water with bacterial contamination. Requires full removal of affected porous materials and specialist handling.
Severity levels (surface-only, structural, catastrophic) further influence repair scope. Surface-only incidents (spills, small appliance leaks) may only need extraction and local drying; structural events (burst pipes, long-duration leaks) often require demolition and reconstruction. Catastrophic events (river flooding, major storm surge) introduce hazardous contaminants and often require full-content pack-out and rebuild.
Specialized cases: basement flood cleanup services are tailored for long‑duration groundwater events with dewatering, sewage handling, and foundation drying. For storm-driven coastal flooding or hurricanes, expect additional structural and exterior roofing work—see guidance on hurricane damage repair. Burst-pipe events are common; for focused guidance see pipe burst water damage restoration.
Transition: Understanding categories and severity helps choose mitigation vs restoration—next we compare those two approaches directly.
Water Damage Mitigation vs. Restoration: What’s the Difference?
| Aspect | Mitigation | Restoration |
|---|---|---|
| Primary goal | Stop ongoing damage, limit spread, address hazards | Return structure and contents to pre-loss condition |
| Typical timing | 0–48 hours after incident | Days to weeks after mitigation |
| Common tasks | Shutoff, extraction, temporary containment, emergency roof/patch | Drying, mold prevention, repairs, finish carpentry |
| Who performs it | Mitigation companies or emergency response teams | Restoration contractors, general contractors, specialists |
| When required | Always first; especially critical for Category 2–3 events | Once drying goals and safety verified |
In practice, mitigation is about immediate risk reduction. A water mitigation company will focus on containment and drying goals; see a primer on what is a water mitigation company. Restoration is the longer-term work of repair, reconstruction and content restoration. Timing matters—delaying mitigation by 24–48 hours can raise the cost and move a Category 1 loss into Category 3 risk due to contamination.
Transition: Choosing the right company requires understanding these roles, and verifying credentials to ensure both mitigation and restoration follow accepted standards.
Choosing the Right Water Damage Restoration Company
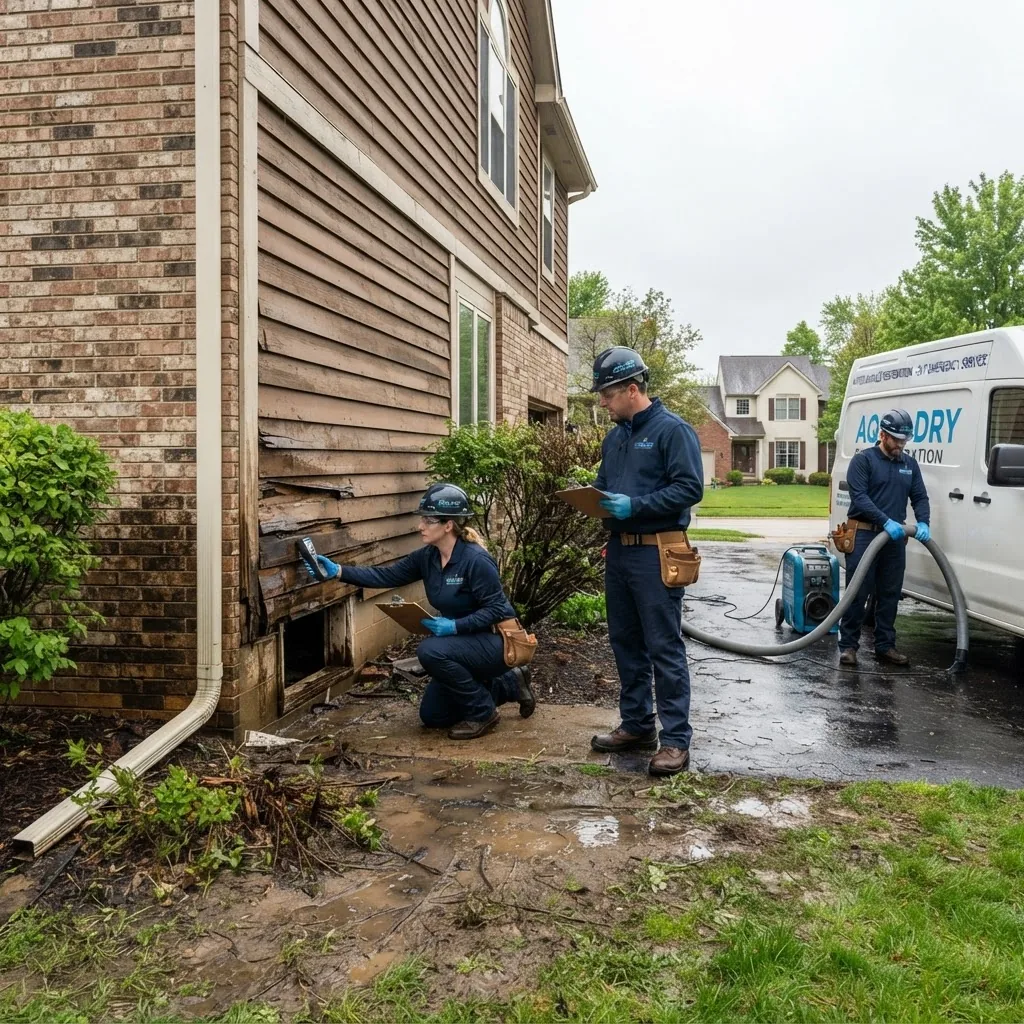
Selecting a reputable water damage company means verifying emergency responsiveness, certifications, insurance, and scope. Look for companies that follow IICRC S500 standards and can produce drying logs. For commercial property owners, consider firms with capacity for large losses and references for commercial storm damage restoration services.
Checklist when vetting companies:
- 24/7 emergency response with documented arrival time commitments.
- Proof of licensing, general liability, and workers’ comp; ask for damage restoration service requirements.
- IICRC or equivalent technician certifications—confirm with the company or through IICRC. (Industry authority)
- Detailed written scope, equipment lists, and drying goals (target moisture content and RH).
- Content handling: in‑house versus third‑party personal property restoration companies.
- References and sample final reports showing moisture logs and clearance readings.
- Clear warranty terms for work and materials.
- For storm-related losses, capability to coordinate with storm damage repair contractors and larger restoration networks.
- Commercial clients: evidence of handling large-scale losses and links to storm restoration companies.
- Confirm availability of water damage inspection services prior to major repairs.
- Check if the firm holds fire and water damage restoration certification for complex losses.
Ask for an itemized estimate showing mitigation vs restoration line items and a timeline. For commercial clients also review bonding capacity and OSHA safety plans. If you need content-focused recovery, verify the company partners with or provides certified personal property restoration companies.
Transition: With contractor selection criteria in hand, next is a transparent cost breakdown to set your expectations before signing proposals.
Cost Breakdown of Professional Water Damage Restoration Services
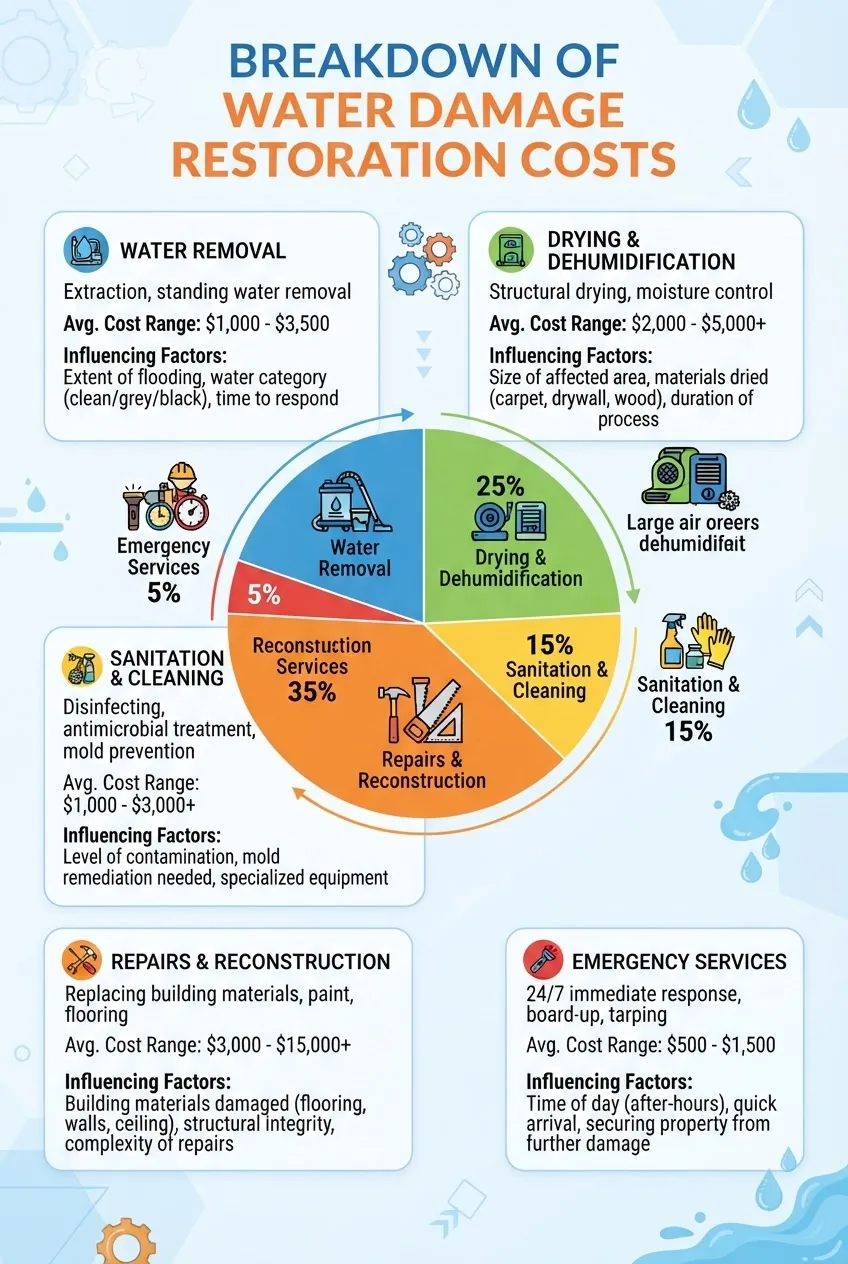
Below are representative cost ranges and the factors that cause variation. All costs vary by region, severity, and timing—expect regional variance of ±20–40%. Disclaimer: amounts are illustrative; obtain estimates on your specific loss.
Typical cost ranges (U.S., residential) — ballpark
- Emergency mitigation / initial visit: $200–$1,200 (service call + rapid extraction)
- Water extraction (truck- or portable-mounted): $500–$3,000 depending on volume
- Drying and dehumidification (equipment rental + monitoring): $800–$4,000
- Sanitation and odor control: $150–$1,000
- Minor repairs (drywall patching, flooring): $500–$6,000
- Major structural repairs / rebuild: $5,000–$50,000+
- Average small-to-moderate home event total: $2,500–$12,000
Influencing factors explained:
- Water category — Category 3 (black water) increases costs due to removals, disposal, and sanitation.
- Time to response — each 24-hour delay can increase repair complexity (and cost) as moisture migrates and materials swell or fail.
- Materials affected — tile and concrete dry faster than carpet/pad or hardwood floors (hardwood may require cupping repair or full board replacement).
- Access and logistics — multi-story homes, narrow streets, or limited parking increase labor time and equipment staging costs.
- Emergency services — 24/7 response, holiday or weekend fees add premiums (20–50% surcharge common).
- Insurance handling — claims with complex scopes often require third-party estimates and extend timelines.
Commercial pricing considerations: larger square footage, business-interruption costs, and stricter documentation increase line items. Compare with commercial water damage repair services pricing to understand scale differences. For flood-specific events, see estimated flood cleanup service costs. Recent industry data show insurance payouts and average claim size increases — according to a 2024 industry report, average water-damage claim sizes rose year-over-year due to supply-chain and labor cost changes (industry report). For insurance guidance and claim handling advice see major industry resources: Insurance Information Institute. (Insurance guidance)
Transition: With cost drivers in mind, adopt effective best practices to limit cost and improve outcomes—covered in the next section.
Tips for Effective Water Damage Restoration Solutions
Practical tactics that reduce cost and follow professional standards. These steps assume you’ve done immediate mitigation and documented damage.
- Act fast: start mitigation within 24 hours. Early intervention limits contamination and lowers repair scope. Set a goal: extraction started within 6–12 hours and dehumidification started within 24 hours for best results.
- Use the right equipment. Rent or request professionals to deploy centrifugal air movers (set at low-angle toward dry wall cavities), refrigerant dehumidifiers in warm climates, and desiccant units if ambient conditions hinder refrigerant performance.
- Document drying with daily logs. Record moisture meter readings, RH, equipment run times, and photos. Insurers and contractors rely on this proof to authorize repair work.
- Salvage what you can; replace what you must. Porous items exposed to Category 3 should be replaced. For carpets, consider enrollment in a carpet water damage repair service or specialist if content and padding may be restored.
- Prevent secondary damage. Keep HVAC off or isolated until ducts are inspected to avoid system contamination; use duct sealing if needed.
- Coordinate with insurance early. Notify your insurer immediately and share mitigation receipts; get pre-approval for larger scopes to avoid disputes.
- Plan repairs that reduce future risk. Replace drywall with water-resistant backer board in susceptible areas, improve grading and drainage, and install alarms for sump overflows.
- Invest in maintenance and training. Consider outdoor home repair and maintenance to reduce recurrence from roof, gutter, and grading failures.
- Learn basic repair skills safely. A home water damage repair training course can help you identify scopes and understand what to attempt versus what to hire.
Transition: Emergencies require a rapid, prioritized action plan—below is a succinct immediate-action sequence to follow at the crisis moment.
Emergency Response: What to Do Immediately After Water Damage Occurs
- Ensure personal safety first. Evacuate if structural damage or electrical hazards exist. Do not enter standing water if power is on; call utility companies.
- Stop the water source. Shut house water main or appliance valves. For external flooding, move valuables to higher ground.
- Call emergency responders or a mitigation company. If sewage or hazardous materials are present, call professionals trained for Category 3 events.
- Document everything. Start a photo/video record and a dated inventory of damaged items for insurance.
- Protect undamaged areas. Use plastic sheeting and sandbags to block water paths and move unaffected belongings to elevated points.
- Begin controlled extraction if safe. Use mops/portable vacuums for small amounts; avoid long attempts at DIY extraction for contaminated water. For major water, request a professional crew with truck-mounted extractors.
- Contact your insurer and secure temporary repairs. Roof tarping, board-up, or water-stopping patches preserve value and support claims—document all temporary measures and receipts.
- Engage cleanup services as needed. For storm events, local storm damage cleanup services can help coordinate rapid pack-outs and debris removal.
Transition: Restoration seldom goes perfectly—expect challenges. The next section lists common problems and practical solutions from my experience coordinating dozens of residential projects.
Common Challenges in Water Damage Restoration and How to Overcome Them
Problem: Hidden moisture behind walls leading to return of odors and mold. Solution: Use a meter and thermal imaging to detect trapped moisture; open controlled access panels and run air movers until moisture content meets drying targets.
Problem: Contractor scope disputes and surprise charges. I’ve observed contractors under‑quote initial mitigation and add line items later. Solution: Require an itemized estimate with clear drying goals and daily logs; get two independent estimates for major scopes.
Problem: Post‑drying carpentry mismatches and finishes not matching originals. Solution: Use certified carpenters with documented carpentry repair certification where available. When repainting, hire experienced surface-prep teams or a reputable handyman paint services for acceptable color and gloss matching.
Problem: Roofing-related re-entry of water after storm repairs. Solution: Insist on documented roof repairs with leak tests and confirm follow-up with roofing repairs after water damage.
Problem: Mold growth following delayed drying. Solution: For suspected mold, consult remediation specialists; read more on mold remediation following water damage.
Transition: Below is a compact verification checklist and guidance on when to call in professionals for complex or high-risk scenarios.
Summary and When to Seek Professional Help
Key takeaways: stop the source, document damage, start mitigation within 24 hours, and verify drying goals with measurements. Use certified contractors for contaminated events and complex structural repairs. According to a 2023 insurance industry analysis, hiring professionals early reduces total claim costs by lowering scope expansion (insurance industry analysis).
When to call professionals — any Category 2 or 3 water event, standing water deeper than 1 inch over more than 100 sq ft, visible structural compromise, contaminated sewage, or if mold is visible. For large or commercial losses consult specialists experienced with commercial water damage repair services.
Common mistakes and how to avoid them
I once supervised a home where the owner turned HVAC back on within 12 hours; trapped moisture migrated into ducts and caused secondary contamination. We re-removed duct lining and extended drying two weeks. Lesson: never re-energize HVAC until ducts inspected.
I saw a homeowner remove only visible wet drywall and leave saturated framing; pockets of moisture caused rot. We reopened cavities, corrected moisture targets, and saved framing. Lesson: trust moisture meters, not sight alone.
I observed a low bid that omitted documentation; the insurer rejected the claim for lack of drying records. We recreated logs and the claim was delayed. Lesson: insist on daily logs and clear final readings.
Final checklist before closing a restoration job
- All moisture readings at or below specified targets for materials; last two consecutive readings 24 hours apart.
- Relative humidity in treated space 30–45% and dew point managed.
- Daily equipment logs and final equipment pack-out report.
- Signed acceptance from homeowner and a copy of final photos and invoices for insurance.
- Warranty and maintenance recommendations provided in writing.
When to call a professional instead of DIY
- Any sewage or Category 3 contamination — hire licensed remediation specialists.
- Structural or electrical involvement — consult licensed contractors and electricians.
- Large volume water (multiple rooms, >100 sq ft) or long-duration exposure (>48 hours).
- If you need documented drying logs for insurance claim approval.