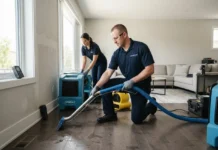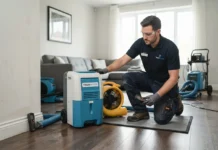
By the end of this hands-on guide you will be able to plan and execute a full property water removal and drying workflow, estimate realistic cleanup costs, and decide when to call a professional. Expect to complete an initial professional-grade removal and drying setup in 4–8 hours for a single room; full structural drying typically takes 48–120 hours. Skill level: basic homeowner competency for supervision; intermediate if you will operate extraction pumps and industrial dehumidifiers yourself.
Introduction to Water Removal Services
This guide covers the full scope of modern water removal and emergency water extraction, from immediate response through cleanup and repair planning. You will learn how providers scope a job, what equipment and techniques they use, and how restoration links to broader disaster work like storm cleanup. If you need broader storm recovery context, start with resources on storm damage restoration services.
Emergency water extraction services are usually the first trade on site after safety checks—teams remove standing water, set up drying, and monitor moisture until structural and contents moisture levels are within safe ranges. This section introduces the service scope, typical initial response, and what to expect in the first 24 hours.
- Scope: Remove standing water, protect undamaged areas, begin drying and dehumidification, document damage for claims, and plan repairs.
- Initial response: 1–2 technicians arrive with pumps and air movers; start extraction immediately to limit secondary damage.
- Emergency options: extract with submersible pumps or truck-mounted units, then place axial fans and LGR (low-grain refrigerant) dehumidifiers.
Related emergency scenarios and services that frequently overlap with water removal include hurricane damage repair services, storm damage clean up services, and a wider storm damage restoration service overview.
Understanding the Water Removal Process
Transition: After understanding what water removal covers, the next step is a detailed, step-by-step walkthrough of the actual process professionals use, equipment choices, contamination handling, and inspection checkpoints.
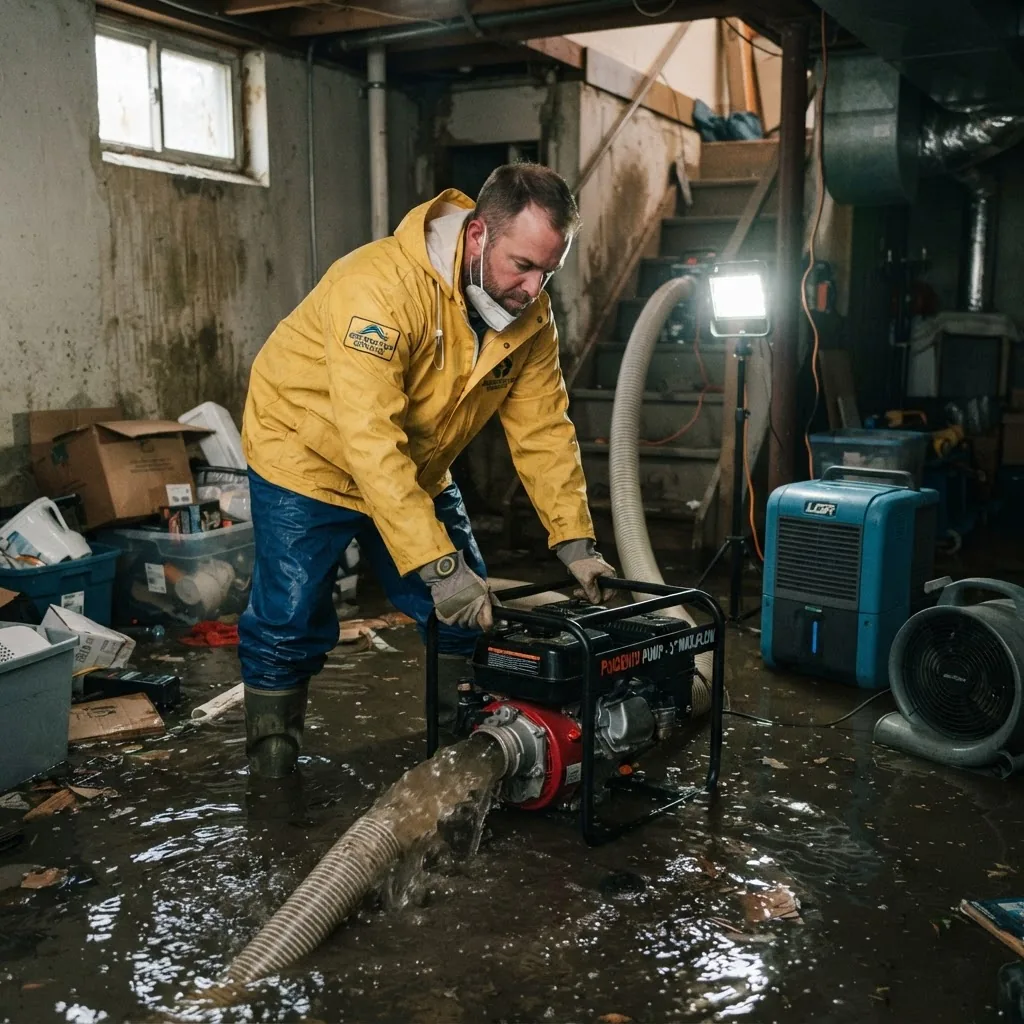
-
Assess hazards and secure utilities.
Within minutes of arrival, confirm electrical power is isolated (meter or breaker off) and natural gas is secure if applicable. Use a non-contact voltage tester to confirm live circuits are de-energized. This step should take 10–30 minutes depending on site complexity.
-
Classify water type and contamination.
Identify contamination category—clean water (category 1), grey water (category 2), or black water (category 3). Sampling or visual indicators (sewage, chemical sheen, heavy organic matter) determine PPE and disposal. Black water requires Level C PPE at minimum and specialized disposal procedures. Plan 15–45 minutes for a thorough assessment.
-
Document damage for claims.
Photograph affected areas, affected contents, meter readings, and equipment serials. Create an itemized inventory of soaked materials. Documentation takes 20–60 minutes and preserves insurance evidence. According to a 2023 industry report by the Insurance Information Institute, thorough documentation increases successful claims closure rates by over 30% (source: insurance industry report).
-
Remove standing water using pumps and extraction units.
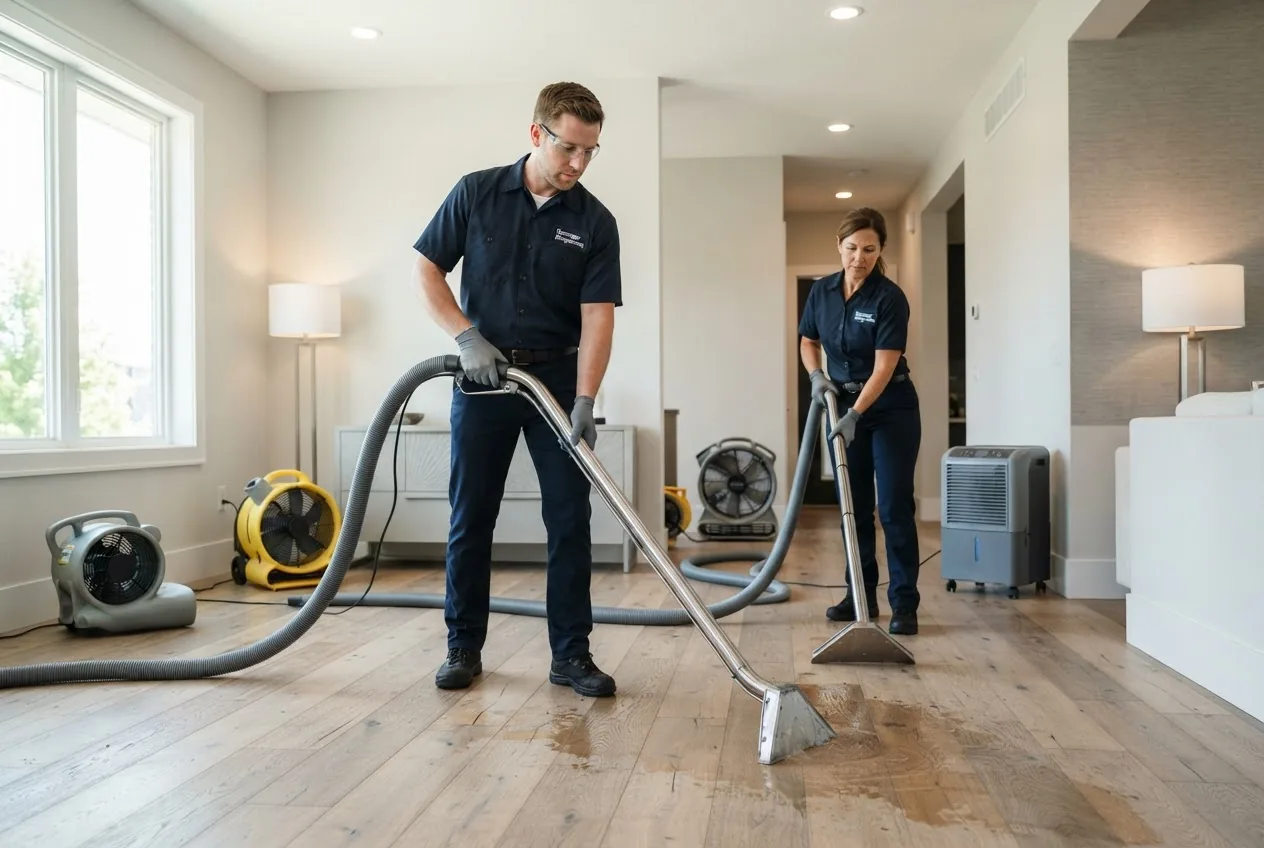
Start with the fastest safe method: deploy a submersible pump for >1″ standing water and a wet/dry vacuum or truck-mounted extractor for shallow water and carpeted areas. Typical pump capacities: 1,000–3,000 GPH for portable submersibles; truck-mounts extract at 20–40 GPM. Extraction phase for a single 200 sq ft room with 2″ standing water usually takes 30–90 minutes.
-
Perform controlled content removal and triage.
Move salvageable furniture and contents to dry, ventilated staging. Remove wet upholstery cushions and wrap electronics in dry blankets. Label items by room and condition. Triage prevents cross-contamination; allocate a team of 2–4 people for medium jobs, 1–3 hours.
-
Begin structural drying with air movers and dehumidifiers.
Place axial air movers angled at walls and floor junctions: aim for 2–4 air movers per 100 sq ft for heavy saturation. Use LGR dehumidifiers sized by grains-per-pound calculations—rule of thumb: 60–100 pints/day LGR per 10,000 cf heavily saturated space. Target indoor relative humidity (RH) 30–45% and 40–60°F dew point differential. Expect mechanical drying to run continuously and be monitored every 24 hours for 2–5 days.
-
Use targeted drying techniques for walls and cavities.
For wet drywall: perform flood cuts 12–18″ above visible waterline or use drying mats/structural cavity drying systems. For wet flooring: pull baseboard where needed and set up directed air paths. Open cavities only when moisture meter readings justify it (see step 9). Cavity drying may add 1–3 days to the job.
-
Control moisture with dehumidification strategy.
Dehumidifiers reduce absolute humidity and speed evaporation. Set dehumidifiers to maintain 40%–50% RH; adjust based on outside conditions. In cold climates use desiccant dehumidifiers to maintain drying progress. Monitor water collection daily and empty or plumb condensate properly.
-
Measure moisture and document progress.
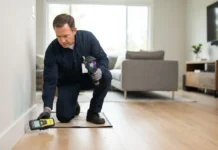
Use a calibrated moisture meter (pin-type and non-penetrating) and a thermal hygrometer. For wood framing, acceptable residual moisture is typically <16% MC (moisture content) or a meter reading in the manufacturer’s “dry” band—confirm with the meter's reference. Take baseline readings at day 0 and then every 24 hours. Record values in a drying log.
-
Mitigate mold risk during drying.
Maintain airflow, lower RH, and remove wet organic material. Apply EPA-recommended cleaning on non-porous surfaces after drying (see external guidance). Use antimicrobial solutions on hard surfaces only as specified by material manufacturers. For suspected mold growth, stop work and arrange mold testing or remediation.
-
Plan repairs and handoff to trades.
Once moisture readings stabilize within target ranges for 48–72 hours, document completion and recommend repairs—drywall replacement, insulation removal, flooring repairs. Provide homeowners and insurers with a final drying report including moisture logs and equipment inventory. Typical handoff occurs 3–7 days after initial extraction for small jobs, longer for structural issues.
-
Final inspection and clearance.
Perform a final walkthrough verifying RH 30–50%, surface dryness, no musty odor, and documented moisture levels. Provide clearance photos and recommendations for follow-up repairs or content restoration. Final reporting time: 30–90 minutes.
-
Dispose of contaminated materials properly.
Bag and label Category 3 (black water) materials for hazardous disposal per local regulations. Follow OSHA and EPA guidance for worker safety and waste handling—refer to government safety guidelines for contamination handling: EPA mold and contamination guidance.
-
Follow-up monitoring.
Arrange follow-up moisture checks at 7 and 30 days for high-risk situations (sewage, major flooding, complex structures). Where structural drying required more than 7 days, extend monitoring until two consecutive readings 24–48 hours apart show stable, acceptable moisture metrics.
-
Create a documented cost and repair plan for the client.
Compile labor hours, equipment rental days, material replacement costs, and projected repair contractor quotes. Provide a summary suitable for insurance submission. According to a 2024 industry report by an insurance trade source, detailed itemized estimates reduce claim processing times by 20% (source: insurance industry report).
-
Closeout and client education.
Explain drying limits and any residual risks (e.g., cosmetic staining, potential odor). Advise on when to schedule trades and how to maintain low indoor humidity to prevent future issues.
-
Quality assurance and warranty.
Offer a 30–90 day monitoring warranty on drying work where applicable and provide written instructions for post-drying care. Note: many professional firms offer limited warranties contingent on repair timelines and homeowner compliance.
-
Optional: content restoration and specialized services.
Coordinate with personal property restoration firms for textiles, electronics, and document drying. For commercial-scale jobs, scale equipment and staging appropriately and consider truck-mounted extraction for faster turnaround.
Related services that support process steps include water damage inspection services and specialist water mitigation company services.
Types of Water Damage Addressed by Removal Services
Transition: With the workflow clear, recognize how services differ depending on the type of water present—this determines safety, disposal, and repair approaches.
Water removal teams classify incidents by contamination and source, which affect cleanup methods:
- Clean water (Category 1): from broken supply lines, rainwater without contamination. Low immediate health risk but can become contaminated; typical response: rapid extraction, drying, and minor repairs.
- Grey water (Category 2): contains chemical or biological contaminants (e.g., dishwasher overflow, sump pump discharge). Requires enhanced PPE, possible disposal controls, and sometimes replacement of soft materials.
- Black water (Category 3): sewage, floodwater from rivers, or heavily contaminated sources. Requires full containment, specialist disposal, and replacement of porous materials.
Comparison and considerations:
- Health risks: black water can carry pathogens requiring licensed remediation; grey water carries moderate risk; clean water is primarily structural risk.
- Cleanup scope: black water jobs often require demolition of drywall and insulation; clean water jobs can sometimes be dried in place with monitoring.
- Insurance implications: many policies treat sudden clean water events differently from flood (river/hurricane) losses—check policy specifics and document thoroughly for claims.
Specialized scenarios and resources: for basement-specific situations see basement flood cleanup services. For damaged personal items refer to personal property restoration services. For pipe-specific incidents see pipe burst damage restoration costs.
Essential Water Removal Tools and Technologies
Transition: Knowing the equipment helps you judge contractor estimates and set up effective DIY responses when safe.
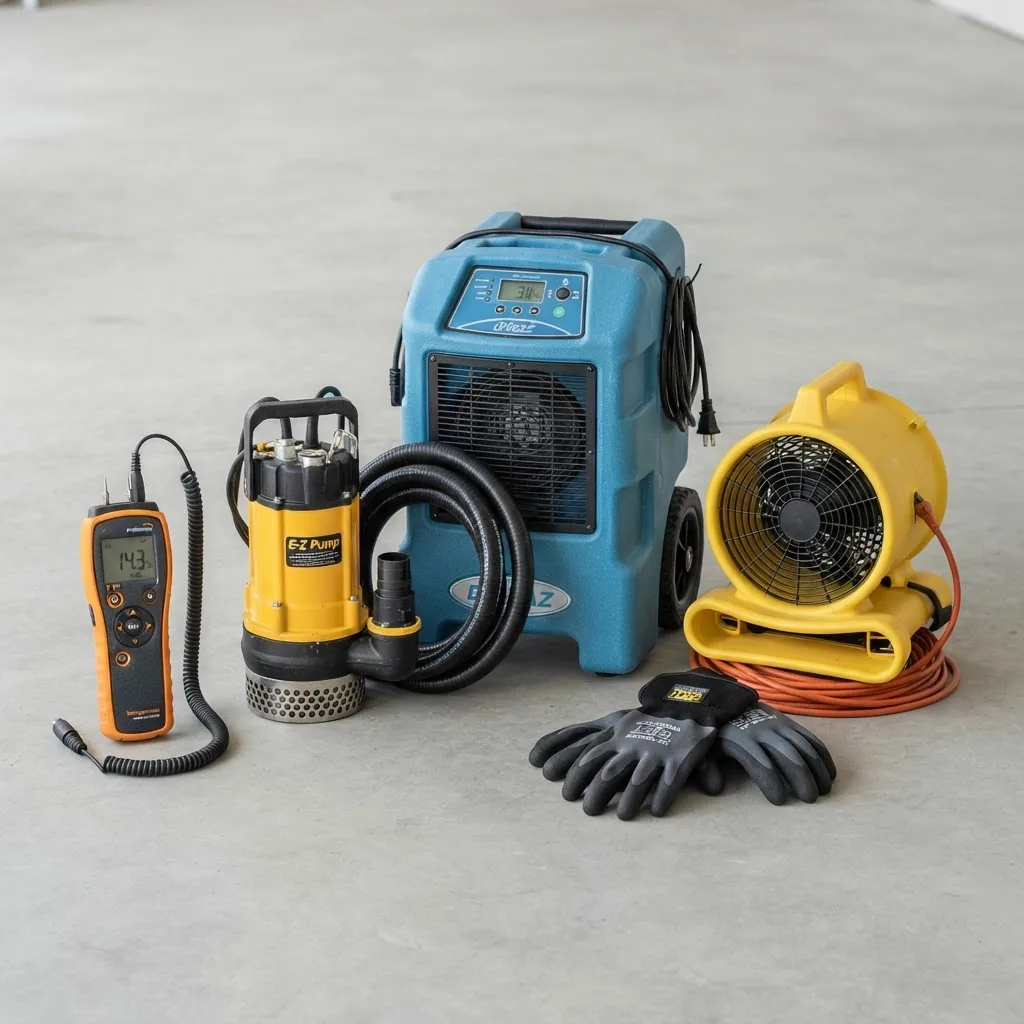
- Submersible pumps — Electric or trash pumps rated 1,000–3,000 GPH for fast bulk removal. Key spec: solids-handling size (inches).
- Truck-mounted extractors — High-power centrifugal units that extract carpet and pad at 20–40 GPM; ideal for large commercial and multiple-room residential jobs.
- Wet/dry vacuums — Portable extraction for shallow water and small areas; use high-capacity models (12–30 gallon) for efficiency.
- Air movers (axial/centrifugal fans) — Move high volumes of air across surfaces; aim for 2–4 units per 100 sq ft when saturation is heavy.
- Dehumidifiers (LGR and desiccant) — LGR (low-grain refrigerant) dehumidifiers are the standard for most jobs; desiccant units for cold conditions or extreme drying targets.
- Moisture meters — Pin-type for wood moisture content; non-penetrating for finished surfaces. Calibrate before use and use reference readings for each material.
- Thermal hygrometers and data loggers — Record RH, temperature, and dew point to verify drying progress over time.
- Structural drying systems — Injected cavity drying, heat drying, and drying mats for controlled drying of assemblies without demolition.
- Containment materials — Poly sheeting, negative air machines, and HEPA filtration for black-water and mold-prone jobs.
- PPE and sanitation equipment — N95/half-mask respirators or PAPR for high-contamination work, chemical-resistant gloves, boots, and eye protection.
Short technical notes on settings and thresholds:
- Set dehumidifiers to maintain indoor RH 40%–50%; lower RH accelerates drying but may stress some materials.
- Air mover placement: 2–3 feet from the wall, angled 20–45 degrees along the floor-to-wall junction to create shearing airflow.
- Moisture meter thresholds: wood <16% MC targeted; concrete <5% moisture by weight or per manufacturer specs for overlays (confirm with a relative humidity probe test for slabs).
Costs of Water Removal and Cleanup: What to Expect
Transition: Now that you know the techniques and equipment, understand the realistic cost factors so you can budget and interpret estimates.
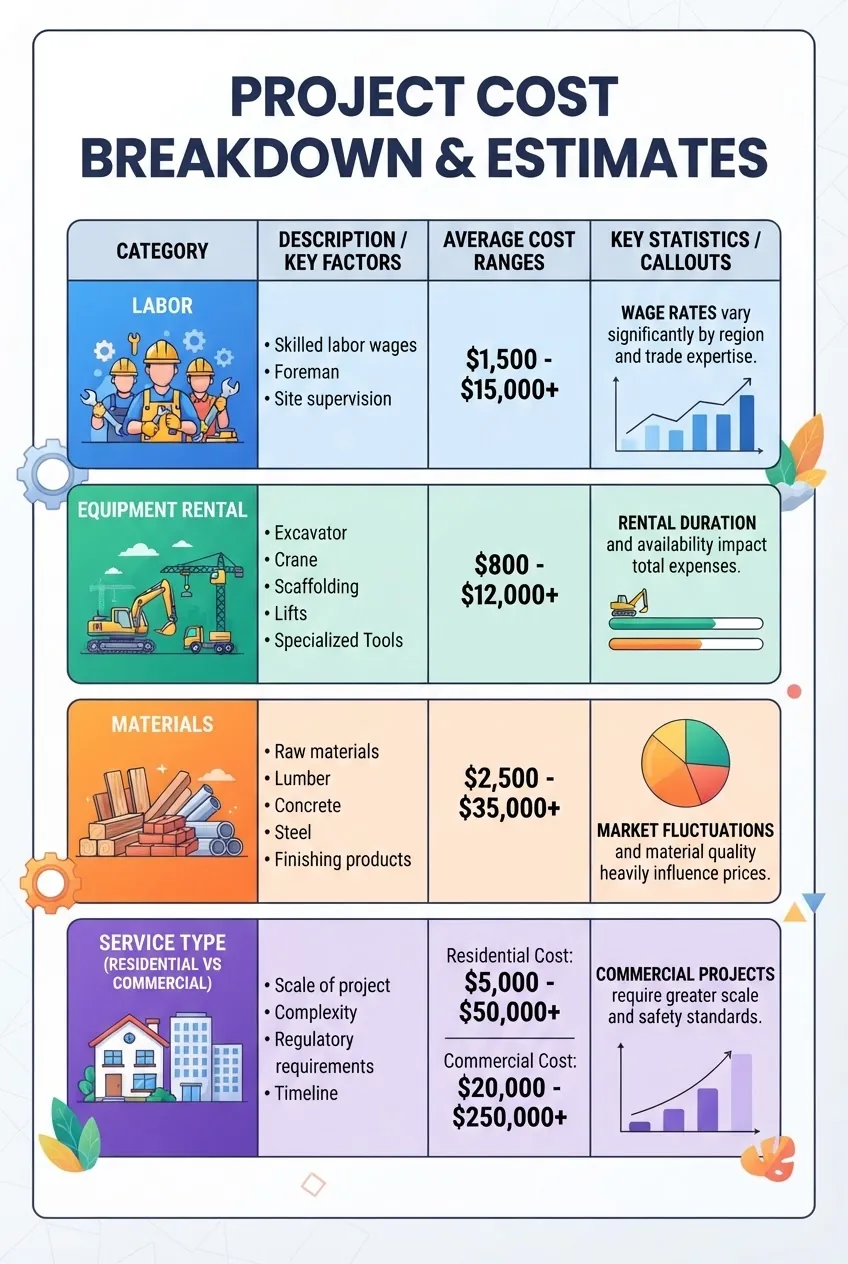
Cost disclaimer: Prices vary widely by region, season, contamination level, and scope. The figures below are averages; always request a written estimate. According to a 2023 industry report by the Insurance Information Institute, average homeowner water damage claims ranged from $7,000–$15,000 depending on severity (source: insurance industry report).
| Service type | Typical price range | Notes |
|---|---|---|
| Emergency extraction (per room) | $200–$1,200 | Depends on pump type, access, and contamination. |
| Structural drying (daily equipment + monitoring) | $300–$1,500 per day | Equipment rental, technician time; duration varies 2–7+ days. |
| Mold prevention/antimicrobial cleaning | $500–$3,000 | Surface type and contamination level drive cost. |
| Partial demolition (drywall, insulation) | $1,000–$5,000+ | Extent of wet materials, disposal fees included. |
| Full restoration (flooring, drywall, painting) | $5,000–$25,000+ | Varies by finishes and whether structure is commercial or residential. |
Typical cost drivers: labor rates ($50–$150/hour per technician), equipment rental (air mover $10–$30/day; LGR dehumidifier $100–$250/day; truck-mount extraction $200–$600/hour), material replacement (drywall $1.50–$3.50/sq ft), disposal fees for contaminated material, and emergency/after-hours surcharges (often +25–50%).
Commercial vs residential: commercial properties usually require larger teams, truck-mounted equipment, and permit/coordination costs. See commercial-specific estimates: commercial storm damage restoration costs and commercial water damage repair services.
Flood vs non-flood: flood events (rivers, storm surge) are generally treated differently by insurers and often fall under separate flood policies. For flood-specific professional pricing estimates see flood cleanup professional service costs.
Insurance claims and coverage notes: contact your insurer immediately. According to a 2024 industry report by an insurance trade body, timely mitigation reduces total claim payouts by an average of 15–25% (source: insurance industry report). Always obtain itemized estimates and keep receipts; if an insurer requests preferred vendors, confirm they meet industry certifications and provide written scopes.
For broader restoration cost context see water damage restoration costs and more detailed commercial pricing at commercial storm damage restoration costs.
DIY Water Removal vs Professional Services: Pros and Cons
Transition: Use this comparison to decide whether you can safely perform removal tasks yourself or need certified help.
| Consideration | DIY (Pros / Cons) | Professional (Pros / Cons) |
|---|---|---|
| Cost | Lower upfront cost; you pay for tool rental and time; risk of higher long-term costs if drying is incomplete. | Higher upfront cost; includes equipment, monitoring, documentation—often reduces total repair costs through proper mitigation. |
| Safety | Risky for grey/black water; electrical/shock hazards. PPE and lockout required. | Professionals trained in PPE, confined-space and contamination protocols; safer for complex jobs. |
| Effectiveness | Good for small clean-water incidents with rapid response; often inadequate for deep structural drying. | Use industrial equipment and moisture mapping to ensure complete drying and reduce mold risk. |
| Insurance | May complicate claims if work is undocumented or incomplete. | Provides detailed documentation and invoices that streamline claims. |
| Specialized scenarios | Not recommended for sewage, major floods, or commercial sites. | Professionals handle contaminated water, large-scale jobs, and provide warranties. |
If you want to learn carpet-specific restoration techniques before deciding, review training options such as carpet water damage repair courses. DIY is reasonable for clean-water incidents under 200 sq ft where you can run a wet/dry vac, set fans, and monitor moisture, but stop and call a pro for any sign of contamination, visible mold, or persistent high moisture readings.
Preventing Further Damage Post Water Removal
Transition: After extraction and drying begins, follow these concrete steps to avoid secondary damage and prepare for repair work.
-
Confirm moisture readings are stable.
Two consecutive days of stable moisture below target thresholds (wood <16% MC; RH 30–50%) indicate drying is complete. Record these values in the job log.
-
Discard unsalvageable porous materials.
Remove wet insulation, soaked drywall, and saturated carpet pad that cannot be dried to target levels; bag and dispose per local rules. For Category 3 water, double-bag and label.
-
Inspect structure for hidden damage.
Check wall cavities, sills, joists, and floor plates for warping, staining, or rot. Use a probe and moisture meter; plan carpentry repair where wood moisture content >20% or visible structural compromise.
-
Schedule repairs in the correct sequence.
Prioritize structural and roofing repairs, then insulation and drywall, followed by flooring and painting. For guidance on carpentry qualifications see carpentry repair training. For repainting and finish work reference home repainting and handyman services.
-
Address roof and exterior vulnerabilities.
If water entry was external, repair roof or siding issues before interior finishes—consult roof repair after water damage.
-
Plan for mold remediation where needed.
When mold is visible or sampling indicates colonization, schedule professional remediation. For cost and process details see mold remediation services and costs.
-
Complete training or hire skilled trades.
If you plan to perform repairs, consider formal instruction such as water damage repair training or specialized carpentry courses.
-
Final cleaning and deodorization.
Use HEPA vacuums for dust, follow with EPA-recommended cleaners for surfaces, and apply containment-grade odor control only after structure is fully dry.
-
Repaint and finish only after confirmed dryness.
Waiting 7–14 days after moisture targets are met reduces paint failure. For professional repainting options see home repainting and handyman services.
Common mistakes and how to avoid them
I once supervised a homeowner who stopped drying after visible water was gone; within a week mold appeared behind baseboards because cavity moisture remained 5–8% above baseline. To avoid that, I always insist on moisture logs and a final clearance reading. Another repeated failure I saw: renting only fans without dehumidifiers—fans move moisture but won’t remove it; pair air movers with an appropriately sized LGR dehumidifier to avoid cycling humidity.
How to Choose a Reliable Water Removal Service Provider
Transition: Selecting the right firm affects drying quality, repair costs, and insurance outcomes—use the checklist below when vetting providers.
- Verify certifications: Look for IICRC certifications in water damage restoration and applied structural drying—learn more about recognized credentials at IICRC and check for specific course certificates like WRT and ASD. fire and water damage restoration certification
- Insurance and bonding: Request proof of general liability and workers’ compensation. Ask about pollution liability for black-water jobs.
- Response time and availability: Prioritize firms offering 24/7 emergency response and same-day mitigation.
- Equipment capacity: Confirm they own or can access truck-mounted extractors, multiple LGR dehumidifiers, and data logging instruments.
- References and reviews: Check recent jobs and ask for case studies similar to your situation. For service requirements overview see damage restoration service requirements.
- Written scope and drying goals: Get a written scope with target moisture readings, equipment list, technician visits, and estimated duration.
- Warranty and follow-up: Ask for post-drying monitoring and written assurance of work performed.
- Licensing and local compliance: Confirm local contractor licensing where required and ask whether they handle permits or inspections.
- Complementary trades network: Ensure they coordinate with plumbers, roofers, and HVAC contractors; relevant training for exterior repairs is found at exterior maintenance and repair training.
- Choose companies experienced with storm-related losses: If your event was storm-related, consider firms listed in storm damage repair contractors and storm restoration companies.
For certification guides and expected professional standards reference the IICRC and government safety guidance. For a checklist of provider qualifications, consult industry certification resources: fire and water damage restoration certification and for regulatory or licensing considerations see damage restoration service requirements.
Conclusion: Key Takeaways and Next Steps for Water Removal
By following this hands-on workflow you can quickly stabilize water-damaged properties, limit secondary damage, and produce documentation for insurance claims. Next steps: secure safety and utilities, document damage, perform rapid extraction, set up targeted drying with paired air movers and dehumidifiers, and only stop when moisture logs confirm dryness. If you’re unsure at any point, contact certified professionals listed above. Plan costs conservatively and keep a clear audit trail for claims.
Before you start
- Prerequisites: power isolation capability, understanding of insulation and drywall limits, access to a truck or van for debris removal.
- Tools & materials: submersible pump or wet vac, 2–6 air movers, 1 LGR dehumidifier per 500–1,000 sq ft wet area, pin and non-penetrating moisture meter, hygrometer/logging device, PPE (gloves, N95 or respirator), poly sheeting and repair materials.
- Time & skill expectations: initial extraction and setup 4–8 hours for one room; continuous monitoring over 48–120 hours; basic technical skill for operating pumps and meters.
Step-by-step checklist (verify your work)
- Power and gas secured — confirmed with tester.
- Water type classified — category 1/2/3 documented.
- Photos and inventory completed — all affected areas recorded.
- Standing water removed — target: <1/4" residual surface water.
- Air movers placed — 2–4 per 100 sq ft as needed.
- Dehumidifier sized and running — LGR capacity matches wet volume.
- Moisture log started — pin and non-penetrating readings baseline recorded.
- Target moisture thresholds reached — e.g., wood <16% MC and RH 30–50% for 48–72 hours.
- Final photos and report provided — for insurance claim.
When to call a professional
Call a professional immediately for Category 2/3 water, more than 200 sq ft affected, visible mold, contaminated contents, or if moisture readings remain high after 24 hours. Also call when structural elements (joists, load-bearing walls, roof assemblies) are involved or if you lack the required PPE and training.